
Last updated November 17, 2026
Spray Foam Insulation Maintenance Schedule: What to Do and When
Spray foam manufacturers publish 50-year performance claims, but those claims assume the foam is never exposed to UV light, never contacted by petroleum solvents, and never bridged by a pest. In a Las Vegas attic where an HVAC tech works twice a year, all three risks are real. Foam itself doesn’t degrade the way fiberglass batts do – it doesn’t sag, it doesn’t lose loft, and it doesn’t blow around. What degrades is the assembly it lives inside: the coating that shields it, the substrate it bonded to, and the perimeter where tradespeople keep poking through. This guide organizes maintenance by risk category rather than calendar quarter, because that’s how failures actually present. You’ll learn what to inspect, when, what healthy foam looks like versus compromised foam, and how to keep a log that makes a warranty claim defensible.
Quick Answer
Spray foam insulation needs a visual inspection once a year, a targeted check after any tradesperson enters an insulated attic or crawl space, and a UV-exposure check on any open-cell foam that faces light. Closed-cell foam is largely maintenance-free once cured; open-cell foam in a conditioned attic needs its protective coating recoated on the interval the coating manufacturer specifies, and any foam near plumbing penetrations should be checked for condensation each July and August during Las Vegas monsoon season.
Table of Contents
- Why Spray Foam Needs a Schedule at All
- Organize by Risk Category, Not Calendar Quarter
- What a Visual Inspection Actually Consists Of
- The Coatings Maintenance Cycle for Open-Cell Foam
- Pest Penetration: Where to Look After Every Pest Inspection
- Mechanical Damage From Tradespeople
- The Las Vegas Monsoon Trigger: July and August
- The Maintenance Log That Makes a Warranty Claim Defensible
Why Spray Foam Needs a Schedule at All
Spray foam is sold as a set-and-forget product, and compared with fiberglass or cellulose, it mostly is. A properly installed layer of closed-cell foam in a rim joist doesn’t lose R-value over time. Its Spray Foam Insulation in Las Vegas application here bonds to the substrate and stays bonded. The material chemistry is stable.
But homes aren’t chemistry labs. The foam sits inside an assembly that gets worked on. A plumber cuts into the ceiling to chase a leak. An electrician pulls a new circuit. A pest control technician sprays the attic perimeter. Each of those events is a chance for the foam to be cut, scraped, exposed, or bridged. Sunlight through an attic vent degrades open-cell foam within months of direct exposure. Rodents tunnel along the foam-to-top-plate transition because that’s where two materials meet and a gap forms. None of this is the foam’s fault. It’s the assembly.
In our experience across Las Vegas attic work, the failures we see on callbacks rarely involve a material defect. They involve a compromised coating, a cut from a trade, or a pest tunnel that nobody noticed until the cooling bill went up. A maintenance schedule built around inspecting the foam in isolation would have missed every one of those. The schedule below targets the three risk categories that actually produce failures.
- Annual visual inspection. One pass a year, timed to the season your utility bills peak.
- Event-driven inspection. Any time a contractor opens a ceiling hatch, enters an insulated crawl, or cuts access.
- Seasonal moisture check. July and August, during the monsoon pulse.
- Documentation. A simple log everyone can read.
Organize by Risk Category, Not Calendar Quarter
Calendar-based maintenance schedules assume decay happens on a fixed clock. Insulation failures don’t. The list below is how we structure inspections, ordered by how often each type of failure actually shows up on a Las Vegas service call.
- UV exposure. Open-cell foam facing light loses its surface integrity over time. Closed-cell foam is more UV-tolerant but still not built for continuous exposure.
- Pest penetration. Foam-to-substrate transitions are the entry points. Where foam meets wood, framing, or masonry, a gap can form.
- Mechanical damage. Any trade that enters the insulated space can cut, scrape, or crush foam.
- Moisture intrusion. Foam itself resists moisture, but condensation at penetrations and at the roofline where foam meets decking can cause trouble over years.
- Coating degradation. If a protective coating was applied over the foam at installation, its service life is shorter than the foam’s.
Each category has its own inspection method and its own interval. A homeowner who understands the categories can do most of the inspection themselves after learning what to look for.
What a Visual Inspection Actually Consists Of
“Inspect the foam” is useless advice. Here’s what a real inspection looks like. Bring a flashlight, a phone camera, and a notebook. A telescoping mirror helps for tight corners.
- Look at the surface color. Healthy spray foam is uniform in color – cream to light tan for open-cell, and a similar range for closed-cell. A yellowed, chalky, or dusty surface on open-cell foam exposed to light indicates UV degradation.
- Touch the surface with a gloved hand. Healthy foam feels firm and slightly resilient. UV-degraded foam will feel brittle and crumbly. If you can scrape it off with a fingernail, the surface has lost integrity and the coating has failed or was never applied.
- Identify shrinkage cracks versus pest tunnels. Shrinkage cracks are hairline, straight, and follow the foam surface contour. They’re cosmetic and expected on older foam. Pest tunnels are rounded, often wider at the base than at the top, and typically follow framing lines or the perimeter of the foam layer. If you see small dark droppings nearby, it’s a tunnel.
- Probe-test for hardness when in doubt. A screwdriver handle or a pencil pressed gently into the foam surface tells you whether the substrate has separated from the foam. A hollow “tock” sound and a slight give means the foam has debonded. A firm, solid press means the bond is intact.
- Photograph everything. Surface foam, perimeter transitions, penetrations, the top plate, and any spot where a trade has been.
In Las Vegas attics we’ve inspected after summer, the most common finding isn’t foam failure. It’s a patch of exposed open-cell foam behind an HVAC platform where the original install left a gap in the coating. That gap is invisible from the attic hatch. You only find it by walking the whole attic floor.
The Coatings Maintenance Cycle for Open-Cell Foam
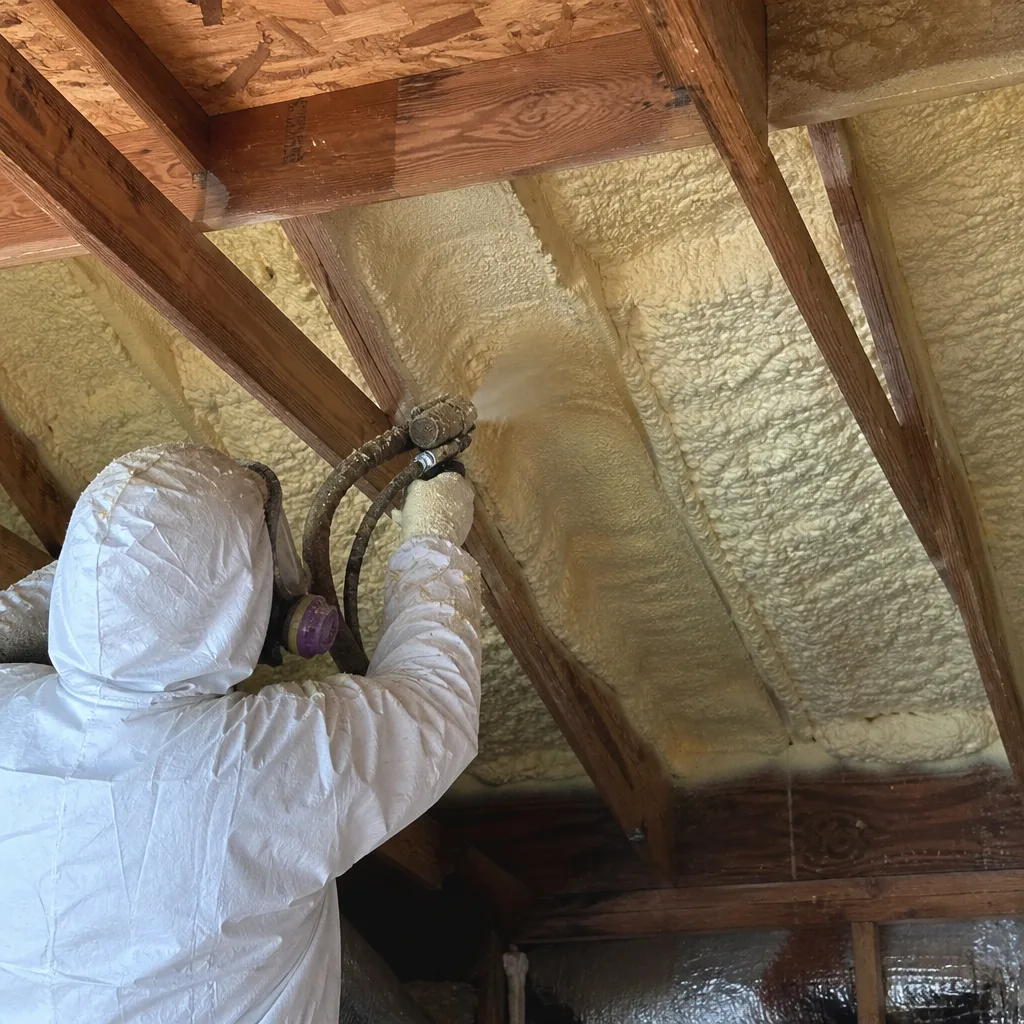
Open-cell spray foam installed in a conditioned attic often runs uncovered against the roofline. It needs a protective coating to shield it from light, from ignition sources (building codes treat exposed open-cell foam as a fire concern), and from minor mechanical contact. The coating is specified by the coating manufacturer, not the foam manufacturer, and its service life is typically shorter than 50 years.
What the Recoat Interval Looks Like
Coating recoats generally fall into a five- to fifteen-year window depending on the product, the exposure, and the climate. Here in Las Vegas, the intense UV load through roof vents and radiant barrier gaps shortens that window. We see coating breakdown in the five- to ten-year range on any attic where sunlight reaches the foam surface through a roof vent at any point in the day.
If the coating is skipped, the failure is not structural. The foam doesn’t collapse. But the surface turns friable – meaning it crumbles and sheds dust – which means it stops performing as an air barrier at the surface, and the fire-resistance rating of the assembly is compromised. A building inspector can flag this if you sell the home.
What to Check
- Chalky residue on the surface. Wipe a gloved finger across the foam. If it comes back coated in a fine powder, the coating is breaking down.
- Visible bare foam. If any foam surface has no coating at all (often around penetrations), it needs recoating.
- Coating cracks. Any cracking wider than a hairline through the coating itself means moisture has a path into the foam surface.
- Staining. Dark staining, especially near roof decking, means moisture is passing through the coating and into the foam.
Recoating is a small job that a technician can complete in half a day for most attics. It’s not something we recommend as a do-it-yourself project, because the coating chemistry needs to match the existing coating and the substrate, and most residential coatings require respiratory protection during application.
Pest Penetration: Where to Look After Every Pest Inspection
Rodents don’t eat spray foam the way they eat some cellulose. But they tunnel through it, especially where the foam meets framing. The transition points are the vulnerability. Foam sprayed against the top plate of a wall doesn’t always bond to it perfectly; a small gap at the interface becomes an entry point. Mice and rats find these gaps within a season.
Where to Inspect
- Foam-to-plate transitions. The line where the foam meets the top plate of the wall below it. Look for tunneling, droppings, or grease marks.
- Foam-to-rafter transitions. Where foam bonds to rafter tails, any separation creates a path.
- Foam-to-penetration transitions. Around plumbing stacks, electrical conduit, and recessed light housings.
- Foam-to-substrate delamination. Any spot where foam has separated from the deck or wall gives pests room to work.
How to Distinguish a Pest Tunnel From a Shrinkage Crack
A shrinkage crack is what its name suggests: a thin, straight, hairline split in the foam surface that appeared as the foam cooled and cured over weeks. It never widens, never has droppings and never shows fur, grease, or chew marks. A pest tunnel is rounded, has a cleaner interior surface than a crack, and is often wider at one end. If the tunnel is fresh, there will be droppings and small bits of foam debris at its exit. If you find droppings anywhere in the attic, treat the whole perimeter as compromised and get a pest inspection before any resealing.
Any resurfacing and resealing after a pest event needs to be done after the pest problem is eliminated. Resealing over an active rodent path is wasted work.
Mechanical Damage From Tradespeople
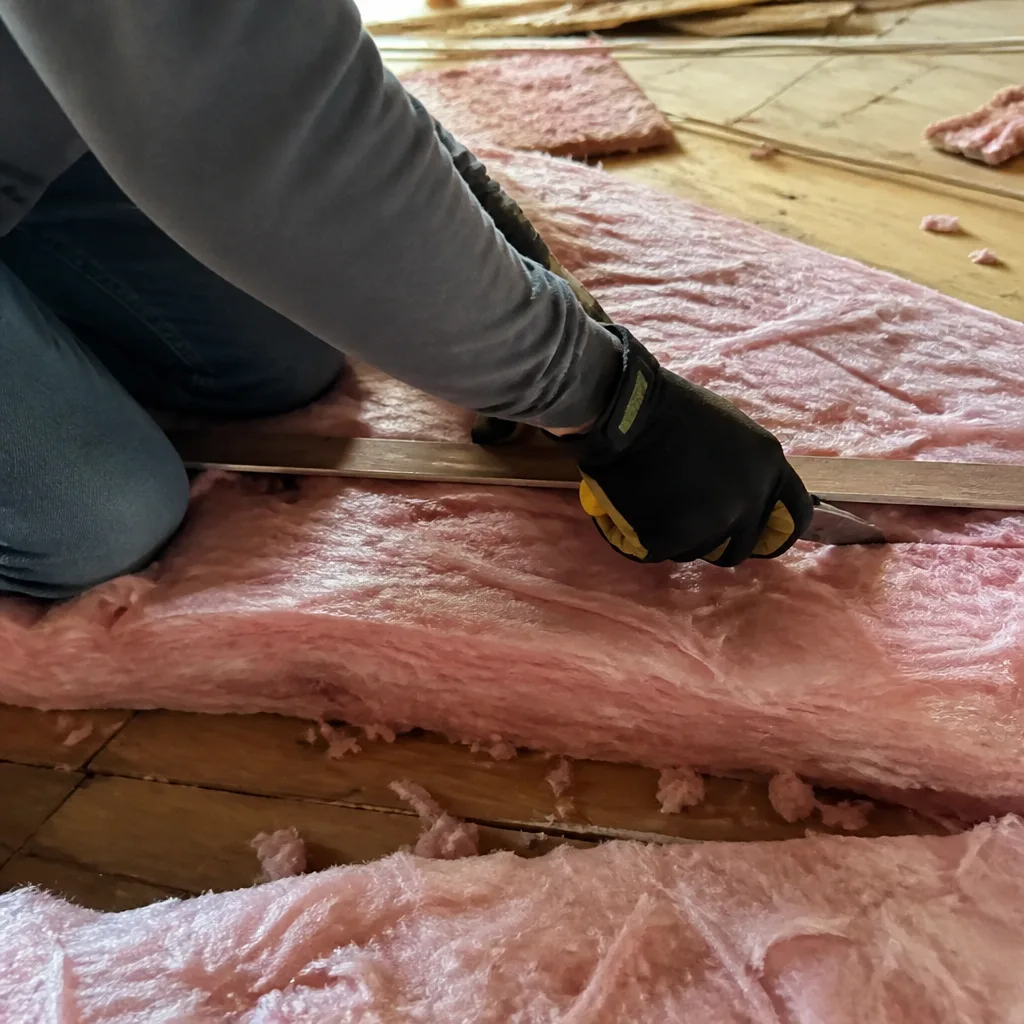
This is the most common cause of spray foam failure we see in Las Vegas homes, and it happens because HVAC, plumbing, and electrical contractors enter attics regularly. Every entry is an opportunity for a tool to cut into foam, a boot to crush it, or a line set to be pulled through it. The most common damage is a clean slice through the foam bond where an HVAC contractor routed a new line, or a crushed patch where a technician kneeled on the foam surface.
- Check after every trade entry. Ask the contractor when they’ll be in the attic or crawl, and plan a walkthrough after they leave.
- Look for fresh cuts. A cut exposing the substrate is a direct air leak. Foam that’s been sliced needs to be resealed before it loses performance.
- Check for crushing. Heavily compressed foam has lost R-value at that spot. Thin compressed patches should be sprayed over with a fresh layer.
- Check penetrations created by the trade. Any new pipe, conduit, or cable that penetrates the foam layer needs to be sealed at the penetration, not left with the foam gap exposed.
- Photograph and record it. Date, trade, and what you found.
On one Park City Lane attic we inspected this spring, an HVAC replacement had left three clean slices through the foam where the new line set was routed. The homeowner’s cooling bill had climbed 22% from the previous summer. That’s the kind of invisible damage a maintenance schedule catches before it shows up on a utility bill.
The Las Vegas Monsoon Trigger: July and August
Las Vegas is dry most of the year, but the monsoon season brings a moisture pulse in July and August that most of the country doesn’t associate with the desert. Humidity spikes, roof assemblies get wet, and any spot where foam meets a penetration becomes an inspection target. Even a well-installed spray foam attic should be checked for condensation evidence once the summer rains pass.
What to Check During Monsoon Season
- Penetrations. Look for water staining on the foam surface at any penetration, and check the substrate behind it. A condensation trail on the foam surface is a sign that moisture has entered the assembly.
- Roof-deck-to-foam transitions. Look for dark staining where foam meets roof decking. Any staining after a monsoon event is worth a callback.
- Ceiling stains. Interior ceiling stains in a foam-insulated attic usually mean a spot where the foam hasn’t sealed adequately. These need to be caught before drywall damage spreads.
- Dehumidifier performance. In an encapsulated crawl space, a dehumidifier that runs constantly in July and August is working overtime – check the crawl for a condensation source. Our Crawl Space Encapsulation & Vapor Barrier in Las Vegas service line handles these checks as part of a full envelope review.
Monsoon moisture is not the same as rain leak. Most of the condensation problems we see in Las Vegas attics don’t come from direct water intrusion; they come from high-humidity air meeting a cooler surface somewhere in the assembly. That means the inspection should include any spot where the attic connects to conditioned space.
The Maintenance Log That Makes a Warranty Claim Defensible
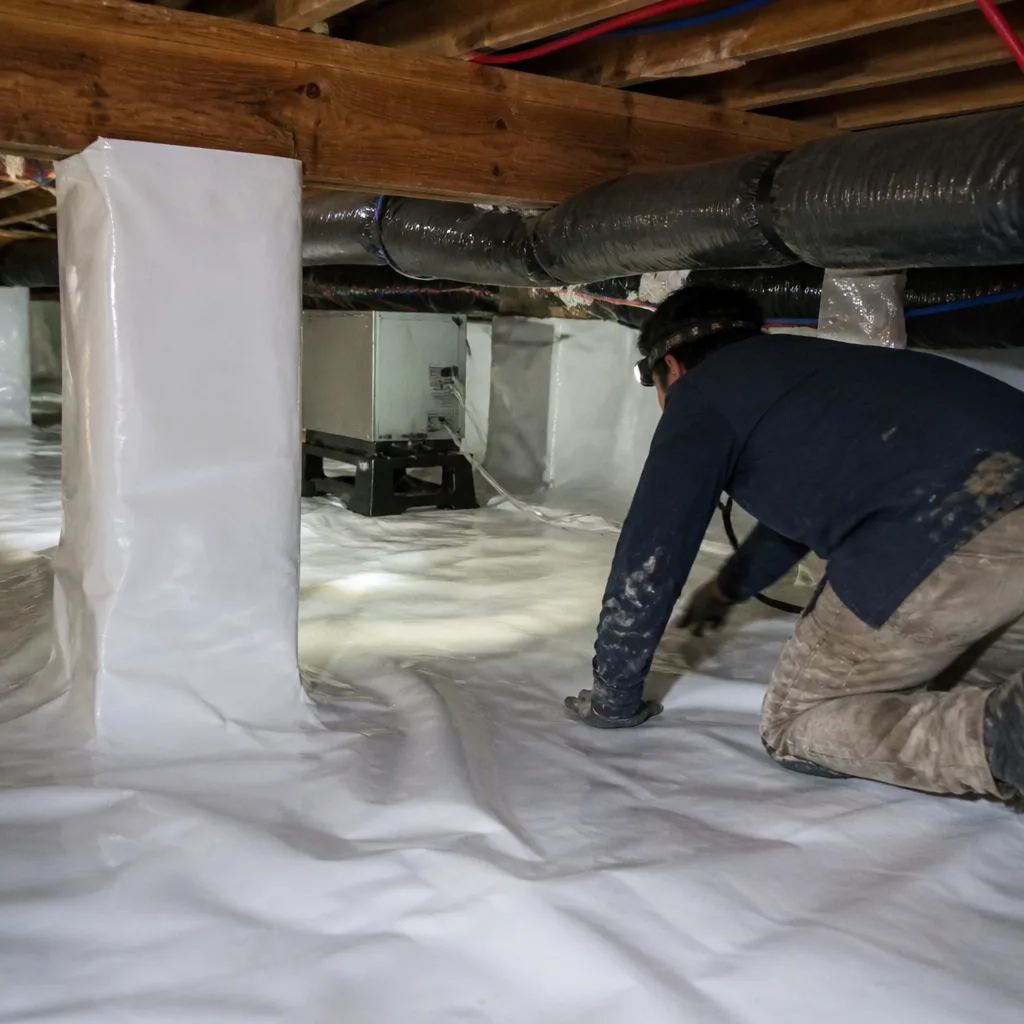
The most important maintenance tool in your home isn’t a flashlight or a moisture meter. It’s a log. If you ever need to make a warranty claim, the manufacturer or contractor is going to want to know who entered the insulated space, when, and why. Without that record, a claim turns into a debate.
What to Record
- Date and time of every entry into an insulated attic or crawl space.
- Who entered – contractor name if applicable, or a brief note for your own checks.
- What was done – a one-line summary: “HVAC line replaced,” “annual visual inspection,” “pest control perimeter spray.”
- Photos – one or two shots of the space before and after work.
- Any maintenance findings – foam cuts, pest signs, moisture stains, coating issues.
- Any remediation work – who did it, when, and what they did.
A simple spreadsheet or a spiral notebook kept in the garage works. The point isn’t the format. The point is that when you need to document that a slice in the foam happened during a specific contractor’s visit on a specific date, you have the record. That’s the difference between a “no, that’s your fault” conversation and a defensible warranty claim.
Every job we finish comes with a documented photo record built into the file, not available only on request. That record is the first thing anyone needs when a claim arises. It’s how up to 10-year-experienced technicians on our side can explain what was seen and when.
Common Mistakes to Avoid
- Inspecting only in spring and fall. In Las Vegas, the July and August monsoon window is when condensation and moisture issues appear. If you only inspect in temperate months, you won’t see them.
- Skipping the walkthrough after a trade visit. Our strongest advice is check the attic after every single trade entry, even if it’s just to run a new cable. Foam damage from cuts and crushing is real and common.
- Confusing UV degradation with pest damage. A chalky foam surface and a chewed foam surface look different up close, but both get mistaken for one another on a quick pass. Photograph and note the difference.
- Resealing foam over an active pest path. Foam resealed over a live rodent pathway gets reopened within weeks. Get pest control first, then reseal.
- Ignoring the coating interval. Recoating open-cell foam in a conditioned attic is not optional. It’s the maintenance the foam manufacturer expects and the code expects. Skipping it can void a warranty.
- Assuming closed-cell foam is entirely maintenance-free. Closed-cell foam resists pests and UV better, but any mechanical cut it suffers still leaks. It’s not a maintenance-free product; it’s a lower-maintenance one.
- No written log. Without a record of entries and findings, a warranty claim against foam or an installer becomes a memory contest. Document.
When to Call a Professional
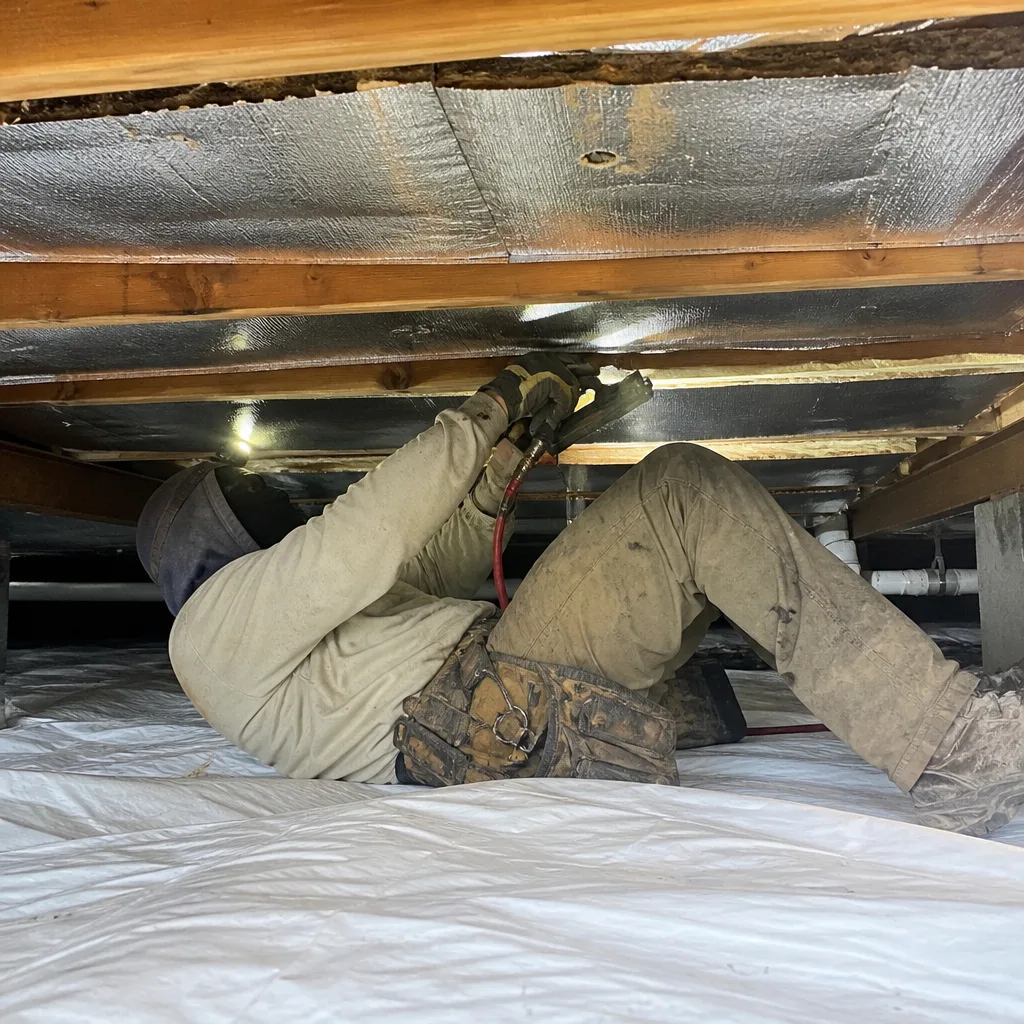
Most of the checks above are homeowner-safe. But some findings should prompt a call to a professional, not a weekend project. Call us if any of the following are true: foam has debonded from the substrate (identified by probe test), you find pest tunnels or fresh droppings anywhere in the insulated space, the coating on open-cell foam has degraded to the point where it’s chalky or absent, foam has been cut through and needs to be resealed at a penetration, or you see water staining on the foam surface after a monsoon event. If you need a full envelope check, our Attic Insulation in Las Vegas service and our Envelope Insulation Las Vegas home team handle inspections across the valley.
When you call, we’ll bring the equipment to look for air leakage in the assembly, not just damage to the foam surface. A blower-door test – a pressurization reading that shows, in one number, how much air your building envelope is losing – tells you whether the damage is theoretical or actually affecting performance. If you’re curious about the base schedule we recommend for pre-installation checks too, the resources at ENERGY STAR’s insulation guidance are a starting point.
Envelope Insulation Las Vegas offers free estimates in Las Vegas. Call (833) 362-4859 – a live person answers, and every one of our estimates is written before any work starts.
Frequently Asked Questions
Once a year for a visual inspection, after every tradesperson visit to the insulated space, and during July and August for the monsoon moisture check. Closed-cell foam typically needs less frequent attention than open-cell foam because it resists UV and pests better, but every insulated assembly should still get an annual look.
The foam itself does not degrade under normal conditions, but the assembly it lives in does. UV light breaks down exposed open-cell foam, protective coatings wear out over five to fifteen years, and mechanical damage from tradespeople is common. Inspecting the assembly – not just the foam – is the actual maintenance task.
Yes. HVAC work in a Las Vegas attic is the most common source of spray foam damage we see. Walk the attic floor after the technician leaves and look for clean cuts through the foam, crushed patches where someone kneeled or set equipment, and new penetrations that weren’t sealed.
Wipe a gloved finger across the foam surface. If it comes back coated in fine powder, the coating has degraded and the foam is friable. Any visible cracking or dark staining on the coating also indicates it’s due for recoating. In Las Vegas, plan a recoat check every five to ten years given the UV load.
A pest tunnel is rounded, typically wider at one end, and usually follows framing lines or the perimeter of the foam. It often has droppings or foam debris near the entry. A shrinkage crack, by contrast, is a hairline, straight split in the surface with no debris and no droppings.
Most visual inspections are homeowner-safe. A flashlight, gloved hand, phone camera, and notebook are enough for the annual check. Call a professional for any actual remediation – recoating, resealing cut foam, or addressing pest damage – because those require matching materials, respiratory protection, and in some cases a blower-door test to verify the fix.
The Bottom Line
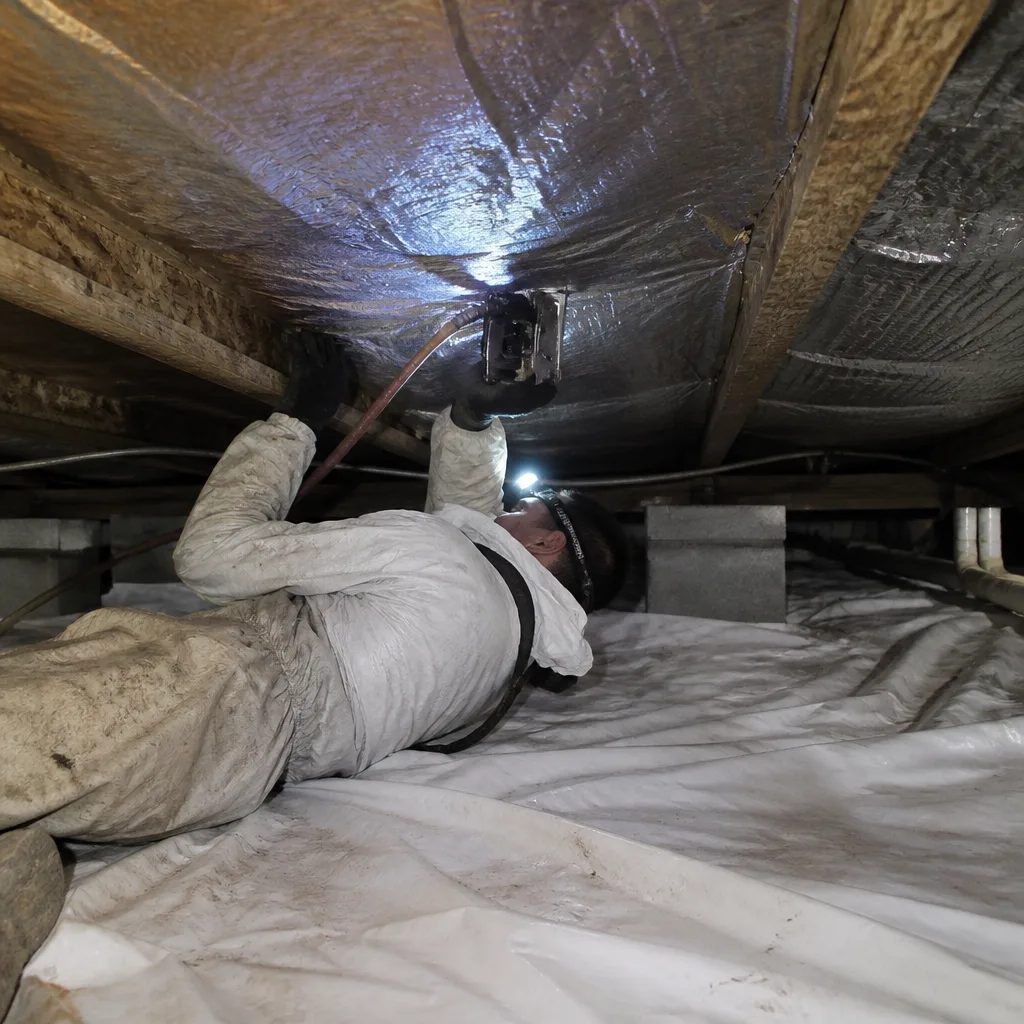
Spray foam is one of the most durable insulation products on the market, but durability of the material isn’t the same as durability of the assembly. The maintenance schedule that actually prevents failures targets UV exposure on open-cell foam, pest penetration at foam-to-substrate transitions, and mechanical damage from tradespeople. Add a July-August monsoon check specific to Las Vegas, keep a written log of every entry to the insulated space, and you’ll catch nearly every failure before it becomes expensive. If you want a documented inspection with before-and-after blower-door numbers to verify the assembly is performing as designed, our Envelope Insulation Las Vegas home team can walk the attic with you. Call (833) 362-4859 for a free estimate.
Written by the team at Envelope Insulation Las Vegas.