
Last updated November 17, 2026
Spray Foam Insulation Troubleshooting: Common Problems and How to Fix Them
Spray foam that smells like fish or ammonia six weeks after installation isn’t a curing problem. It’s a ratio problem. When the A and B components mix off-ratio at the gun, the foam cures soft, stays tacky, and off-gasses indefinitely. The smell is the chemical evidence, and the fix requires removal, not airing out. Most spray foam failures are installation failures that appear weeks or months after the crew has packed up, and the physical evidence (shrinkage gaps, discoloration, persistent odor, delamination at the substrate) is diagnostic enough that a homeowner who knows what to look for can name the failure mode before anyone shows up. This guide covers how to read that evidence in a Las Vegas home, which problems are cosmetic, which are thermal, and which mean the foam has to come out.
Quick Answer
Most spray foam problems fall into four failure modes: shrinkage gaps from cold-weather or over-thick application, delamination from moisture or dust at the substrate, persistent odor from off-ratio mixing or under-cure, and yellow-orange discoloration from UV exposure on uncoated open-cell foam. Isolated hairline gaps can be patched; off-ratio foam and failed adhesion usually require removal and re-spray. A gap you can see at a rafter bay is a 100% thermal break across that bay, not a cosmetic flaw.
Table of Contents
- The Four Failure Modes (and How to Identify Each)
- Shrinkage Gaps: When a Visible Gap Is a Thermal Break
- Delamination: Why Foam Pulls Away From the Substrate
- Persistent Odor: Off-Ratio Mix and Under-Cure
- Discoloration and UV Damage in Uncoated Foam
- How to Document a Problem Before You Call Anyone
- The Remediation Spectrum: Patch, Re-Spray, or Remove
- What a Written Warranty Should Actually Cover
The Four Failure Modes (and How to Identify Each)
Almost every spray foam complaint traces back to one of four physical mechanisms. Learning to distinguish them matters because the fix is different for each, and because a contractor who can’t name the failure mode on sight usually defaults to the most expensive correction.
- Shrinkage gaps appear as a visible seam where foam has pulled back from a rafter, stud, or top plate. Cause: application below the manufacturer’s minimum substrate temperature, or a single lift poured too thick and curing faster than it can adhere. Most common in winter installs and in unheated attics.
- Delamination shows as foam that peels off the sheathing in sheets or sounds hollow when tapped. Cause: moisture, dust, oil, or condensation on the substrate at the time of spray. In Las Vegas, an attic deck that saw a monsoon-season humidity spike in the days before installation is a common trigger.
- Persistent odor smells like fish, ammonia, or a sweet chemical tang weeks after install. Cause: A and B components off-ratio at the gun, or foam sprayed too thick and trapped its own exotherm, under-curing from the inside out.
- Yellow-orange discoloration on open-cell foam has a single cause: UV exposure. Uncoated open-cell foam breaks down in sunlight within weeks. A Las Vegas attic that gets an hour of direct sun through a vent gap will show this quickly.
The failure mode narrows the repair path. A hairline shrinkage gap in an otherwise sound bay is a patch. Delamination across a sheathing panel means the whole panel gets re-sprayed. Odor from off-ratio foam means removal, full stop. Las Vegas homes built between 2015 and 2025 (a heavy share of the valley’s recent stock) are often in their first or second spray foam season, which is exactly when these failures surface.
For context on how foam should be applied in the first place, see our page on Spray Foam Insulation in Las Vegas.
Shrinkage Gaps: When a Visible Gap Is a Thermal Break
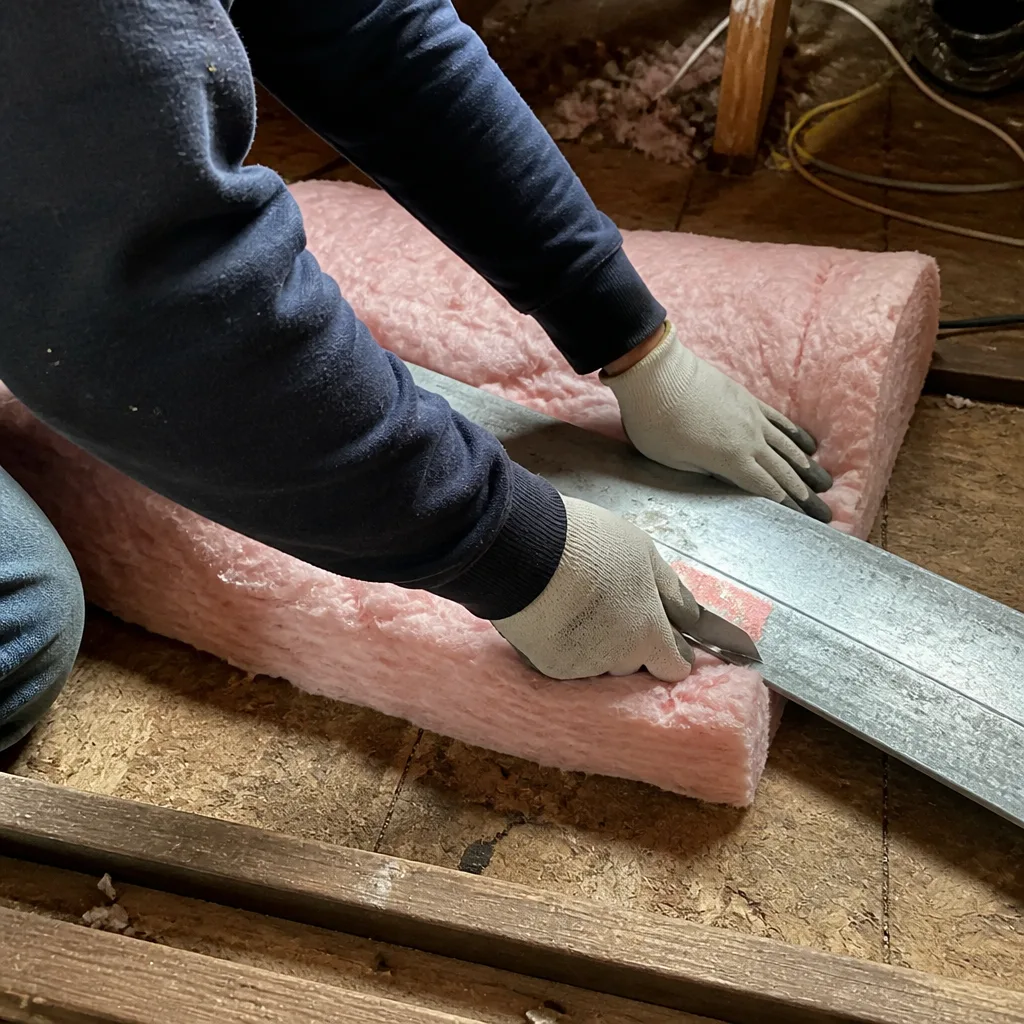
A gap you can see at a rafter bay is a 100% thermal break across that bay, not a minor imperfection. This is the single most misunderstood point in spray foam troubleshooting. Insulation works by trapping air; a continuous open channel between the conditioned space and the unconditioned side short-circuits that. A quarter-inch gap running the length of a rafter bay moves air year-round and lets moisture ride along with it.
How to measure whether a shrinkage gap is thermally significant:
- Look for daylight or a consistent shadow line. If the gap runs the full depth of the cavity, it’s a break, not a surface flaw.
- Run the back of your hand along the adjacent foam. Sound foam feels firm and continuous. Gaps at the edge of delaminated foam feel soft or springy.
- Check a hot afternoon with an infrared thermometer. Aim at the foam surface and then at the gap. A meaningful temperature delta (5°F or more on a Las Vegas summer afternoon) confirms an active air channel, not a cosmetic line.
- Confirm with a moisture meter at the gap edge. Condensation at a break shows up fast in our climate, when the indoor space runs 74°F and the attic is at 140°F.
Shrinkage gaps from lift-thickness error usually appear within the first 60 days as the foam finishes curing. Gaps from cold-application show up as soon as ambient temperatures drop, which in Las Vegas means the December and January nights when even the valley floor dips into the 30s. A spray crew working a cold garage or unheated attic without supplemental heat is a classic cause.
The fix depends on the gap’s reach. A single gap under 1/8″ in an otherwise sealed bay can be injected with a compatible patch kit. Gaps that run more than a few inches, or that repeat across a bay, need a re-spray of that section, not a patch. Any contractor telling you a visible gap at a rafter bay is “normal” is telling you something about their standards.
Delamination: Why Foam Pulls Away From the Substrate
Delamination is foam that has lost adhesion to the surface it was sprayed onto. It peels, sounds hollow when tapped with a screwdriver handle, and often comes off in sheets. The foam itself may be chemically fine. The bond failed.
Two causes account for most of it:
- Moisture on the substrate. Spray foam hates a wet surface. Attic decking and wall sheathing in Las Vegas can hold condensation from a cold night, a monsoon-season humidity spike, or a roof leak the homeowner didn’t know about. Foam sprayed over a damp surface cures at the surface but releases at the bond line.
- Contamination. Sawdust, drywall dust, oil, or paint overspray on the substrate. In a home built between 2015 and 2025, the sheathing is often new enough that a light construction dust layer is still present when the spray crew arrives. Proper prep means a wipe-down or dust-off, and the schedule should leave time for it.
Delamination is a moisture problem masquerading as an insulation problem. If your foam sounds hollow, run a moisture meter at the bond line and check the sheathing from the exterior side if you can. Water stains, soft spots, or a persistent smell of damp wood nearby all point to a leak that must be fixed before any foam goes back up. Spraying over an active leak traps the moisture and turns a small roof repair into a much larger one.
You may also want to read our guide on Crawl Space Encapsulation & Vapor Barrier in Las Vegas, since moisture moving up through a crawl space often shows up first as attic delamination.
Persistent Odor: Off-Ratio Mix and Under-Cure
Spray foam that smells like fish, ammonia, or a chemical tang six weeks after installation is not going to air out. That smell is the byproduct of unreacted isocyanate or amine in the foam. When the A and B components mix off-ratio at the gun, one side is left over and never fully reacts. It cures soft, stays tacky on the surface, and releases that unreacted fraction into the air indefinitely.
Distinguish two scenarios before you panic:
- Fresh odor (first 24-72 hours). Normal off-gassing during cure. Ventilate the space and give it a week. Should fade steadily, not plateau.
- Persistent odor (past two weeks, or that returns after airing). Off-ratio mix or under-cure. Airing out won’t fix this because the source is chemically active, not just a residual VOC cloud.
Under-cure has a second cause: foam sprayed too thick in a single pass. Spray foam is exothermic, meaning it generates its own heat as it reacts. If a crew pours a pass thicker than the manufacturer’s maximum lift (often 2-3 inches for open-cell, less for closed-cell), the outer skin cures while the core stays hot and slow-curing, and the entire batch is compromised. That can show up as soft, gummy foam in the center of a deep cavity while the surface looks fine.
The fix for off-ratio or under-cured foam is removal. Patching over it won’t stop the odor, and encapsulating it in more foam can trap the unreacted fraction. A qualified crew will mechanically remove the foam, clean and prep the substrate, and re-spray with fresh material. Any contractor offering to “seal in the smell” is selling you a second problem.
Foam from major suppliers like Icynene and Demilec specifies mix ratios that a properly trained applicator monitors with a gun-mounted gauge or a daily ratio check. Ask any insulation contractor how they verify mix ratio on every batch. If the answer is vague, that’s your answer.
Discoloration and UV Damage in Uncoated Foam
Open-cell spray foam that turns yellow, orange, or a chalky brown is telling you it’s been exposed to ultraviolet light. Uncoated open-cell foam breaks down under UV within a few weeks. In a Las Vegas attic, where a vent gap can put an hour of direct sun on a section of foam every morning, this happens fast.
The consequence is not just cosmetic. UV-degraded foam loses its cellular structure, becomes brittle, and can powder off the surface. That’s a slow mechanical failure that starts at the surface and works inward, and it weakens the bond between the foam and the substrate above it.
Two fixes:
- Coat the foam. A UV-blocking coating (intumescent or latex-based, per the manufacturer’s spec) restores the surface. This is the correct fix when the foam below the surface is still sound. Test with a poke: if the foam underneath still looks firm and slightly resilient, coating is the right call.
- Remove and re-spray, then coat correctly. If UV degradation has gone deep enough that the foam is brittle throughout the top inch, the section needs replacement. That’s rare on interior attic surfaces and more common where a vent or a skylight well lets sun hit the foam directly.
If your home was insulated in the last three years and you can see yellow staining at a vent or roof penetration, call the install contractor and ask about their coating standard. If they don’t have one, that’s a useful signal. For more on how the correct install sequence looks, see Attic Insulation in Las Vegas.
How to Document a Problem Before You Call Anyone
The strongest position a homeowner can be in is a documented one. A contractor who knows you have photos with a tape measure, thermal images, and moisture readings adjusts their assessment accordingly. Here’s what to gather:
- Photographs with a tape measure for scale. Shoot the gap or defect with a tape measure visible in the frame. A gap without a reference is a guess; a gap with a tape is a measurement.
- Infrared images from a hot afternoon. Las Vegas summer afternoons (105°F and up) give the most contrast between air-channel breaks and sound foam. A basic handheld IR camera or IR thermometer is enough.
- A moisture meter reading at suspect areas. Note the reading and the location. A pinch meter at the bond line settles the question of moisture-caused delamination fast.
- The written install record. Date of install, product name, applicator name, and any batch numbers on the foam canisters. Every job should have left a record. If your original contractor didn’t provide one, that’s part of the problem.
- A dated log of the odor. If it’s a smell issue, note when it started, whether it’s stronger at certain times of day or in certain rooms, and whether ventilation makes any difference. That log is diagnostic.
When you call a contractor, describe the failure mode directly. “Off-ratio odor in the attic sprayed in March” gets you a far better conversation than “something’s wrong with the foam.” It also signals you’ll know if the diagnosis is being invented on the spot. A professional will walk through the document set with you.
The Remediation Spectrum: Patch, Re-Spray, or Remove
Not every problem needs the same correction. The criteria below place each failure on the right path.
Patch (spot-inject kit). Appropriate for isolated hairline gaps under 1/8″ at nail pops, top plates, or fixture penetrations. Also appropriate for small UV-surface blemishes where a coating will restore the barrier. Not appropriate for gaps at rafter bays, not appropriate for delamination, not appropriate for odor.
Re-spray (section removal and re-install). Appropriate for delamination across a single sheathing panel (inspection of the moisture source first), shrinkage gaps that run more than a few inches, and interior UV-degraded sections where the foam below is still sound. The failing section is cut out, the substrate is cleaned and dried, and new material is sprayed to spec.
Full removal and re-spray. Required for off-ratio foam, under-cured foam, and any case where odor persists past two weeks. Also required where moisture has entered the bond line and been trapped. Removal is mechanical (grinding or cutting) and requires negative air pressure and full containment. This is the expensive tier, and it’s the one you want the install warranty to cover.
Whichever path applies, the core sequence is the same: correct the underlying cause (temperature, moisture, contamination, mix ratio) before any new material goes in. A patch over a cold-application gap that will open again is a callback waiting to happen. Envelope Insulation works under a “sealed first, then insulated” standard, meaning air sealing at top plates, can lights, and penetrations goes in before any insulation, and blower-door readings (a pressurization measurement showing in one number how much air the building envelope is losing) are published before and after. That record is what you’d want in hand to prove the change was real.
What a Written Warranty Should Actually Cover
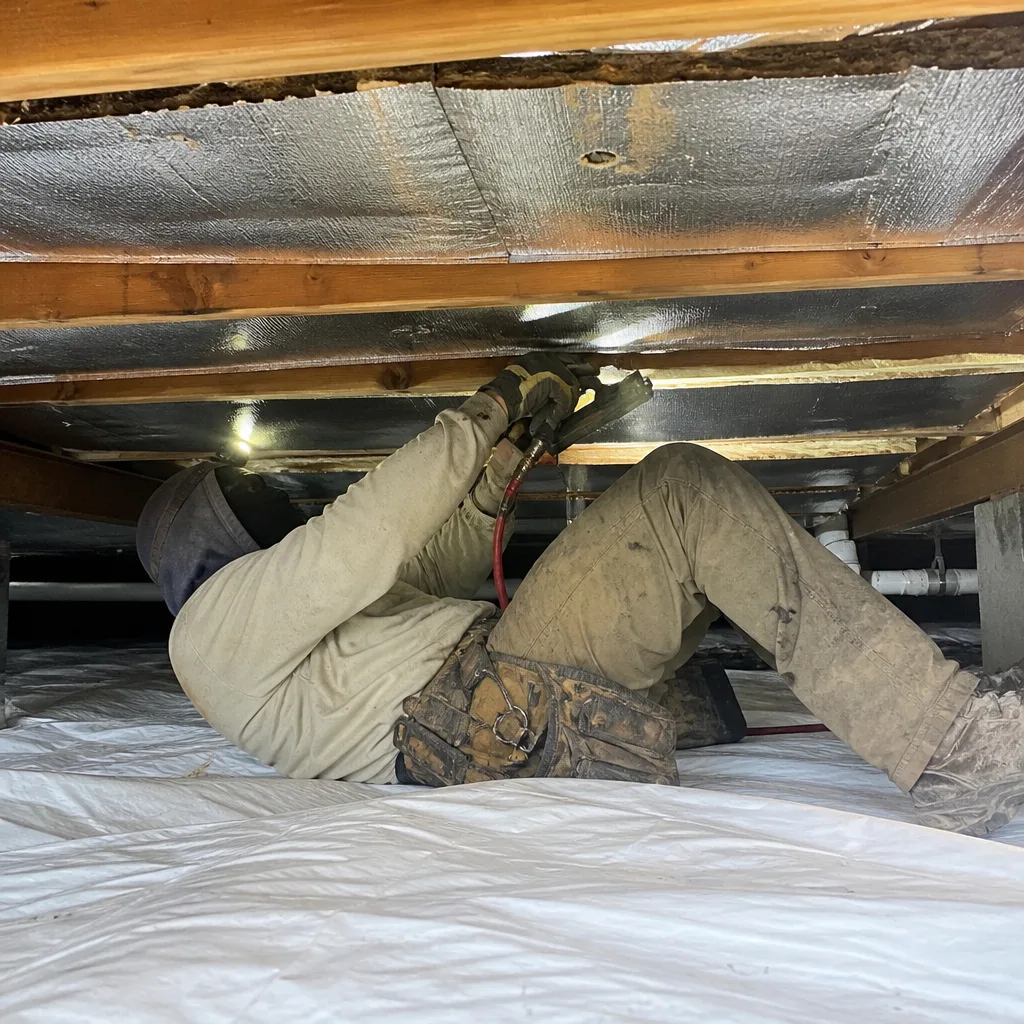
Most spray foam warranty disputes come from one gap: material versus labor. The manufacturer’s warranty covers the material. Your contractor’s warranty covers the labor. Homeowners need both, in writing, before work starts. Here’s what a well-drafted warranty should say:
- Material coverage: product name, batch or lot reference, and the manufacturer’s stated warranty period and exclusions. This is often transferable on resale, which matters if you sell.
- Labor coverage: a stated period for installation defects (shrinkage, delamination, off-ratio mix, under-cure) with a clear remedy: patch, re-spray, or full removal.
- Cause definition: which failures the contractor treats as an install defect versus an external cause like roof leaks or homeowner modification. Ambiguous cause language is where claims get denied.
- Documentation requirement: applicator’s name, install date, ambient temperature at spray, substrate moisture reading, and post-install inspection notes. If the contractor keeps these, ask for a copy at the end of the job. If they don’t keep these, ask why.
- Written scope and written warranty delivered before work starts. Not after. Not on request. Before any tool is lifted.
A good warranty names the specific failure modes it covers. “We guarantee our work” is not a warranty; it’s a slogan. Ask for the failure-mode list in writing. If a contractor won’t produce it, that’s the answer to whether you want them on your attic. For the broader picture on how your envelope should be built in the first place, visit the Envelope Insulation Las Vegas home page.
Common Mistakes to Avoid
- Painting over UV-discolored foam. Ordinary paint doesn’t stop UV degradation and doesn’t bond well to foam. Use a manufacturer-specified UV coating or none at all.
- Air-freshening an off-ratio odor. The smell isn’t an air problem, it’s a chemistry problem. Ventilation helps the cure phase but does nothing to unreacted material. It needs removal.
- Patching a rafter-bay gap with caulk. Caulk will not bridge the thermal break and often fails within a season. That gap needs a compatible spray patch or a re-spray of the section.
- Spraying over a damp deck in monsoon season. If the forecast has been wet and the attic deck hasn’t dried, no crew should be spraying. Wait for a dry window or insist on a moisture reading before the gun fires.
- Treating a holiday weekend install as routine. Las Vegas summers are brutal on crews and on curing foam. Holiday-weekend jobs sometimes compress prep. Confirm in writing that the schedule allows proper surface prep and lift sequencing.
- Skipping the blower-door record. Without a before-and-after reading, you have no way to prove performance, which is the whole reason you bought spray foam. Ask for it in writing before work starts.
- Accepting “it will cure out” as a diagnosis. It won’t, if the foam is off-ratio or under-cured. Six weeks is enough time to know.
When to Call a Professional
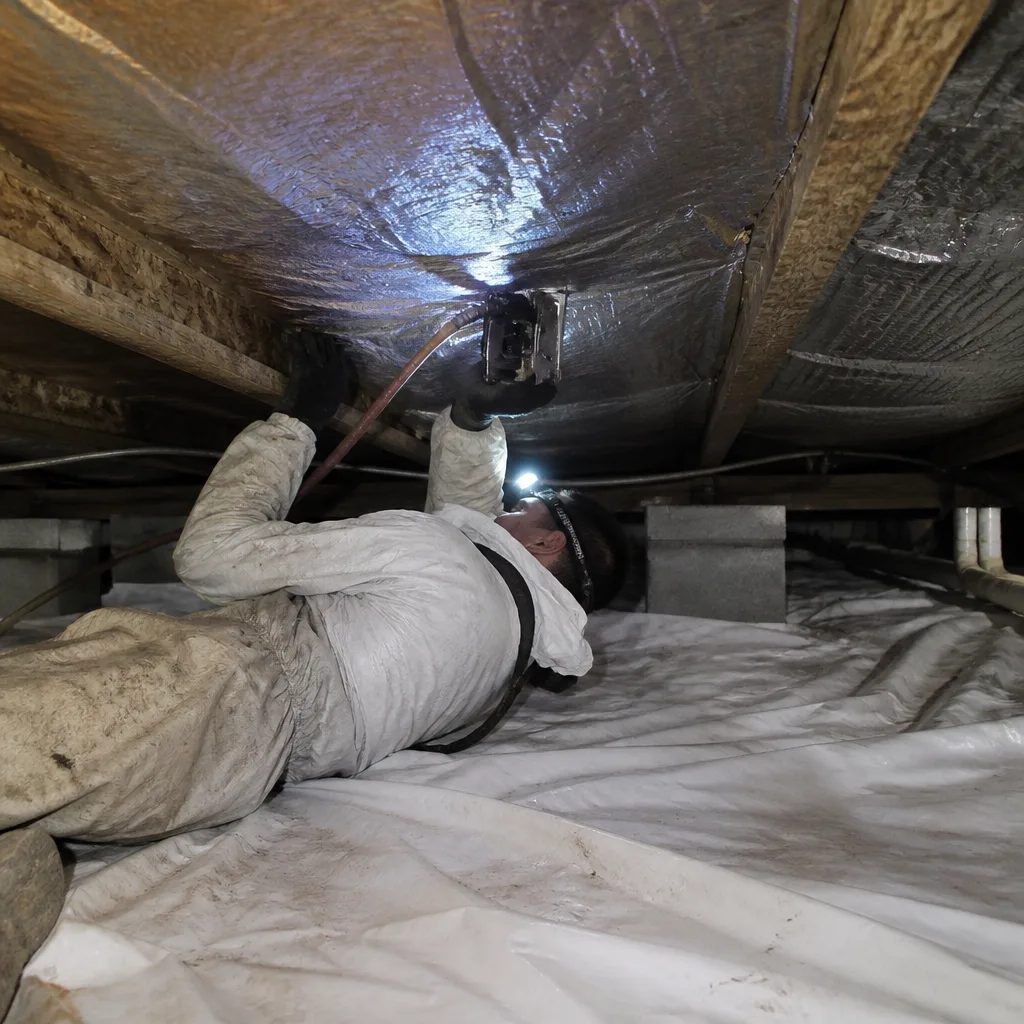
Call a professional if you see foam peeling or hollow-sounding in sheets, if odor persists past two weeks, if a visible gap runs the length of a rafter bay, or if any UV-degraded foam has begun to powder off the surface. All four point to a failure that needs mechanical repair, not a spot patch. Also call if you cannot locate the original install record; without it, diagnosis is guesswork and warranty claims get difficult. Envelope Insulation Las Vegas offers free estimates in Las Vegas and answers calls live, 24/7, at (833) 362-4859. We’ll walk your photos with you, name the failure mode against the evidence, and give you a written scope and written warranty before any tool starts. Under the Haven Standard, that’s Clause 1.
Frequently Asked Questions
That smell is chemical evidence of foam that mixed off-ratio or under-cured. The A and B components never fully reacted, and the leftover fraction keeps releasing into the air weeks after install. Ventilation and time won’t fix it. The correct remedy is removal of the affected foam and a re-spray with fresh material, verified at the gun. Call (833) 362-4859 to schedule an inspection and get a written scope.
Yes, if the gap runs the full depth of the bay. That’s a 100% thermal break across that bay, not a minor imperfection. A gap that runs a few inches or more needs a section re-spray, not a patch. Verify with a hot-afternoon IR reading: a temperature delta of 5°F or more at the gap confirms an active air channel. Call (833) 362-4859 for an exact quote on the repair, with estimates free.
No. Delamination means the bond failed, and spraying over the top traps the failure underneath and can lock in the moisture or contamination that caused it. The failing section needs to be cut out, the substrate cleaned and dried, and new foam applied. A contractor who sprays over delamination hasn’t solved the problem. Call (833) 362-4859 to schedule a diagnostic visit first.
That color shift is UV exposure on uncoated open-cell foam. Uncoated open-cell foam degrades under UV within weeks, which is a real risk in a Las Vegas attic with morning sun through a vent gap. The fix is a manufacturer-specified UV-blocking coating if the foam below is still sound, or removal and re-spray if the degradation has gone deep. Call (833) 362-4859 for an inspection and a written price before any work starts.
Patch kits are cheaper per square foot but only correct for isolated hairline gaps at nail pops and top plates. For a rafter-bay gap, delamination, or off-ratio odor, patching is not a repair; it’s a delay, and you’ll pay twice. Call (833) 362-4859 for a written scope that names the failure mode and the fix, with the price before any work starts.
Photos with a tape measure for scale, IR images from a hot afternoon, a moisture meter reading at any suspect bond line, and the original install record (date, product, applicator, batch if available). If you have an odor issue, a dated log of when it appeared and how it responds to ventilation is diagnostic. That document set lets us name the failure mode on the first visit. Call (833) 362-4859 with what you’ve gathered and we’ll walk it together.
The Bottom Line
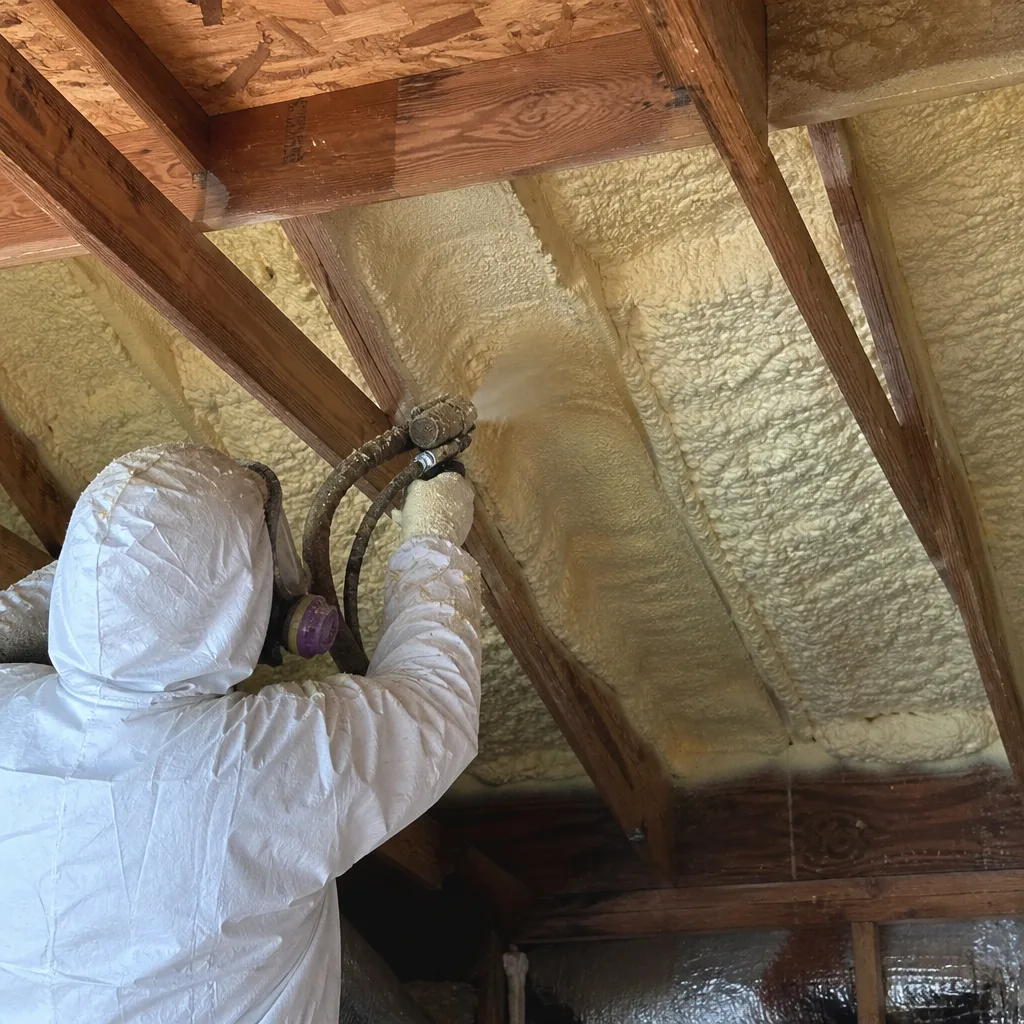
Spray foam problems fall into four failure modes: shrinkage gaps, delamination, persistent odor, and UV discoloration. Each has a specific cause and a specific fix. Shrinkage gaps at rafter bays are real thermal breaks and need a section re-spray, not a patch. Delamination means moisture or contamination at the bond line that has to be corrected before new foam goes in. Off-ratio odor means removal, not ventilation. UV color shift calls for a manufacturer-specified coating or a re-spray if the degradation is deep. Document before you call: photos with a tape measure, IR readings from a hot afternoon, moisture readings at the bond line, and the original install record. Ask any contractor for a written warranty that names the failure modes and separates material from labor. Call (833) 362-4859 for a free estimate – Envelope Insulation Las Vegas answers live, 24/7, and gives you a written scope and written warranty before any work starts.
Written by the team at Envelope Insulation Las Vegas.