
Last updated November 17, 2026
Attic Insulation Maintenance Checklist for Las Vegas Homeowners
Here’s a number that surprises most people: on a July afternoon, the air sitting above a Las Vegas attic floor can hit 160°F. In that heat, one separated duct boot joint leaking into the attic wastes more cooling energy over a single summer than you’d save by upgrading from R-30 to R-49 insulation. And here’s the problem. It won’t show up on any standard insulation inspection, because inspectors aren’t required to pressure-test ducts. This checklist is built around the three ways attic insulation actually fails in Las Vegas – UV-driven compression, pest displacement along thermal bridges, and duct boot separation – so you check what matters, not what looks dusty.
Quick Answer
A Las Vegas attic insulation maintenance check should happen twice a year: a duct-and-seal inspection in April before cooling season, and a depth-and-pest check in October after it. Most homes here need spot air-sealing and a duct boot review every few years and full insulation replacement only when depth has dropped well below R-38 or contamination is visible.
Table of Contents
- Why Las Vegas Attics Wear Out Faster Than Elsewhere
- The Three Failure Mechanisms Most Homeowners Never Check
- The 30-Minute Room-by-Room Ceiling Spot-Check
- The Five Duct-Boot and Penetration Points That Separate First
- Compression vs. Settling vs. Pest Displacement: Telling Them Apart
- Your Seasonal Timing Calendar
- What to Photograph and Keep Every Time
- Common Mistakes to Avoid
- When to Call a Professional
- Frequently Asked Questions
Why Las Vegas Attics Wear Out Faster Than Elsewhere
Attic insulation in Las Vegas lives under conditions that would shorten the life of almost any building material. The daily swing is the big one. A typical June day takes the attic cavity from around 85°F at dawn to 160°F by mid-afternoon and back down again after dark. That’s roughly a 70°F cycle, repeated every single day for four or five months. Materials expand, contract, and shift with each pass of that cycle. Adhesives soften. Sealants at joints crack. Duct tape that was rated for moderate climates lets go.
Then there’s the sun itself. Las Vegas averages about 294 sunny days a year. Ultraviolet exposure sneaks into an attic through skylight shafts, vent gaps, and any opening where a batt edge is visible from above. UV degrades the fibers and the facings on fiberglass batts, and once a batt loses loft it stops insulating at its rated value – often within two or three seasons.
And then the pests. Las Vegas has roof rats and field mice in nearly every established neighborhood, from the older streets of Paradise to newer builds out toward Summerlin and Henderson. They follow thermal bridges – the wood framing members that conduct heat from the attic into the wall cavity – and they use those paths to burrow into insulation. A single displaced batt at a top plate can open a channel that pulls conditioned air straight out of the house.
We’ve sealed and insulated thousands of Las Vegas homes and the pattern is consistent: homes built between 1995 and 2015, when the local building code required far less attic insulation than it does today, tend to show the most wear. Newer Las Vegas homes aren’t safe either. They’re just failing differently, mostly at the duct boots. If you’re deciding whether to repair or start fresh, our guide to Attic Insulation in Las Vegas walks through the cost math.
The Three Failure Mechanisms Most Homeowners Never Check
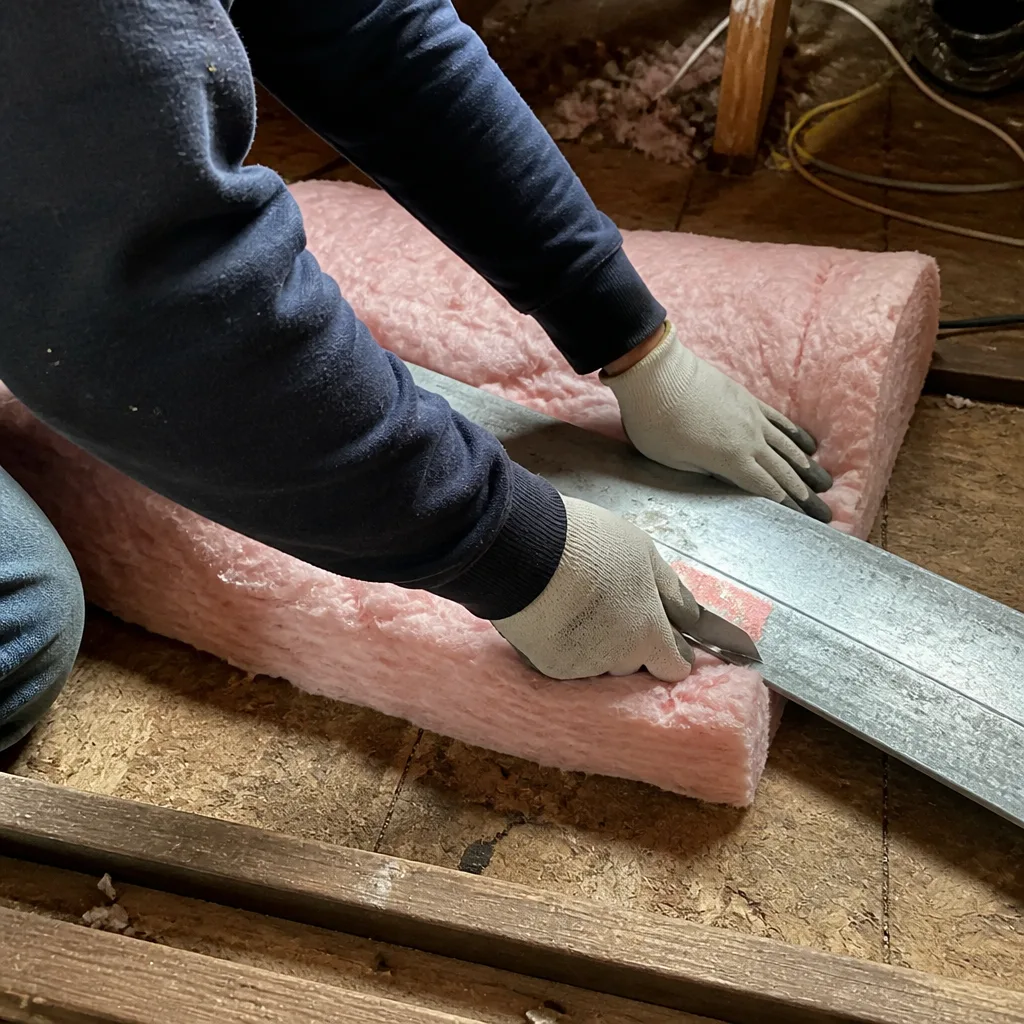
Every insulation problem we find in a Las Vegas attic traces back to one of three mechanisms. Knowing them changes what you inspect and when.
1. UV-driven batt compression
Skylight shafts, gable vents, and ridge vents let direct sunlight hit the insulation surface. Over a few summers, the exposed fiberglass batt compresses and loses thickness – sometimes three or four inches off the rated depth. Compressed batts don’t hold the same R-value, so the ceiling under those spots runs hotter. The fix is to seal the gap that let the UV in and restore the missing depth, not to blow more insulation over the top.
2. Pest displacement along thermal bridges
Rodents don’t tunnel randomly. They follow framing, plumbing penetrations, and electrical chases because those are the warmest paths through an attic floor. Where they travel, they compact insulation into the cracks and open air channels alongside it. You’ll see this as narrow channels of collapsed insulation tracking along ceiling joists and around pipes.
3. HVAC duct boot separation
Every supply register in your ceiling sits on a duct boot – the short metal or flex fitting that connects the duct run to the register. In Las Vegas, the constant heat cycle works the sealant and mechanical fasteners at those joints loose. When a boot separates, your air handler pumps cooled air straight into the 160°F attic instead of into your living room. That’s the leak that costs the most and hides the best. It’s also the reason we approach attics the way we do – see the differentiators in Envelope Insulation Las Vegas home for how the sequence works.
These three mechanisms look similar from the top of a ladder. They require different corrections. That’s why the checklist below trains you to distinguish them before you call anyone.
The 30-Minute Room-by-Room Ceiling Spot-Check
You don’t need a thermal imaging camera. A basic infrared thermometer – the point-and-shoot kind that costs $30 to $60 at any hardware store – will tell you which rooms are losing heat through the ceiling and which aren’t. The premise is simple: a warm interior ceiling means the insulation above it is thinner, compressed, or missing.
Do this in the late afternoon of a hot day, ideally after an hour or more of the AC running. Late July is the sharpest test.
- Set the AC to a steady temperature and let it run for 45 minutes without interruption. You want a consistent return-air reading before you start.
- Start in the room you use most – usually the living room or master bedroom. Scan the ceiling in a grid pattern, about three feet between readings, keeping the thermometer aimed within a foot of your eye level.
- Record the lowest and highest surface temperature in each room. A 6°F or more spread across one ceiling usually means there’s a gap or compressed area above it.
- Aim at the wall-to-ceiling joint above each exterior wall. This is where batt insulation most often pulls away.
- Check the ceiling inside closets, under stairwells, and above kitchen cabinets. These areas are skipped by most builders and often read much warmer than adjacent rooms.
- Look for a warm streak running linearly across the ceiling. A stripe-shaped hot spot almost always marks a duct boot that has separated or a duct run that’s lost its top insulation.
- Repeat across every room, and mark the two hottest rooms in your notes. Those are the ones that need the most attention when the real work starts.
Total time: about 30 minutes in a 2,000-square-foot home. The output is a written record of surface temperatures per room that you can compare against next spring’s readings. That comparison is how you catch a problem before it costs you a summer of cooling.
The Five Duct-Boot and Penetration Points That Separate First
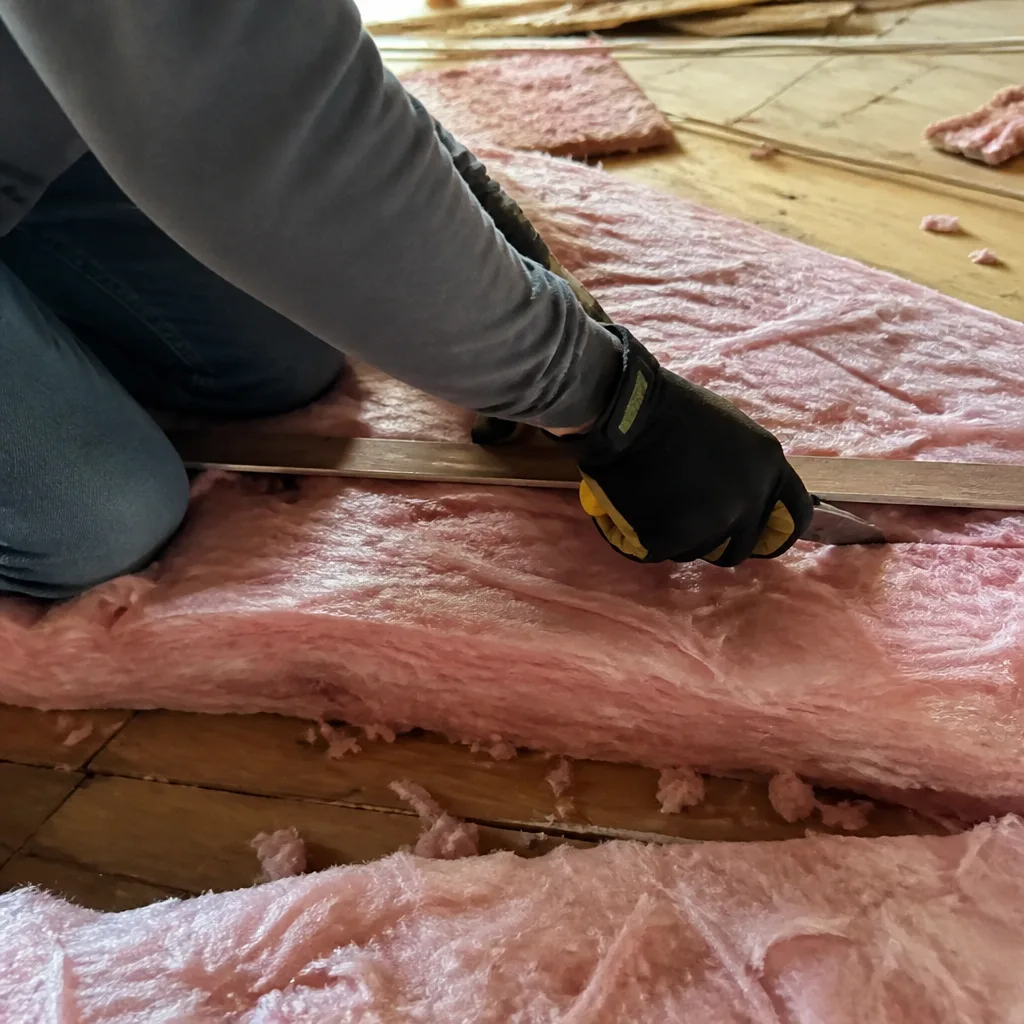
Of everything in a Las Vegas attic, the joints between ducts and the ceiling floor separate first. We’ve seen the same five failure points on thousands of homes. When you look up into the attic, these are the ones to check first:
- Duct boots to ceiling drywall. The boot sits on the ceiling and is secured with mastic and sometimes tape. Under daily heat cycles, mastic cracks. You’ll see a gap or a hairline separation where the boot meets the drywall.
- Duct run to boot collar. Where a flex duct connects to the metal boot collar, the inner liner and outer jacket are cinched with a tie. That tie works loose. When it does, cooled air dumps directly into the attic.
- Air handler plenum to cabinet. The fitting that connects the air handler cabinet to the supply plenum is a magnet for separation because the air handler vibrates and the plenum flexes with each cycle.
- Supply trunk to run takeoffs. Each branch of duct that splits off from the main trunk has a takeoff fitting. Every one of those is a potential leak as the sheet metal expands and contracts.
- Return plenum joints and filter grilles. Returns are often the leakiest of all because they pull unconditioned attic air back into the system. Every joint in the return path needs to be checked.
If you go into the attic to check these, stay on the walking path and never put weight on drywall between joists. Bring a bright light and a roll of mastic tape that you won’t use unless you know how to apply it – because applying the wrong thing at the wrong joint can make the leak worse. If you see clear separation at two or more of these points, that’s a call-a-professional situation, not a homeowner weekend project.
Compression vs. Settling vs. Pest Displacement: Telling Them Apart
These three problems look similar at first glance. All three create a thinner-looking layer of insulation. But each has a distinct signature, and each needs a different correction.
- Compression: The batting looks flattened in a flat zone, often directly under a skylight shaft, gable vent, or ridge vent, or where a box was stored on top of it. The fibers stay dense – pressed together, not scattered. Correction: restore the depth and seal whatever gap let UV or physical load in. Do not just add material on top.
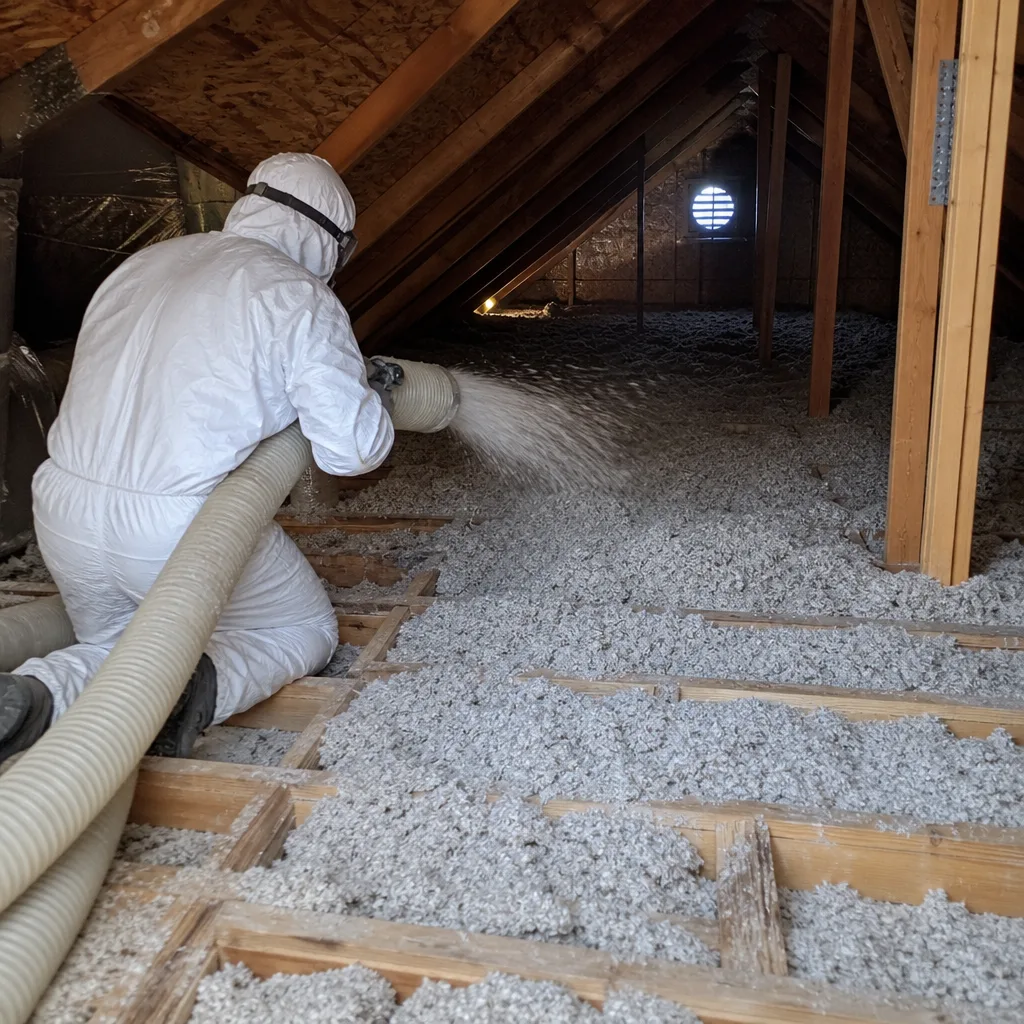
- Settling: Blown fiberglass or cellulose loses loft over time, uniformly across the attic floor. Depth drops everywhere by an inch or two. The surface looks even, no gaps, no tracks. Correction: top-up. This is also the one you can time to a normal maintenance cycle, not an emergency.
- Pest displacement: The batting shows channels – narrow troughs where insulation has been pushed to the sides – generally tracking along joists, plumbing, or electrical chases. You’ll often see droppings, nesting material, or grease marks along the wood framing. Correction: this is first a pest-control job, then an insulation restoration job. Mounting new insulation without resolving the rodents is a waste of money.
Owens Corning and GreenFiber both publish depth-to-R-value tables. If your measured depth is under 10 inches for blown fiberglass or under 11 inches for cellulose, your attic is below Las Vegas’s R-38 code minimum for new construction. Bring a yardstick into the attic and check depth at four corners and the center.
Your Seasonal Timing Calendar
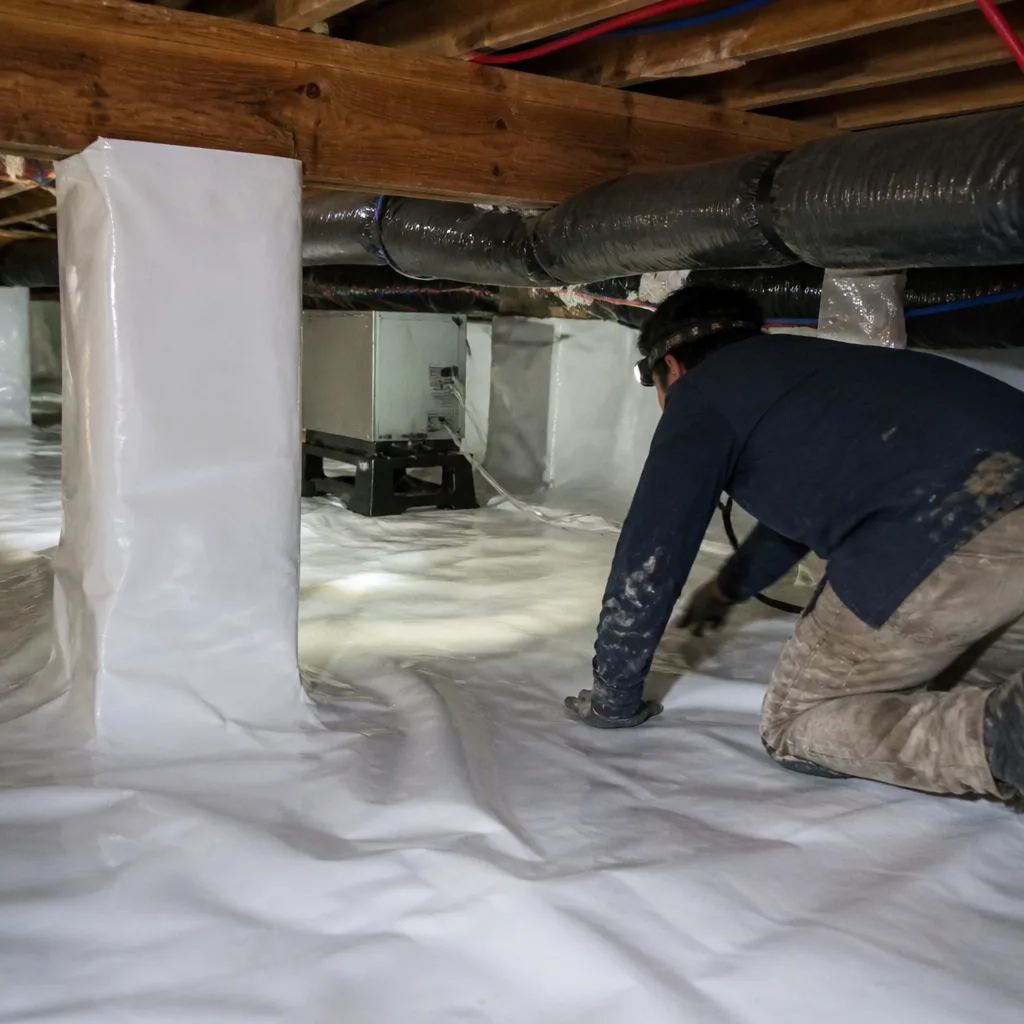
Las Vegas gives you two real windows to do this work: April, before cooling season, and October, after it. Here’s what belongs in which.
April – before the cooling season
- Infrared ceiling check in every room, early morning before sun loads the roof.
- Full duct boot and air handler inspection, since these need to be sealed before they run all summer.
- Air sealing of top plates, can lights, and penetrations. Any air sealing has to happen before you add insulation – not after.
- Confirm cooling season readiness: attic fan operation, thermostat return-air reading, and register airflow.
- Photograph depth at four attic quadrants. Date the photos.
October – after the cooling season
- Infrared ceiling check to compare against April readings.
- Pest inspection along thermal bridges and penetrations. Fall is when rodents look for warmth, and Las Vegas attics run warm through November.
- Depth check at four quadrants. Compare against April.
- Compression inspection under skylights and vents – summer UV damage shows up now.
- Duct boot re-check, since summer worked all the joints loose.
Some homes also warrant a mid-season check after the first hot week of July, but for most Las Vegas homes the two-window schedule is enough. If your home has a spray foam attic, the schedule is different because the foam itself isn’t what wears – the return ducts and air handler inside the foam envelope are. See Spray Foam Insulation in Las Vegas for what to check there.
What to Photograph and Keep Every Time
The single most useful thing you can do for the long-term health of your attic is to keep good records. It’s also the easiest way to prevent the next contractor from overselling you a replacement you don’t need.
- Four dated photos of insulation depth at the four attic quadrants – front-left, front-right, back-left, back-right. Lay a yardstick vertically against the insulation and shoot straight down. Include the date stamp from your phone.
- Two duct boot photos – the closest one to any room with a warm streak, and the air handler cabinet-to-plenum connection.
- One scan of your infrared ceiling readings – written down per room, with date and outdoor temperature noted.
- Any written scope, quote, or warranty you’ve received – filed in a folder you’ll actually find again.
- Before-and-after blower-door test figures, if you had one. A blower-door test – a pressurization reading that shows, in one number, how much air your building envelope is losing – is the single most honest way to measure whether previous work succeeded.
Ask any contractor you hire for a written price, a written scope, and a documented photo record of the finished job. Under Haven Standard Clause 1, no work starts without a written price in hand. That’s the document that keeps future-you from getting a surprise.
Common Mistakes to Avoid
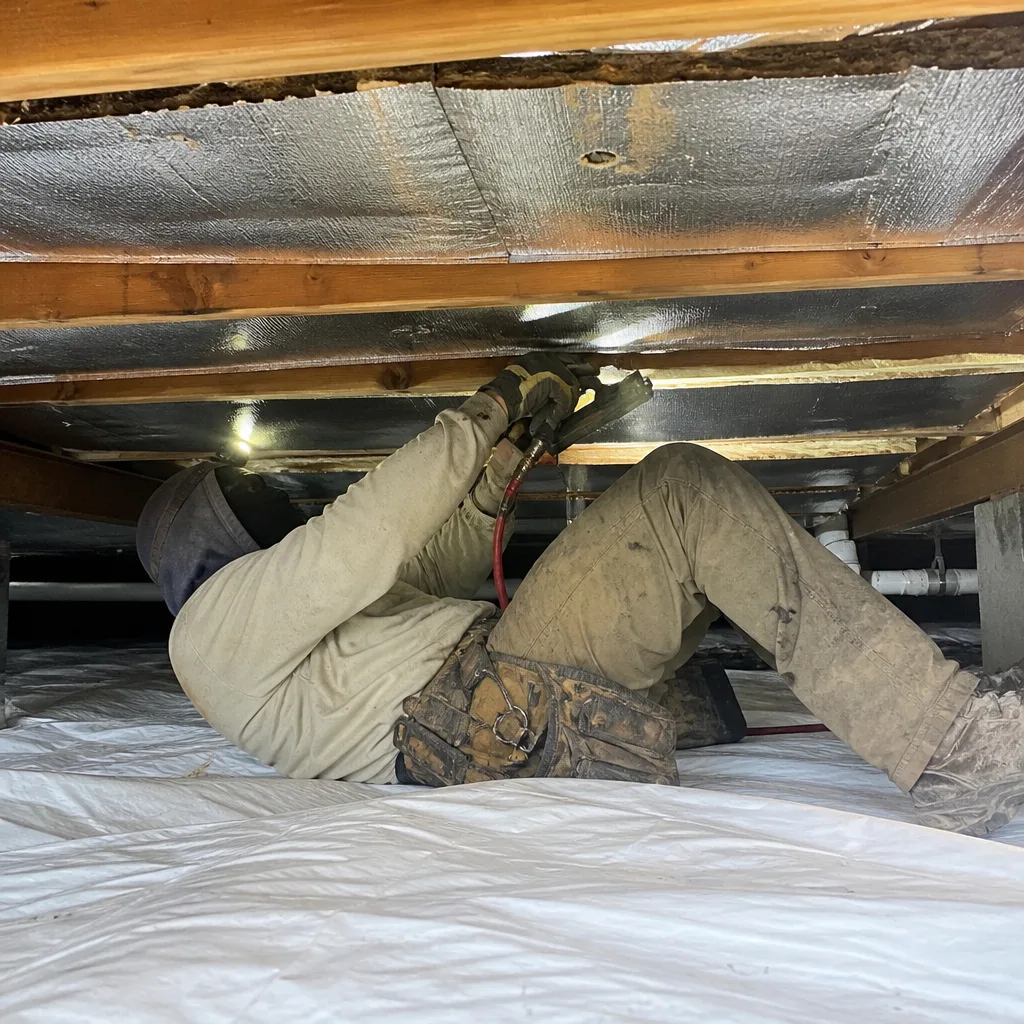
- Blowing new insulation over an unsealed attic floor. This is the most common and most expensive mistake in Las Vegas. Air moves through the unsealed gaps anyway, and the new insulation just hides the leak.
- Judging insulation by how it looks, not by measured depth. A neat-looking layer of insulation can be half as thick as it should be. Bring a yardstick.
- Skipping the duct boots because they didn’t show up in the last inspection. Standard insulation inspections aren’t required to pressure-test ducts. Check them yourself with the infrared thermometer.
- Treating pest channels with new insulation before dealing with the rodents. A Summerlin homeowner we worked with had added 6 inches of blown fiberglass in 2023 to insulate over active rat tracks. By spring 2024 the rats had displaced all of it. Pest control first, then insulation.
- Ignoring the ceiling under skylights and vaults. UV-loaded batts are invisible from a straight-down glare. Use the IR thermometer under any skylight shaft every check.
- Discarding old photos or quotes. Without dated documentation, you have no way to prove a problem is new or old, and no way to compare what a contractor is proposing against what was actually done before.
- Assuming newer construction is safe. Las Vegas homes built between 2015 and 2023 are prone to duct boot separation that has nothing to do with build quality. The heat cycle does it.
When to Call a Professional
Some of this checklist belongs to you. Some of it doesn’t. Call a professional if you find clear duct boot separation at two or more registers, if you can see daylight through the ceiling drywall from the attic side, if you have active rodent activity around the air handler, or if measured depth at any quadrant is under R-30 and the home is pre-2015. Call us as well before you commit to a full insulation replacement – our team will read any competing written estimate with you, walk you through the readings, and tell you honestly whether a top-up plus air sealing would solve the problem for less.
Envelope Insulation Las Vegas offers free estimates. Sealed first, insulated second is the order we work in, and it’s the order the two of us would want if we were calling. That’s why we never blow insulation over an unsealed attic floor. If your attic has been evaluated recently, ask for the blower-door numbers. If they aren’t published, we’ll run them and show you the change in one figure. Crawl space and vapor issues that feed the same envelope are worth checking in the same visit – see Crawl Space Encapsulation & Vapor Barrier in Las Vegas. Call (833) 362-4859 for a free estimate.
Frequently Asked Questions
Twice a year: April, before cooling season, and October, after it. The daily 70°F attic temperature swing and 294 sunny days a year work the material faster than in most US climates. Many homes also benefit from a quick mid-July check after the first hot spell if the AC seems to be running longer than usual.
A top-up is usually enough if the existing insulation is clean, uncompressed, and simply thinner than R-38. Replacement is the right call when the insulation is heavily compressed under skylights or vents, contaminated with pest droppings, or has lost depth unevenly across quadrants. The infrared spot-check and a four-quadrant depth measurement tell you which case you’re in. Call (833) 362-4859 for a free second opinion on any estimate you’ve been given.
Blown fiberglass and cellulose settle naturally, typically an inch or two over several years. That’s a top-up case. If depth loss is concentrated under skylights or vents, it’s UV compression, and the underlying gap needs sealing. If it’s patterned along joists and pipes, it’s pest displacement.
Yes. A single separated boot joint dumping cooled air into a 160°F attic can waste more cooling energy over one summer than you would save by upgrading from R-30 to R-49. That’s why we include duct boot checks in every attic assessment. Call (833) 362-4859 for a free estimate that includes a duct boot and air handler review.
For routine maintenance, no. A blower-door test is most useful when you want to measure whether previous work succeeded, or when you need a documented number to compare a contractor’s proposal against. Every job we complete on an applicable home includes before-and-after blower-door readings. That’s how you see the performance change you paid for in one figure.
Air sealing can lights, top plates, and plumbing penetrations is straightforward for a careful homeowner with the right materials. What you shouldn’t do yourself is anything involving the electrical connections inside can lights, gas appliances in the attic, or duct boots you’d have to disconnect to seal. Those require a licensed trade. The risk of doing them wrong is real – a badly sealed can light or an overheated chase can create a fire hazard.
The Bottom Line
Attic insulation in a Las Vegas home isn’t a set-and-forget product. It compresses under UV exposure, displaces along pest paths, and gets outrun by duct leaks that most inspections never test for. Check your attic twice a year – April and October – with an infrared thermometer, a yardstick, and a phone camera. Photograph depth at four quadrants, seal air leaks before adding insulation, and get the blower-door numbers when you can. If you’re in doubt about what you’re seeing, Envelope Insulation Las Vegas will look with you and put the numbers in writing. Call (833) 362-4859 for a free estimate.
Written by the team at Envelope Insulation Las Vegas.