Last updated November 17, 2026
DIY vs Professional Radiant Barrier Installation: What’s Safe to Do Yourself
The foil rolls out clean. The staple gun fires fine. By sundown the attic looks finished, and you cross it off the list. Here’s what the attic won’t tell you: if the shiny surface faces the wrong way or the material sags until it touches the deck, you’ve installed something that tests at roughly the same performance as bare roof decking. No warning light, no obvious defect. You find out in July, when the bill arrives and nothing has changed. This guide covers what a careful homeowner in Las Vegas can genuinely handle, what should never be a weekend project, and the one measurement that tells you whether the job worked.
Quick Answer
Yes, you can safely install perforated radiant barrier yourself in a Las Vegas attic, but only under narrow conditions: an accessible single-slope rafter layout, at least 30 inches of clearance, no existing blown-in insulation to work around, and an early-morning start before deck temperatures climb. The two things that determine whether the job actually performs, facing orientation and air-gap preservation, are also the two things DIY installs most often get wrong without any visible sign. If your attic has truss cross-members, existing insulation, or HVAC equipment in the way, that’s professional territory.
Table of Contents
- How radiant barrier actually works (and why orientation matters)
- What a DIY installer can safely execute
- Conditions that require professional installation
- The one measurement you must take and document
- Las Vegas heat safety: the 160°F attic problem
- What a professional install includes that you can’t self-certify
- Common mistakes to avoid
- When to call a professional
How Radiant Barrier Actually Works (and Why Orientation Matters)
Radiant barrier doesn’t insulate the way fiberglass or cellulose does. It blocks radiant heat transfer. The foil has a low-emissivity surface, meaning it radiates very little of the heat it absorbs. In a Las Vegas attic, the roof deck can hit 160°F on an August afternoon, and that heat radiates downward toward the ceiling below. A radiant barrier interrupts that radiant path before it reaches the insulation and drywall.
The physics only work under two conditions:
- The low-emissivity surface faces the open air gap. In most attics, that means the shiny side faces down toward the living space, not up against the deck. Facing it the wrong way lets the deck conduct heat straight into the foil, and the barrier stops doing its job.
- The air gap stays open. Radiant barrier needs an unobstructed space between the foil and the surface it’s protecting. Sag the material until it touches the deck or the joist, and you’ve created a conduction path that cancels the radiant benefit entirely.
Neither failure produces a visible defect. The foil still looks installed. That’s exactly why this product rewards careful work and punishes shortcuts silently. If you’re weighing radiant barrier against other options for the same attic, our guide to attic insulation in Las Vegas explains how radiant barriers compare with blown-in and batt products for a climate like ours.
What a DIY Installer Can Safely Execute
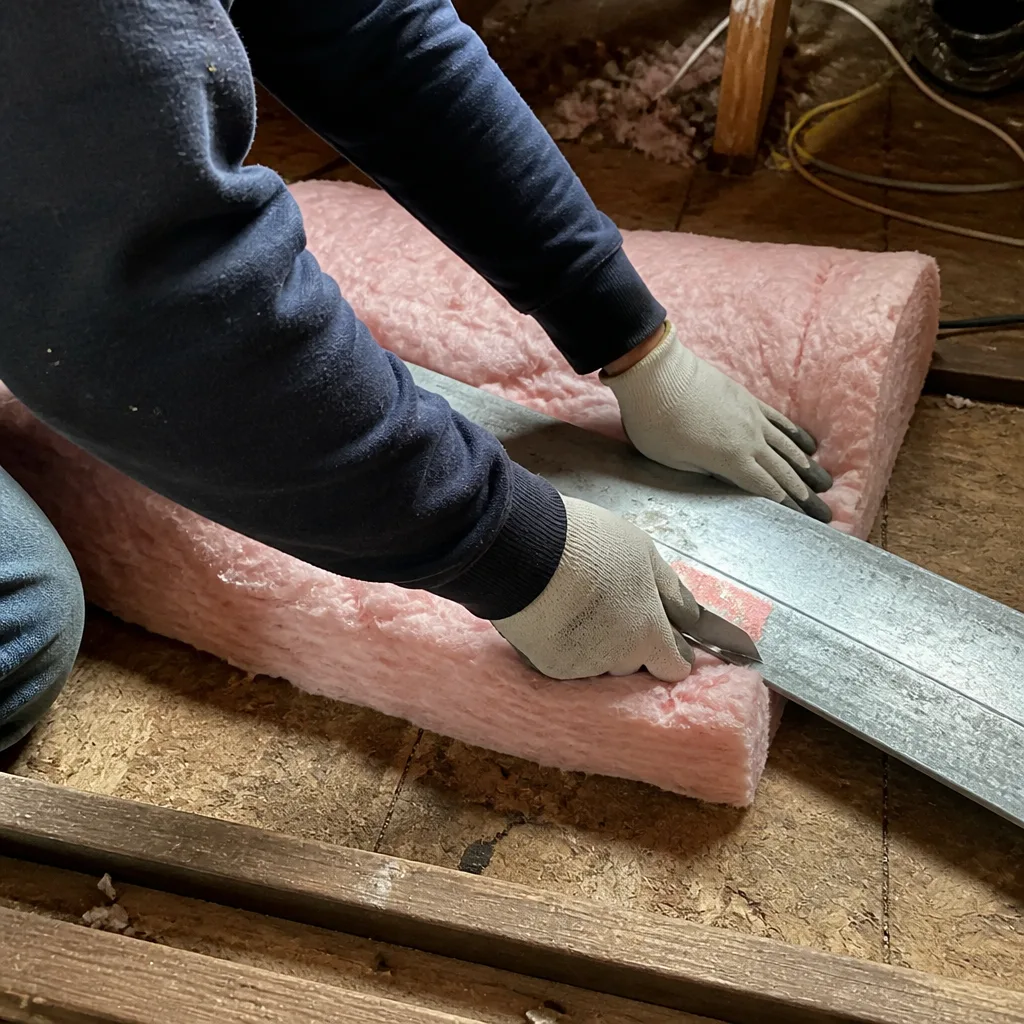
There is a real category of radiant barrier job that a careful, physically able homeowner can complete correctly. It’s narrower than most product packaging suggests. Here’s the checklist we’d give a friend who insisted on doing it themselves.
- Accessible single-slope rafter layout. The rafters run in one clear direction with no cross-bracing to interrupt a continuous run of foil.
- Minimum 30 inches of clearance between the top of the joist and the underside of the roof deck at the lowest point, so you can move without compressing the material against the deck.
- Perforated foil only. Perforated radiant barrier lets moisture vapor pass through, which matters in a climate where a cold night can follow a hot day and condensation forms on cool surfaces. Solid foil traps moisture against the deck and invites rot.
- No existing blown-in insulation on the attic floor that you’d have to move, re-level, or work around to keep the air gap intact.
- No recessed lights, HVAC ductwork, or mechanical equipment directly under the run that requires clearance.
If all five conditions are met, draping perforated foil across the rafters and stapling it so the shiny side faces down is workable. If any one of them fails, the geometry starts fighting you, and that’s when a weekend project turns into a call. For the broader context on how this fits into a full envelope strategy in Las Vegas, our home insulation overview lays out where radiant barrier sits relative to air sealing and attic insulation.
Conditions That Require Professional Installation
Some attics look simple until you’re inside them. These are the conditions where we regularly see DIY attempts fail, and where a professional install earns its cost.
- Truss-framed attics with cross-members. Trusses have diagonal webs and horizontal chords that break up a clean run of rafters. Continuous coverage requires cutting and fitting around each member, and each cut is a chance for a gap or a sag. Getting it right takes practice.
- Attics with existing insulation. When blown-in insulation is already on the floor, the air gap above it has to be engineered, not assumed. The foil must sit high enough that it clears the insulation surface and never rests against it.
- Attics with HVAC equipment. Ductwork, air handlers, and supply plenums sit in the attic and require clearance. Foil that touches hot ducts or traps air around an air handler can create problems that a professional plans for and a DIY run typically misses.
- Attics with difficult access. If the only entry is a small hatch through a closet or a tight kneewall, maneuvering full rolls of foil while maintaining alignment is unsafe and impractical.
- Roofs with complex geometry. Hip roofs, dormers, and valleys create angled surfaces where the facing orientation flips and the air gap changes. Each transition needs to be handled correctly.
In our experience, most Las Vegas attics fall into at least one of these categories, especially in homes built between 2015 and 2025 where builder-grade truss framing dominates. That’s not a reason to skip the improvement. It’s a reason to plan it correctly.
The One Measurement You Must Take and Document
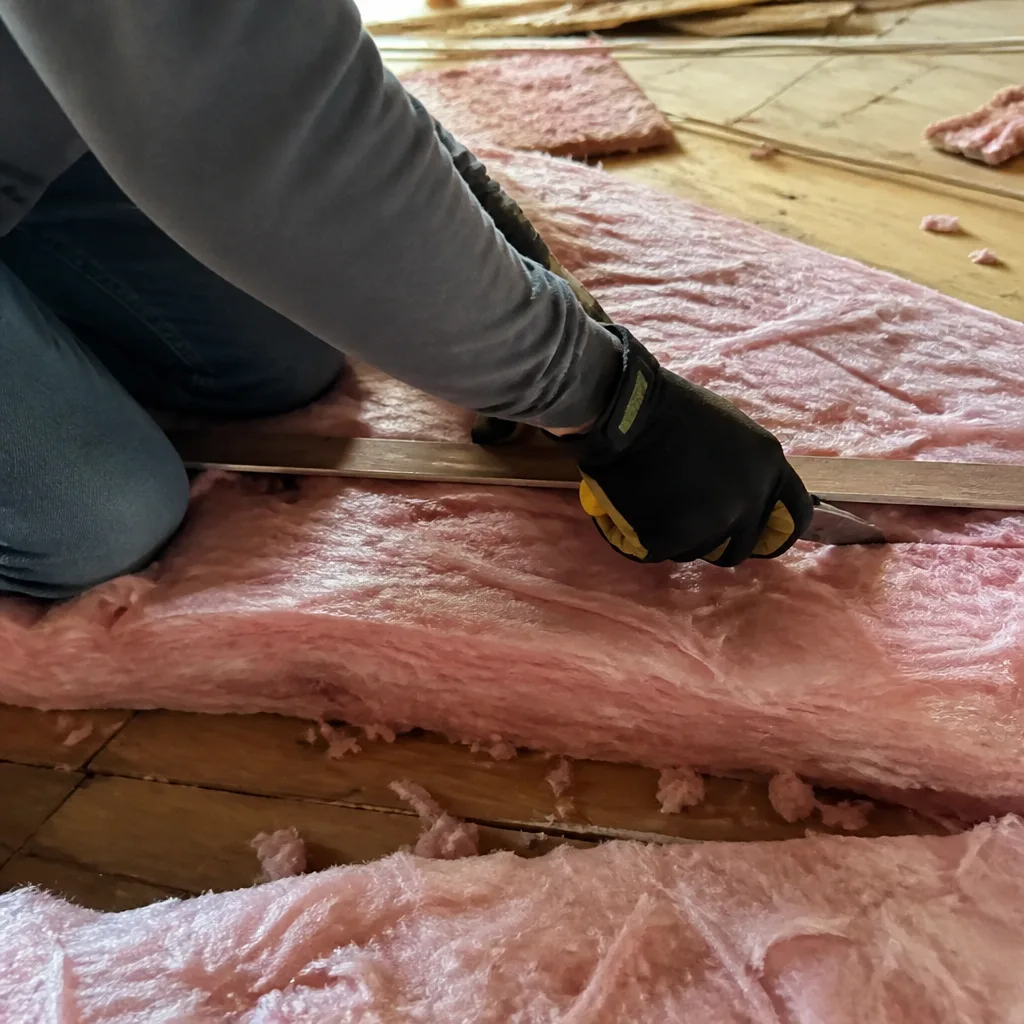
If you’re doing this yourself, this is the step that matters more than any other, and almost nobody does it. Take a tape measure into the attic after installation and record the air-gap dimension at three different rafter bay locations. Then photograph each one with the tape visible.
Here’s why it matters. Radiant barrier performance depends entirely on the gap staying open. If your configuration has one inch of gap at the ridge and a quarter inch at the eave, the sag has already closed most of your performance. Without a documented baseline, you have no way to know whether a later problem is the product, the install, or something else.
- Pick three rafter bays spread across the attic: one near the center, one near each end.
- Measure the distance from the foil surface to the nearest surface it could touch (usually the deck above or the joist below).
- Photograph the tape measure against the gap. Note the bay location.
- Store the photos with the date. Save them somewhere you’ll find them in two years.
This documented baseline is also what a contractor would want to see if you called for a second opinion. It tells the story of the install without needing to pull anything apart. It’s the same principle behind the before-and-after records we deliver on our own work.
Las Vegas Heat Safety: The 160°F Attic Problem
This is the part of the DIY conversation that too many guides skip. In Las Vegas, attic deck temperatures between May and September routinely hit 160°F. That’s hot enough to cause second-degree burns on contact and hot enough to push a person into heat illness faster than they’ll notice the warning signs.
If you’re installing radiant barrier yourself in Las Vegas, here are the constraints we’d set:
- Start at first light and be out of the attic by 9 a.m. Deck temperature rises steeply after sunrise. The window between 5 and 9 a.m. is genuinely workable. By 10 a.m. in July, it isn’t.
- Stop if deck temperature reaches 130°F. Carry an infrared thermometer. Any attic surface reading at or above 130°F is a signal to get out, not push through another roll.
- Work with a spotter below. Someone outside the attic who can hear you, bring water, and call for help if you stop responding. Heat illness in an attic escalates quickly and quietly.
- Hydrate before you climb, not just during. A liter of water before you go up is worth more than a bottle in the attic with you.
- Never work alone on a day above 100°F. Las Vegas has dozens of those days a year. The job can wait for a cooler morning.
Wear long sleeves, gloves, and knee pads even in the heat. Contact with aged roof deck or staples causes burns and lacerations, and a small injury at 160°F attic temperatures can turn serious fast.
What a Professional Install Includes That You Can’t Self-Certify
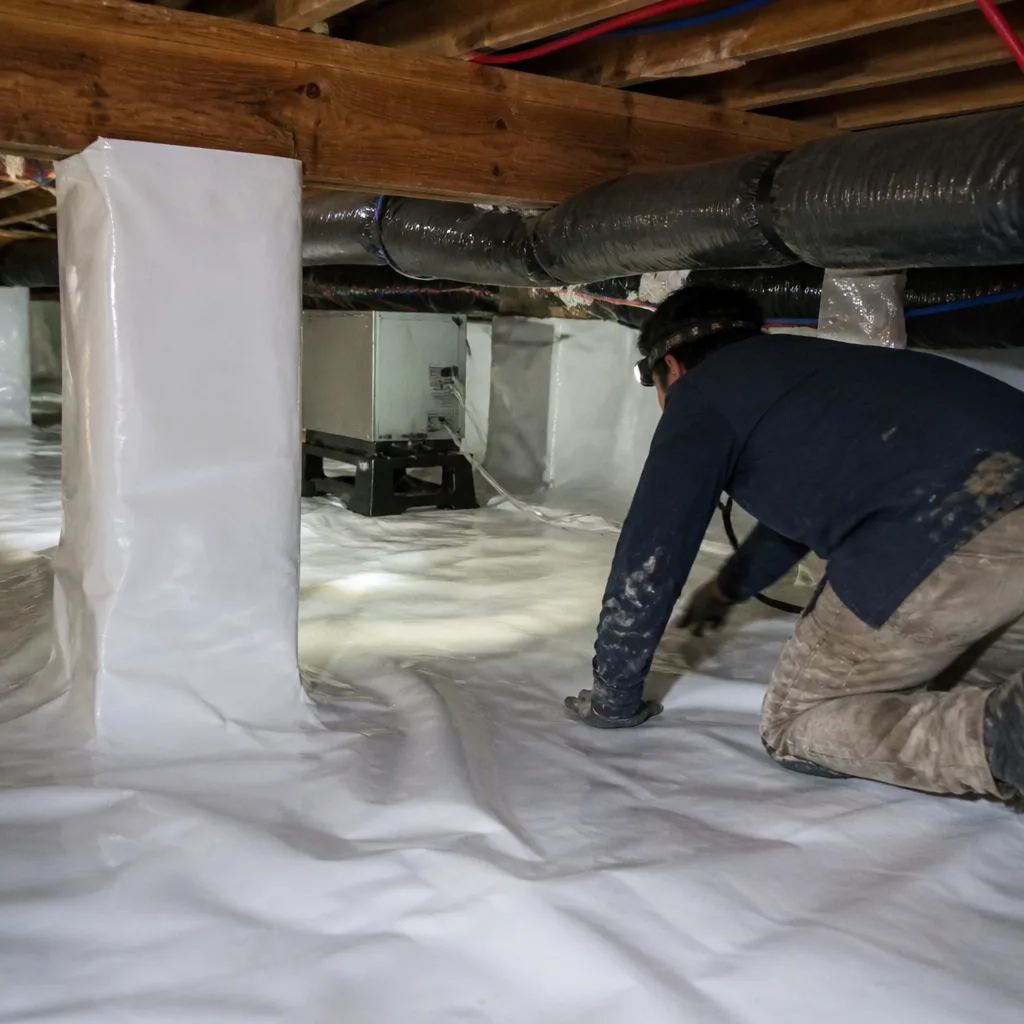
This is the honest difference between a DIY install and a professional one. A DIY install can look identical to a professional install. What it can’t do is produce the documentation and the accountability.
A professional installation of radiant barrier in a Las Vegas home should include:
- A solar-noon temperature log on installation day. Afternoon deck and attic temperature readings taken at solar noon (roughly 1 p.m. PDT in summer) with the barrier in place. This establishes the starting condition of the finished install, not a guess.
- A signed installation record with product specifications and measured air gaps. The product manufacturer, product name, roll batch, and the air-gap dimensions at multiple rafter bays, signed by the installer.
- A written warranty backed by an identifiable contractor. If the material sags or the facing orientation is later called into question, there’s a named party to call. A homeowner doing their own work has nowhere to escalate to but themselves.
- Air sealing before or alongside the radiant barrier, if relevant. Radiant barrier addresses radiant heat. It does nothing for air leaks through the top plate, can lights, or penetrations. Under The Haven Standard, we don’t install any ceiling insulation product on an attic floor that hasn’t been sealed first, and the same logic applies here: radiant barrier performs better when the attic isn’t bleeding conditioned air past it.
If you’re considering radiant barrier alongside other envelope work, our team also handles crawl space encapsulation and vapor barrier installation in Las Vegas and spray foam insulation in Las Vegas; both interact with attic performance and are worth planning together rather than in sequence.
Common Mistakes to Avoid
- Facing the shiny side up against the deck. This is the single most common DIY error and it produces a product that performs like bare decking. The low-emissivity surface needs to face the air gap, which in most Las Vegas attics means down.
- Using solid foil instead of perforated. Solid foil traps moisture against the roof deck. In a climate with dry hot days and cool desert nights, that trapped moisture can condense and eventually rot framing. Perforated only.
- Letting the material sag until it touches something. The gap is the entire product. Staples spaced too far apart, or foil draped without tension, produces a barrier that’s visually installed and functionally absent.
- Working through midday heat. A 160°F attic in July in Las Vegas isn’t a “push through it” environment. It’s a “leave by 9 a.m.” environment. Heat illness in attics is real and escalates faster than most people expect.
- Skipping air sealing as a “separate job.” Radiant barrier on an attic floor with unsealed top plates and open can lights is a partial fix at best. The pathway that matters most is air leakage, and the barrier does nothing about it.
- Not documenting air gaps. Without measurement and photos at installation, there’s no baseline. When performance questions arise later, you’re starting from zero.
- Installing over existing insulation without engineering the gap. Radiant barrier over blown-in insulation needs a designed clearance. Laying it directly on top compresses the insulation, kills the barrier, and wastes the material cost.
When to Call a Professional
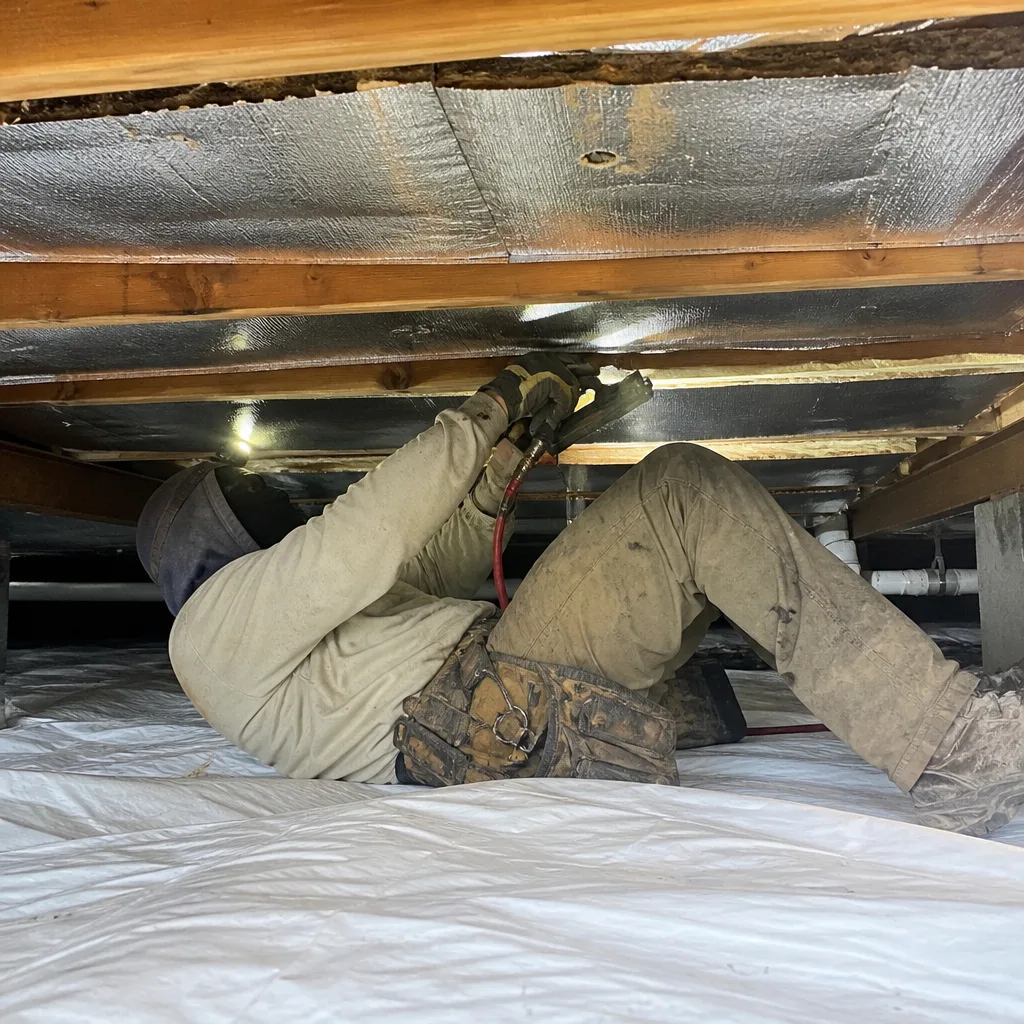
Call a professional if your attic has truss framing with cross-members, existing blown-in insulation, HVAC equipment, restricted access, or complex roof geometry. Call if you’re uncertain about facing orientation. Call if the attic deck temperature on the day you plan to work is projected to exceed 90°F outside, which in Las Vegas means most days between May and September. And call if you want the install tied to a signed record and a written warranty rather than a mental note. Envelope Insulation Las Vegas offers free estimates in Las Vegas; call (833) 362-4859 and we’ll bring a written price, a written scope, and a written warranty before anyone touches the attic. If you already have a quote in hand from another contractor, we’ll read it with you as a free second opinion.
Frequently Asked Questions
It can be, if your attic meets the narrow conditions where DIY works: single-slope rafter layout, 30 inches of clearance, perforated foil, and no existing insulation or HVAC equipment in the way. Under those conditions a careful homeowner can install it correctly. If any of those conditions fail, the probability that DIY installs the product incorrectly rises sharply, without any visible sign of the failure.
Most radiant barrier installations in a typical Las Vegas single-family home run between roughly $1.20 and $2.50 per square foot of attic floor area, with the total landing somewhere in the $1,500 to $3,500 range depending on attic geometry, access, and whether air sealing is included. Homes with truss framing or existing insulation trend toward the higher end. Call (833) 362-4859 for an exact written price on your specific attic.
The low-emissivity (shiny) side should face the open air gap, which in most Las Vegas attics means facing down toward the living space. Facing the shiny side up against the roof deck defeats the product’s purpose: the deck conducts heat straight into the foil and the barrier stops blocking radiant heat.
Yes, but the air gap has to be engineered, not assumed. The barrier must sit well clear of the insulation surface so it never contacts it, and installation over existing insulation is one of the conditions where we recommend a professional install. Compressing the foil against insulation or against the deck turns the product into dead weight.
Radiant barrier can meaningfully reduce attic heat gain, and in a Las Vegas attic with a 160°F summer deck, blocking that radiant path takes a measurable load off the air conditioner. What it can’t do is fix air leakage through top plates, recessed lights, or penetrations. The full benefit shows up when radiant barrier is installed alongside air sealing, not in place of it.
Las Vegas attic deck temperatures between May and September routinely reach 160°F, and attic air easily exceeds 140°F in the afternoon. That’s not a safe work environment for a DIY install outside an early-morning window. If you’re installing yourself, plan to be out of the attic by 9 a.m., carry an infrared thermometer, stop at 130°F deck surface temperature, and never work alone. If the timing doesn’t work, call (833) 362-4859 and we’ll schedule it.
The Bottom Line
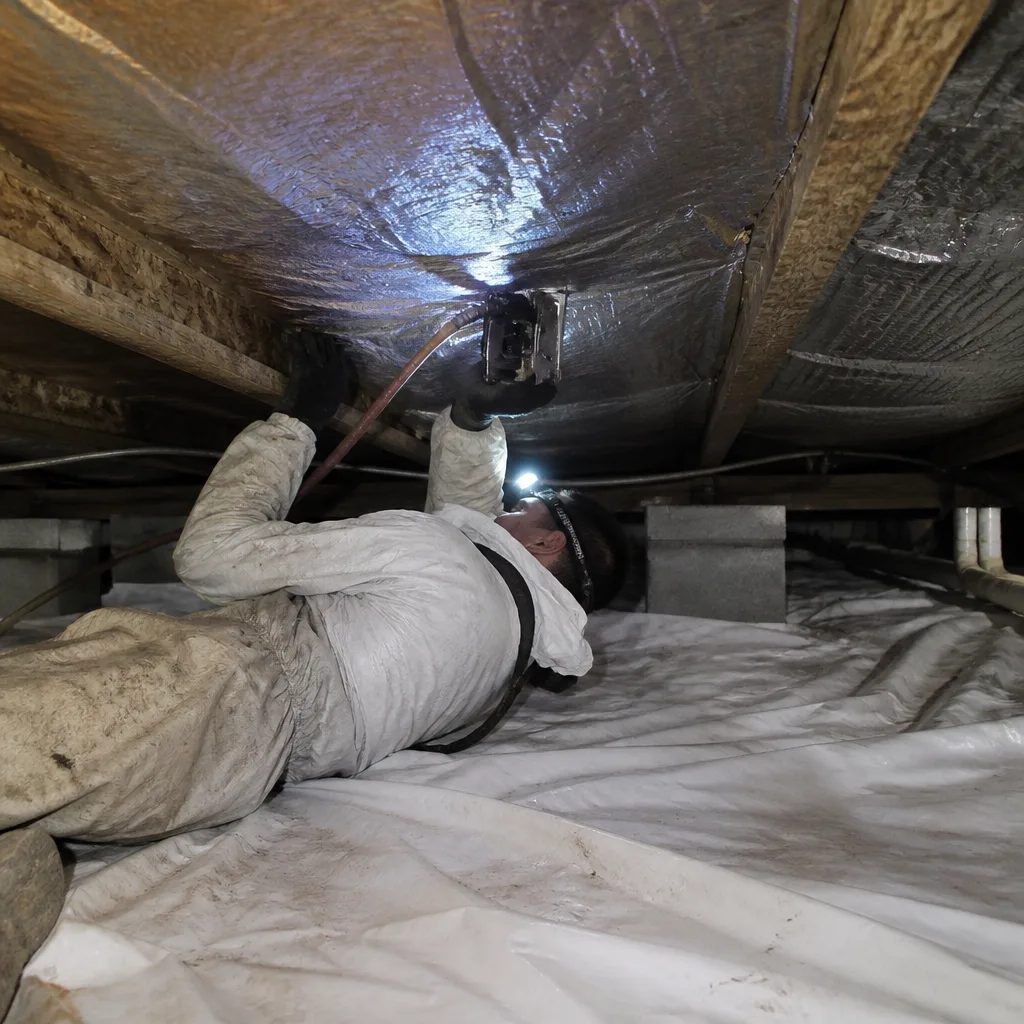
Radiant barrier is one of the few envelope products where the material installation is genuinely within reach of a careful homeowner. The all-or-nothing factor is the decision-making, not the labor. Facing orientation and air-gap preservation are silent failures: the foil installs fine either way, and you won’t know it went wrong until the July bill arrives unchanged. If your Las Vegas attic is a clean single-slope rafter layout with no existing insulation and no mechanical equipment, and you’re willing to work first thing in the morning, do it, measure the gaps, and photograph them. If the geometry is more complicated than that, that’s the point where a professional install earns its cost: not because the labor is hard, but because the accountability shows up in writing.
Envelope Insulation Las Vegas installs radiant barrier as part of a full envelope service line, with a written price before any work starts, a documented photo record of every visit, before-and-after blower-door numbers on applicable jobs, and a 365-Day Done Right Promise behind the work. Call (833) 362-4859 for a free estimate, or bring us a competing written quote and we’ll read it with you as a free second opinion. Our technicians have up to 10 years of experience, and calls are answered by a live person, day or night.
Written by the team at Envelope Insulation Las Vegas.