
Last updated November 17, 2026
DIY vs Professional Crawl Space Encapsulation & Vapor Barrier: What’s Safe to Do Yourself
A 20-mil reinforced barrier, a roll of butyl tape, and a Saturday are genuinely sufficient for a clean, accessible crawl space. The same materials in a crawl with active moisture intrusion, existing mold, or spray-foam rim joist sealing needed are four different jobs – only one of which is on that list. Crawl space encapsulation is one of the few building-envelope projects where the DIY range is real and wide, and that’s exactly why so many Southern Nevada homeowners get into trouble: the task looks uniform from the outside, but the conditions underneath decide whether it’s a weekend project or a professional scope. This guide draws the line precisely, with the moisture readings, material costs, and documentation that separate the two. We’ve watched enough Las Vegas crawls come apart after a rushed install to know where that line sits.
Quick Answer
DIY crawl space encapsulation is safe and realistic only when the crawl is at least 24 inches tall, the soil reads below 15% moisture, there’s no standing-water history, no mold or pest evidence, and the rim joist is already sealed. If any of those conditions fails – active water intrusion, existing mold, or a rim joist that still needs spray foam – the job moves into professional territory because it requires equipment, licensed remediation, or electrical rough-in that a homeowner can’t safely supply. Everything else, including laying and taping a vapor barrier in a dry accessible crawl, is a legitimate do-it-yourself task.
Table of Contents
- The Five DIY-Appropriate Conditions
- The Four Conditions That Require a Professional
- Material Cost vs Professional Price: A 1,000 Sq Ft Comparison
- The Seaming and Termination Details Most DIY Installs Get Wrong
- What Documentation a Professional Job Should Hand Over
- Las Vegas Climate Factors That Change the Equation
- Common Mistakes to Avoid
- When to Call a Professional
The Five DIY-Appropriate Conditions
Before you buy a single roll of barrier, get on your hands and knees with a flashlight and a moisture meter. The five conditions below are the entire eligibility test. If all five pass, encapsulation is a reasonable weekend project for a careful homeowner in Las Vegas. If even one fails, read the next section before you spend money.
- Accessible height above 24 inches. You need room to move, overlap, and tape without contorting. Below 24 inches, the seams get sloppy and sloppy seams are where vapor barriers fail.
- Dry soil with moisture readings below 15%. A pin-type or pinless moisture meter pressed into the soil at several points should read under 15%. Higher than that means you’re trapping moisture under the barrier, which is worse than no barrier.
- No existing mold or pest evidence. Any musty smell, visible growth on joists, rodent droppings, or termite tubes means the crawl needs remediation before anyone lays plastic. Encapsulation over active mold seals the problem in.
- No standing-water history. Ask the previous owner, check the soil for waterlines and staining, and look at the foundation for efflorescence – the white mineral crust that signals repeated wetting. Standing water is a drainage problem, not a barrier problem.
- Rim joist already sealed. The rim joist is the band of framing where the floor structure meets the foundation wall. If it’s still open to outside air, it needs spray foam before a vapor barrier goes down, and that’s a professional task covered below.
Many homes built in Las Vegas between 2015 and 2025 in neighborhoods like Summerlin and Southern Highlands were constructed with a partial vapor barrier already in place – a thin 6-mil sheet laid loosely over the soil. If yours has one, check whether it’s continuous and whether it runs up the foundation wall. A loose sheet that stops at the footing isn’t encapsulation; it’s a humidity trap that makes the crawl look finished while doing very little.
The Four Conditions That Require a Professional
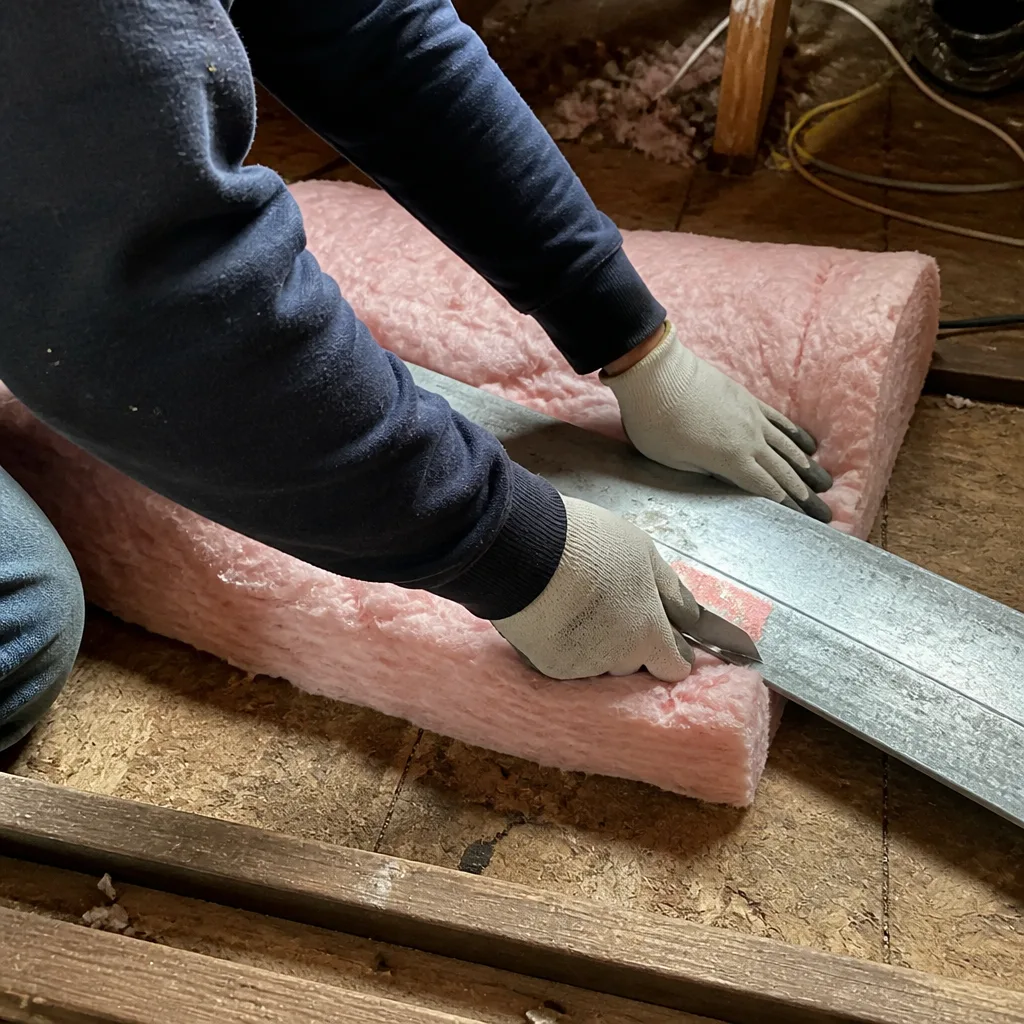
These four conditions convert a manageable DIY task into work that requires professional equipment, licensed trades, and documented results. Each one is a hard stop, not a judgment call.
1. Active Water Intrusion Requiring Grading or Drainage Work
If water is finding its way into the crawl – through the foundation, from poor exterior grading, or from a failed downspout – no vapor barrier will fix it. Encapsulating over active intrusion traps that water and accelerates wood rot. The fix is exterior: regrading soil away from the foundation, extending downspouts, and in some cases installing a perimeter drain. None of that is barrier work, and all of it has to happen first.
2. Existing Mold Requiring Licensed Remediation
Mold in a crawl space is a health and structural issue, not a cleaning issue. Nevada doesn’t license mold remediation as a standalone trade, but the industry standard is to have the mold assessed and removed before encapsulation, and to verify the crawl is dry afterward. Sealing mold under a barrier doesn’t kill it; it feeds it. This is the single most common DIY mistake we see in Las Vegas crawls – the plastic goes down over a colony that’s been quietly growing for years.
3. Spray Foam Rim Joist Sealing Needed
If the rim joist is unsealed, encapsulation alone leaves the biggest air leak in the crawl untouched. Spray foam requires two-component equipment, correct mix ratios, and cure-time management – temperature and humidity have to be right or the foam cures improperly. This is not a can-of-foam job. Our Spray Foam Insulation in Las Vegas service covers this exact scope; it’s the step most homeowners skip, and it’s why their sealed crawl still feels humid.
4. Mechanical Dehumidifier Installation
In a sealed crawl, moisture has nowhere to vent, so a mechanical dehumidifier is often required to keep relative humidity in the 50 – 60% range. That unit needs electrical rough-in – a dedicated circuit, often a condensate drain. Running a cord across the crawl from an existing outlet isn’t a solution. This is licensed electrical work, and it’s usually paired with a humidity sensor so the system self-regulates.
If two or more of these apply to your crawl, the work is professional scope, full stop. Our Crawl Space Encapsulation & Vapor Barrier in Las Vegas service exists for exactly these cases, and every job gets the same treatment: a written price before anything starts.
Material Cost vs Professional Price: A 1,000 Sq Ft Comparison
Here’s the honest math for a dry, accessible, already-sealed 1,000 square foot crawl – the ideal DIY candidate. Material costs are rough Las Vegas retail ranges as of 2026 and will vary by supplier and barrier thickness.
- 20-mil reinforced vapor barrier (1,000 sq ft plus 15% waste): $250 – $450
- Butyl seam tape (two to three rolls): $60 – $120
- Termination adhesive and foundation fasteners: $40 – $80
- Vapor barrier tape for penetrations (a separate product): $25 – $50
- Disposable coveralls, knee pads, respirator, gloves: $60 – $100
- Subtotal DIY materials: $435 – $800
A professional installed price for the same 1,000 sq ft crawl in Las Vegas typically runs $1,800 – $3,500, depending on barrier mil thickness, the amount of foundation wall the barrier has to climb, and whether a dehumidifier is included. So the DIY savings are real – often $1,300 – $2,700.
What the professional price buys that the DIY doesn’t isn’t just labor. It buys pre-installation moisture readings so you know the crawl was dry before the barrier went down, post-installation readings to verify it stayed that way, a written scope and warranty, a documented photo record of the finished install, and someone to call if the seams fail in year three. That’s the part most DIY budgets don’t account for, and it’s the part that matters when you sell the house.
The Seaming and Termination Details Most DIY Installs Get Wrong
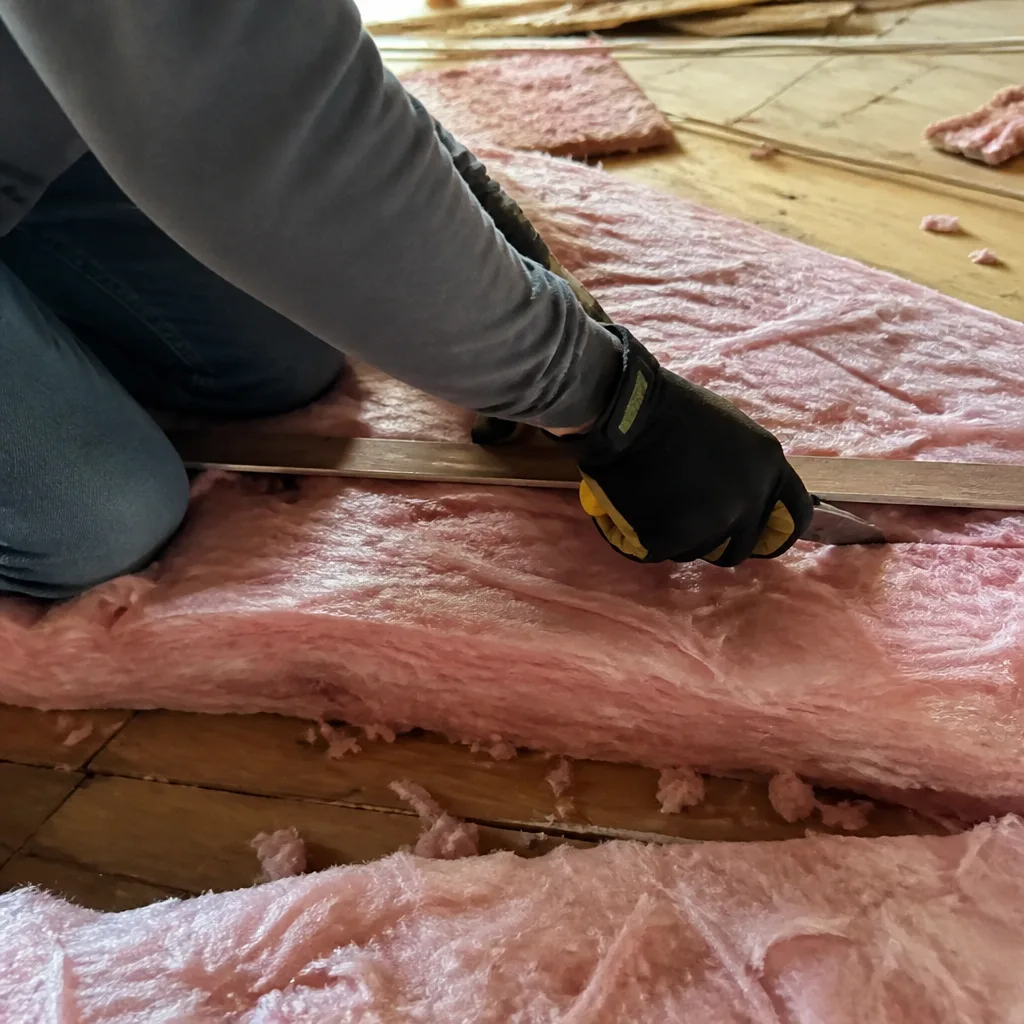
Barrier material is not where DIY installs fail. Seams and terminations are. Get these wrong and the crawl performs worse than it did before, because you’ve trapped moisture instead of venting it.
Overlap minimums
Seams should overlap by at least 12 inches, with the tape centered on the overlap. A 6-inch overlap looks tight but doesn’t hold when the barrier shifts with seasonal temperature swings – and Las Vegas crawls do swing, sometimes 25 degrees between summer and winter at the soil line.
Butyl tape versus standard seam tape
Standard seam tape works in a climate-controlled room. A crawl space is not that. Butyl tape – a rubber-based tape with a pressure-sensitive adhesive – stays pliable through temperature cycling and stays stuck. Standard acrylic seam tape dries out and lifts at the edges after a few seasons. The cost difference is modest; the performance difference is not. Use butyl.
Terminating at the foundation wall
The barrier has to run up the foundation wall, not stop at the footing. Terminate it at least 6 inches up the wall with an adhesive and mechanical fastener, and seal the top edge so water can’t migrate behind it. This is the detail that creates a wicking path when done wrong – barrier laid flat on the soil with no wall termination is a bathtub with no drain. The rule: barrier comes up the wall, seals to the wall, and does not stop short.
Penetrations
Every pipe, column, and pier passing through the barrier needs its own seal. Cut the barrier snug, then tape around the penetration with vapor barrier tape, not seam tape. Miss this and each one is a vapor highway into the crawl.
What Documentation a Professional Job Should Hand Over
This is the part homeowners don’t ask about and should. A professional encapsulation job isn’t finished when the barrier is down – it’s finished when you have a documented record in your hand. Here’s what that record should contain, and why it matters.
- Pre-installation moisture readings. Soil moisture at several points, measured before the barrier went down. This proves the crawl was dry enough to encapsulate. Without it, there’s no baseline for future claims.
- Product spec sheets. The barrier’s mil thickness, perm rating, and manufacturer. Insurers and buyers want to see that a rated product was used, not a repurposed tarp.
- Installation photos. The seams, terminations, and penetrations as they were finished. Photos are the only evidence a future inspector or buyer has that the work was done to standard.
- Post-installation readings. Moisture and humidity readings taken after the barrier and any dehumidifier were in place. This is what confirms the encapsulation actually worked.
- Written scope and warranty. What was done, what wasn’t, and what happens if it fails. Haven Standard Clause 1 requires all three – flat price, written scope, written warranty – before anyone lifts a tool.
Why it matters: when you sell a home, a crawl space encapsulation without documentation is a liability you have to disclose and can’t prove was done correctly. When you file an insurance claim for water damage, a pre-installation moisture reading is the difference between a covered claim and an argument. On our jobs, the before-and-after evidence is published on every applicable job, and the photo record is included on every visit rather than available on request.
Las Vegas Climate Factors That Change the Equation
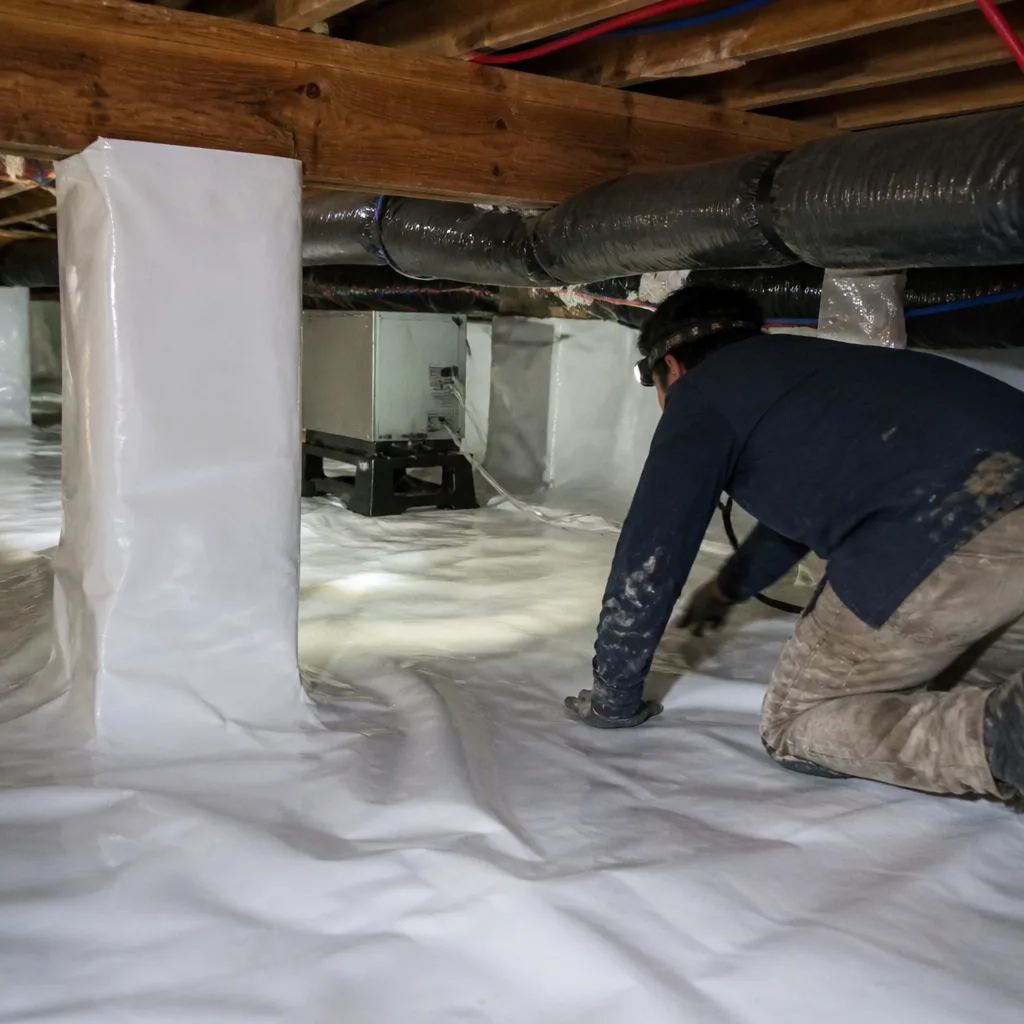
Las Vegas crawls don’t behave like crawls in wetter climates, and that changes both the DIY calculus and the failure modes you should expect.
Our soil is alkaline and often drains fast, which means most Las Vegas crawls stay drier than the national average – good news for DIY eligibility. But that dry climate creates its own trap: a homeowner reasonably concludes the crawl is fine, skips a moisture reading, and installs a barrier over soil that’s been quietly wetted by irrigation overspray or a failing hose bib for years. The soil reads fine at the surface and wet at the footing, and the barrier seals it in.
We also see a specific pattern in neighborhoods built during the 2015 – 2025 run, including North Las Vegas and the newer pockets around Henderson: sprinkler systems installed tight against the foundation, with the drip line draining toward the crawl. That’s not a barrier problem; it’s a grading and irrigation placement problem, and it has to be fixed before encapsulation or the barrier will fail from underneath.
Finally, summer soil temperatures in Las Vegas crawl spaces can push past 90 degrees, which accelerates the off-gassing of low-cost barrier materials and softens acrylic seam tape. That’s another reason butyl tape and a rated barrier material matter more here than the product instructions let on. We source from Owens Corning and Johns Manville for the same reason: rated materials, no proprietary lock-in, and spec sheets a homeowner can actually produce later.
Common Mistakes to Avoid
- Skipping the moisture reading because the crawl “looks dry.” Visual inspection is not a measurement. A pin meter costs $40 and takes ten minutes; skip it and you may seal wet soil under plastic for years.
- Using standard seam tape instead of butyl tape. It’s the single most common failure we find in Las Vegas DIY jobs – the tape lifts at the edges within two summers and the seams come apart.
- Terminating the barrier at the footing instead of up the foundation wall. This creates the wicking path that lets water travel up the wall and into the floor structure.
- Ignoring the rim joist. Encapsulation over an unsealed rim joist leaves the largest air leak in the crawl untouched; the sealed crawl still feels humid because it’s still connected to outside air.
- Laying the barrier directly against a wall with no gap for inspection. You should be able to inspect the foundation and sill plate later; a fully sealed, inspection-hostile crawl can’t be checked without pulling barrier.
- Not sealing penetrations. Pipes, columns, and piers pass through the barrier and each one is a vapor path unless it’s taped separately with vapor barrier tape.
- Encapsulating over mold or pest evidence. Sealing the problem in doesn’t solve it – it feeds it, and it turns a remediation job into a much larger remediation job.
When to Call a Professional
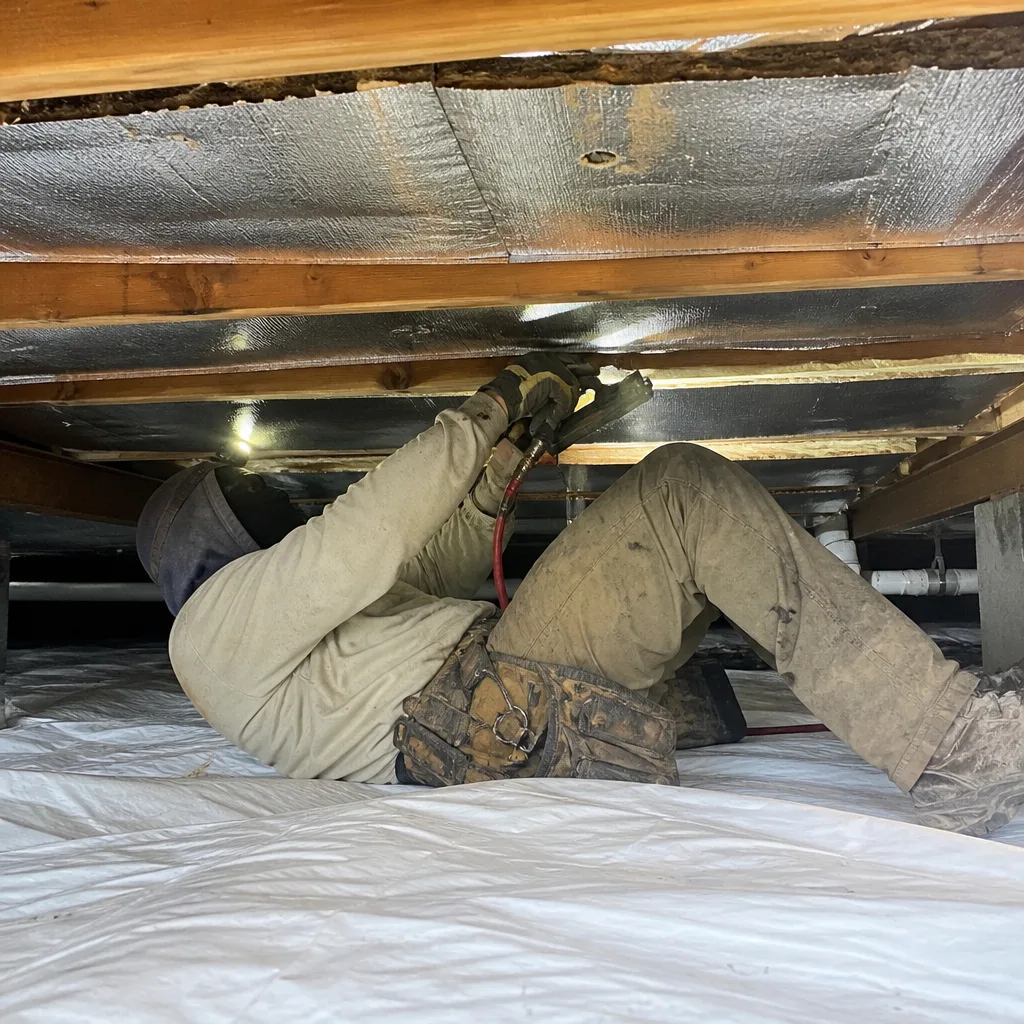
Call a professional if your crawl fails any of the five DIY conditions, if the rim joist isn’t sealed, if a dehumidifier is needed, or if you’re not certain the crawl is dry. Certainty is the whole game here. A moisture meter, a flashlight, and an honest look at your foundation will tell you more than any product marketing. When in doubt, get a second opinion before you buy materials – not after.
If you’re planning to encapsulate and want the crawl to actually perform, our Envelope Insulation Las Vegas home page covers the full building-envelope picture, and our Attic Insulation in Las Vegas service is often the next step, since a sealed crawl and a sealed attic work together. Envelope Insulation Las Vegas offers free estimates in Las Vegas and a free second opinion on any written estimate you’ve already received – call (833) 362-4859. A live person answers, 24/7, and every job begins with a written price before any work starts.
Frequently Asked Questions
Yes, when your crawl passes all five DIY conditions – it can save $1,300 – $2,700 on a 1,000 square foot crawl compared to a professional install. It’s worth it only if the crawl is dry, accessible, mold-free, and has a sealed rim joist. If any condition fails, the DIY savings disappear into rework, and professional scope is the cheaper long-term choice.
A professional encapsulation for a 1,000 square foot crawl in Las Vegas typically runs $1,800 – $3,500, depending on barrier thickness, how much foundation wall the barrier climbs, and whether a dehumidifier is included. DIY materials for the same crawl run $435 – $800. Call (833) 362-4859 for an exact quote – estimates are free and you get a written price before any work starts.
No. Mold has to be assessed and removed before any vapor barrier goes down, and the crawl has to be verified dry afterward. Sealing mold under plastic feeds it and turns a remediation job into a much larger one. This is one of the four conditions that requires professional scope, and it’s the most common DIY mistake we find in Las Vegas crawls.
A 20-mil reinforced barrier is the practical standard for a Las Vegas crawl – it’s the thickness that resists punctures from soil, pests, and foot traffic during installation. 6-mil is common in new construction but too thin for a lasting encapsulation, and 10-mil is a reasonable middle option for a very clean, dry crawl. The product spec sheet matters more than the thickness alone; ask for it.
Most professional encapsulations of a 1,000 square foot crawl take one to three days, depending on whether spray foam rim joist sealing and dehumidifier electrical rough-in are included. A straightforward barrier install on a dry, accessible crawl is typically a single day. A DIY install usually takes a homeowner one to two full weekends, plus material trips.
Yes, when it’s documented – a written scope, install photos, pre- and post-installation moisture readings, and a warranty are what a buyer’s inspector and an insurer actually want to see. An undocumented encapsulation is a disclosure item you have to prove was done right; a documented one is a selling point. That’s why the photo record and readings matter as much as the barrier.
The Bottom Line
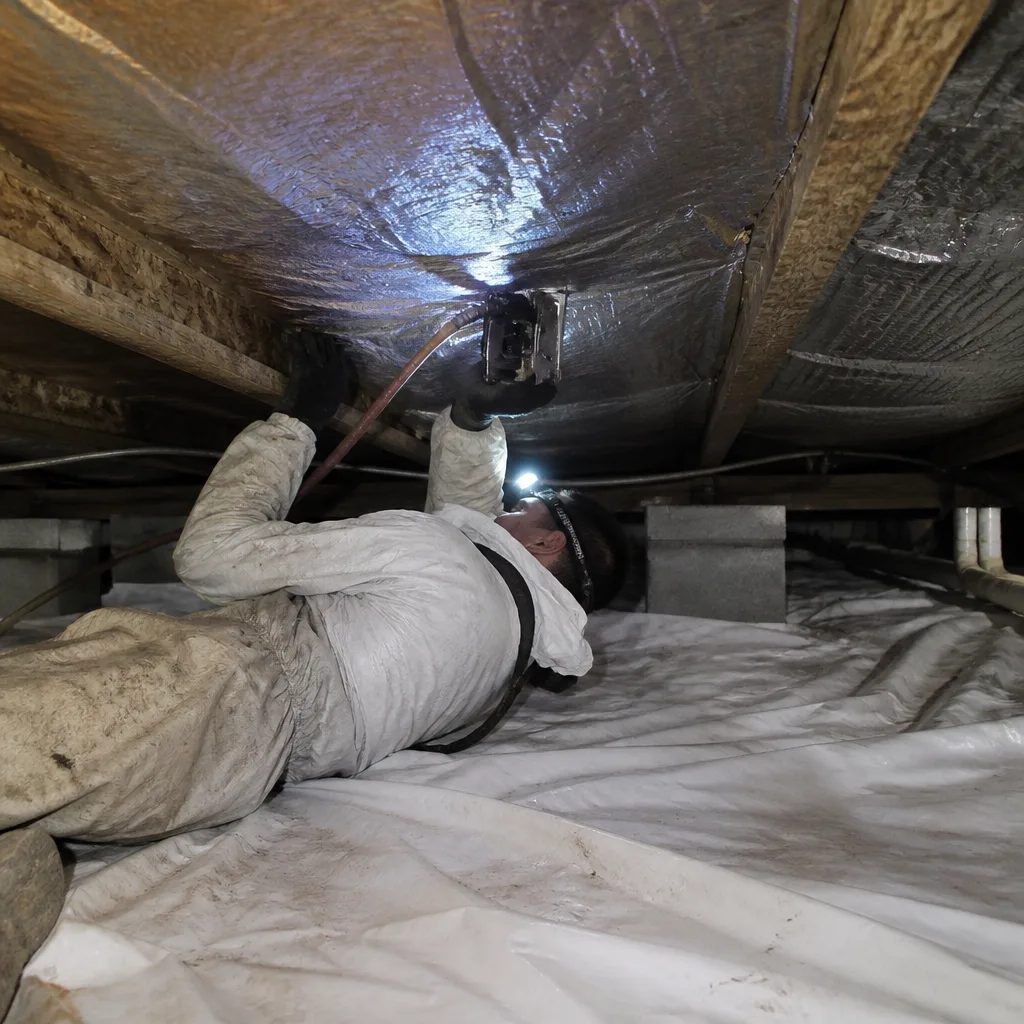
Encapsulation has a real DIY range, and it’s narrower than the product instructions imply. If your Las Vegas crawl is 24 inches or taller, reads below 15% moisture, has no mold or pest history, no standing water, and a sealed rim joist, laying and taping a 20-mil barrier is a legitimate weekend project that saves real money. If water is getting in, if mold is present, if the rim joist is open, or if a dehumidifier is needed, the work is professional scope – and the documentation a professional job leaves behind is the part that protects your investment at resale. Get the crawl measured before you decide. Everything else follows from that reading.
Written by the team at Envelope Insulation Las Vegas.