
Last updated November 17, 2026
Radiant Barrier Installation Warning Signs Every Homeowner Should Know
The warning sign for a failing radiant barrier usually isn’t visible from the attic ladder. It’s a number on a contact thermometer pressed against the foil at 1 p.m. in July. If that reading lands within 10°F of the bare roof deck beside it, the foil has already lost most of what you paid for. In Las Vegas, where attic air can climb past 140°F on a summer afternoon, that gap between foil and deck is the single most honest measure of whether a barrier is still working. Below, we walk through the measurable signals, the structural clues, and the winter condensation pattern most homeowners never connect to their foil, so you can catch performance loss years before it becomes a replacement decision.
Quick Answer
A radiant barrier is degrading when the temperature difference between the foil surface and the unprotected roof deck next to it drops below 15°F at solar noon, when the foil sags enough to close its air gap, or when seams separate wider than an inch. Dust buildup, heat discoloration, and an installation older than 15 years usually mean replacement rather than repair. In Las Vegas, foil that still looks silver can be functionally dead, which is why measurement beats visual inspection every time.
Table of Contents
- The Temperature Delta Test: The Warning Sign That Beats Visual Inspection
- Structural Warning Signs: Sagging, Staple Pullout, and Seam Separation
- The Las Vegas Winter Condensation Warning Sign
- The Utility-Bill Pattern That Points at Radiant Heat, Not Air Leaks
- Three Conditions That Mean Replace, Not Remediate
- How Radiant Barriers Interact With Attic Insulation and Air Sealing
- What a Proper Installation Record Looks Like
The Temperature Delta Test: The Warning Sign That Beats Visual Inspection
Reflective foil works by bouncing radiant heat back toward the roof deck before it reaches your insulation. The moment dust, oxidation, or heat damage dulls the surface, reflectivity falls and the foil starts absorbing heat instead of rejecting it. You can’t see that change. You can measure it.
Here’s the method we use on attic inspections in Las Vegas. It takes one infrared thermometer and about ten minutes at solar noon, roughly 1 p.m. in July.
- Climb into the attic and locate a section of foil facing down toward the living space.
- Take a surface reading on the foil, holding the thermometer a few inches away.
- Take a second reading on the bare roof deck immediately adjacent, in the same plane of sun exposure.
- Subtract. That difference is your delta.
A healthy barrier in a Las Vegas attic typically shows a delta of 25°F to 40°F between the foil face and the unprotected deck at peak sun. Once that delta drops below 15°F, the barrier has lost most of its function. Within 10°F and you’re looking at foil that’s essentially decorative. The threshold matters because foil that reads, say, 128°F against a 138°F deck is doing almost nothing, even though it still looks perfect from the ladder.
This test is why we take a documented photo record on every visit. A photo of two thermometer readings, one on the foil and one on the deck, is evidence you can compare year over year. If the delta shrinks from 32°F to 12°F between two summers, you know exactly when the decline happened.
Structural Warning Signs: Sagging, Staple Pullout, and Seam Separation
Radiant barrier performance depends on an air gap. The foil has to face an open space to reflect heat back toward the deck. When the physical installation fails, the gap closes and the barrier converts from a reflector into a conductor, trapping heat against your insulation instead of rejecting it. Three structural signs point to that failure.
- Sagging that closes the air gap. Foil that droops more than a couple of inches between rafters or trusses is touching or nearly touching whatever is beneath it. Once contact happens, that section stops reflecting. In Las Vegas attics, the swing between a 45°F winter night and a 150°F summer afternoon works the fasteners loose, and sag tends to accelerate after the first few years.
- Staple pullout along ridge runs. Walk the attic and look up at the ridge. A wavy foil edge tells you staples have pulled out and the sheet has lost tension. Waviness is the warning; blank foil runs where staples should be confirm it.
- Seam separations wider than 1 inch. Panels are supposed to overlap by at least an inch so heat can’t find a straight path through. A gap wider than that creates a thermal bypass channel, a direct line for radiant heat to travel through the foil plane and into the attic air. Seams separate for the same reason staples pull: thermal cycling, plus attic humidity in the monsoon months.
Foil-backed sheathing products like those from Owens Corning hold their position better than staple-up rolls because they have a stiffer substrate, but they’re still subject to the same thermal cycling. The structural test is the same regardless: look for the gap, the tension, and the overlap. Any one of the three failing in more than a small area is a signal to investigate the rest of the install.
The Las Vegas Winter Condensation Warning Sign
This is the signal almost nobody connects to their radiant barrier, and it’s the one we see most often in Las Vegas because of how our winters swing. Solid foil is a vapor barrier. If it’s installed on the underside of the roof deck or draped as a continuous sheet with inadequate attic ventilation above it, moisture from the living space has nowhere to go and condenses on the cold foil in January and February.
What does that look like? Water staining or white mineral deposits at the foil seams, corrosion on staples, and occasionally a dark tint from mold that starts at the seam edges. It shows up on the north-facing slope first, because that’s the coldest deck surface overnight. If you see staining there in a winter inspection, the cause is a ventilation and vapor problem, not lost reflectivity, and the fix is different.
Reflectivity loss gets corrected by cleaning the foil surface (if it’s still within the first few years) or replacing the barrier. Condensation damage requires ventilation work and often vapor management before a new barrier goes up. Put a new barrier over a wet deck and you’ve trapped the moisture with no way out. That’s why we treat these as two separate diagnoses.
The Utility-Bill Pattern That Points at Radiant Heat, Not Air Leaks
Most homeowners spot a radiant barrier problem through the bill, not the attic. The trick is separating radiant heat gain from air-sealing failure, because both make your summer bill climb. The pattern usually tells you which one it is.
Pull a year of NV Energy usage and look at your hourly data if you have it, or your daily total if you don’t. Break it into two blocks: noon to 6 p.m. (peak-hour cooling) and everything else.
- Radiant heat gain signal: peak-hour kWh climbs year over year while off-peak consumption stays flat. Your off-peak usage includes morning, evening, and overnight, which are dominated by conductive heat loss and air leakage. When those don’t move but the peak window climbs, the heat driving the change is coming through the roof plane in the heat of the day, which is exactly what a degrading barrier lets through.
- Air-sealing signal: both peak and off-peak rise together, or a blower-door test shows a high CFM50 number (the pressurization reading that measures how much air your envelope is losing). That’s an air leak problem, not a foil problem.
- Insulation signal: winter bills climb, or morning hours get noticeably more expensive even on mild days. That points at attic insulation R-value, not the barrier.
If your peak-hour load has been climbing while the rest of the year stays flat, and you haven’t changed your thermostat schedule, that’s your barrier talking. In our experience, this pattern shows up most clearly on two-story homes in newer master-planned communities where HVAC equipment runs hard from noon to 6 p.m. and off-peak usage is otherwise stable.
Three Conditions That Mean Replace, Not Remediate
Not every problem calls for a new barrier. Light dust you can wipe, a couple of separated seams you can re-tape, and a few pulled staples you can re-secure are all fixable. Three conditions tip the decision to replacement.
- Dust accumulation visible from more than 3 feet away. Surface dust is what shows up on the foil and stops it reflecting. You can measure the dust effect as emissivity loss, but the practical test is visual: stand at the attic access and look across the foil. If you can see the dust layer from that distance, it’s already compromised the surface, and cleaning it in place tends to abrade the foil further.
- Foil discoloration from heat damage near HVAC equipment. Every furnace and air handler produces an unusual heat plume. When foil near HVAC equipment shows a brown or dark discoloration, that’s heat damage, not surface dust, and the reflectivity is gone in that zone. If the damage is localized, we replace that section only. If it’s spread, replacement is the honest call.
- Original installation date beyond 15 years. Reflective foil has a lifespan. Reflectivity degrades with years of dust and thermal cycling, and after 15 years, the delta we measure at solar noon almost always lands in the failed range. Past that point, replacement with a modern foil-faced product is the call.
The last thing anyone should do is put a second layer of foil over a failed first layer. Two barriers pressed together, or a new barrier installed without the air gap preserved, ends up less effective than the original. Replacement done right, with the air-sealing and ventilation work that goes with it, catches the performance loss in one job.
How Radiant Barriers Interact With Attic Insulation and Air Sealing
A radiant barrier is one layer in a building envelope. It works best when the attic floor is sealed and insulated properly. We’ve seen installations where a homeowner added a reflective foil above poorly-sealed attic floor plates and got almost nothing from it, because the air leaks were doing more damage than the barrier could undo.
The sequence that works: seal the air leaks first, then insulate, then think about the barrier. Top plates (the wood where interior walls meet the ceiling), can lights, wire penetrations, and plumbing chases are the common leak points on Las Vegas homes. Sealing them cuts the air that escapes and enters the attic, which then lets insulation do its job. Add a barrier and you’ve addressed radiant gain on top of that.
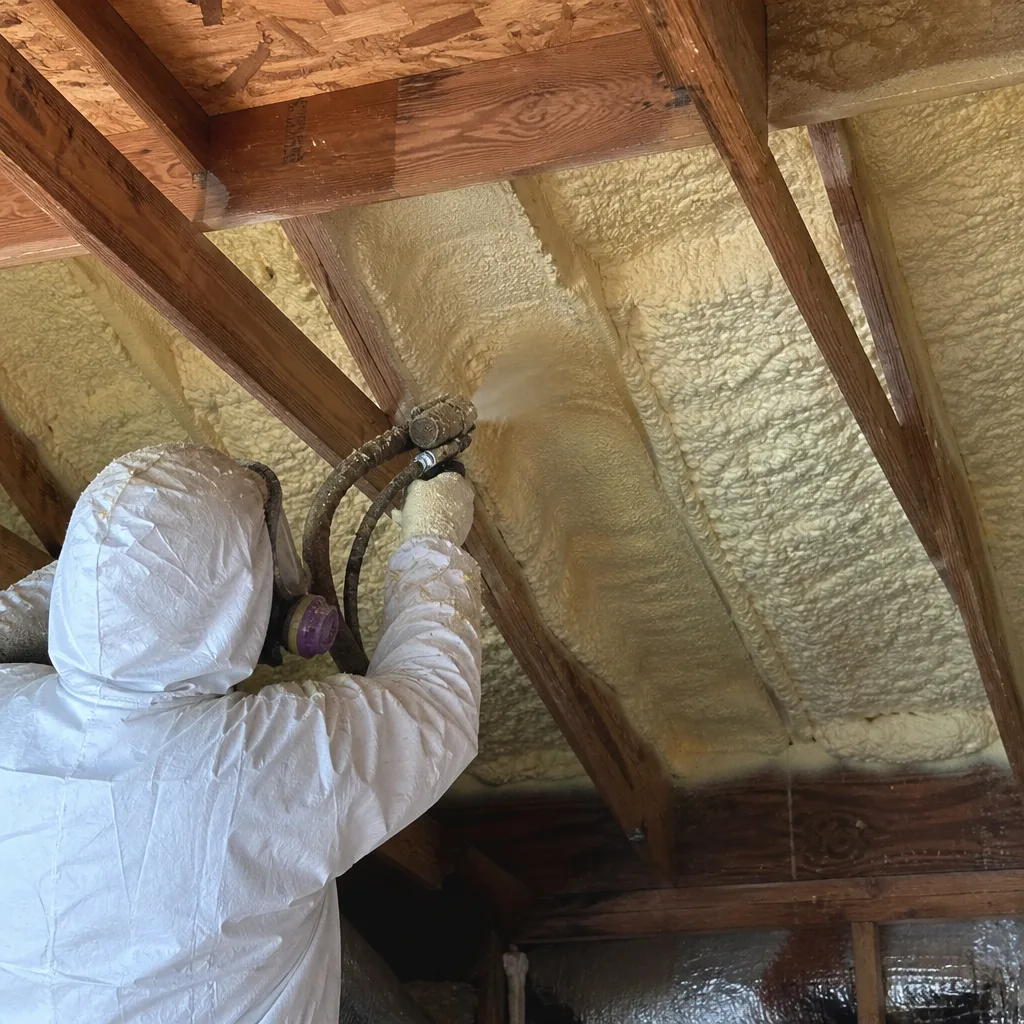
If you’re considering attic insulation in Las Vegas, the same diagnostic logic applies. We read the blower door before and after, so you can see what the sealing and insulation actually bought you. And if your home has an accessible crawl space, a crawl space encapsulation and vapor barrier addresses moisture from below at the same time, which keeps the attic drier in our monsoon months. Where a home needs high-performance attic assembly because of HVAC equipment or tight framing, spray foam insulation in Las Vegas sometimes replaces the foil entirely. Every one of those decisions starts with a reading, not a sales pitch.
What a Proper Installation Record Looks Like
Every section of this guide comes back to documentation. You can’t compare this year’s foil performance to last year’s without a baseline. In our work, the baseline is the job record: before-and-after blower-door readings on the sealing work, temperature deltas at 1 p.m. on the barrier, and a photo set of the whole attic. If a future owner ever needs to know when the barrier was installed and what it read the day it went in, the record answers both.
That’s what happens when a job is done under Envelope Insulation Las Vegas standards: written price before work starts, written warranty, documented photos on every visit. The 365-Day Done Right Promise covers the work; the record is what lets a homeowner verify it.
Common Mistakes to Avoid
- Trusting the silver color. A barrier’s visual appearance tells you almost nothing about its reflectivity. Measure the delta at solar noon; that’s the only number that matters, and it’s the one you can reproduce every summer.
- Laying a new barrier over an old one without removing the first. Double layers trap dust between them and eliminate the air gap that lets a barrier work, which is worse than either layer alone.
- Installing a barrier over an unsealed attic floor. Air leaks and insulation gaps matter more than radiant heat on a poorly-sealed top plate. Seal first, insulate second, then add the barrier.
- Parking a foil barrier against the roof deck in a Las Vegas winter. Solid foil without adequate attic ventilation condenses moisture in January and February. The staining tells you the ventilation is the culprit.
- Reading a summer bill as a single number. Pull the noon-to-6 p.m. window separately from off-peak usage. The split is what tells you radiant heat gain from air leakage or an R-value shortfall.
- Skipping the pre-installation measurement. Without a baseline delta or a blower-door reading before the work, you have no way to know what the barrier actually changed.
- Replacing foil that just needs re-securing. A couple of pulled staples and one seam gap is a two-hour fix. A full replacement is a different project with a different price.
When to Call a Professional
Call a professional when the delta between foil and deck reads under 15°F at solar noon and the foil is more than a few years old, when sagging has closed the air gap across a visible area, when seams have opened wider than an inch, or when you’re seeing condensation staining on the foil in January or February. Those are the four conditions where the diagnosis and the fix both require an attic visit from someone who measures. Attic work in Las Vegas is hot, tight, and easy to do badly, and a barrier installed without the air gap preserved does nothing.
Envelope Insulation Las Vegas offers free estimates in Las Vegas. We start with the measurement, put the diagnosis and the price in writing, and document the visit with photos. Call (833) 362-4859 to schedule.
Frequently Asked Questions
The most reliable test is the temperature delta between the foil surface and the bare roof deck next to it at solar noon; if the difference is below 15°F, the barrier has lost most of its function. You can also check for foil that sags into contact with the insulation, staple pullout that shows as wavy foil, and seams separated wider than an inch. Any of those three structural signs means the barrier needs attention. Call (833) 362-4859 to schedule a measurement in Las Vegas.
Usually yes, if the problem is loose staples, a short seam gap, or local sag. Re-securing the foil and re-taping seams is less expensive than replacement and restores the air gap. If the dust layer is visible from more than 3 feet away, if the foil is discolored near HVAC equipment, or if the original installation is more than 15 years old, replacement is the honest call. Call (833) 362-4859 for an assessment.
Condensation on the foil in January and February usually means solid foil was installed without adequate attic ventilation above it. The foil acts as a vapor barrier, moisture from the living space has nowhere to vent, and it condenses on the cold deck-facing surface. That’s a ventilation problem, not a reflectivity problem, and the fix is different. Call (833) 362-4859 to have it diagnosed.
Radiant heat gain is a larger share of your summer cooling load in Las Vegas than in most U.S. cities, because of the combination of high summer sun angles and consistently 140°F-plus attic temperatures. A functioning barrier protects the insulation below it from radiant heat that would otherwise break it down. The benefit is real, but it depends on a preserved air gap and a sealed attic floor.
Pull your NV Energy usage and split it into noon-to-6 p.m. peak hours and off-peak hours. If peak-hour consumption rises while off-peak stays flat, that pattern points at radiant heat gain. If both rise together, an air leak or an R-value shortfall is more likely, and a blower-door test (a pressurization reading of how much air your envelope is losing) settles it. Call (833) 362-4859 for a test.
Most reflective foil holds up for roughly 15 years under Las Vegas conditions, though staples and seams often degrade sooner because of the daily thermal swing. After the 15-year mark, the measured delta is usually in the failed range. If you inherited an installation of unknown age, a single solar-noon measurement tells you where you stand. Call (833) 362-4859 to schedule one.
The Bottom Line
Radiant barrier failure is almost always measurable before it’s visible. The delta between foil and deck at 1 p.m. in July is the head number to track. Sagging, staple pullout, and seam separation reveal the structural side. Winter condensation staining in a Las Vegas attic points at ventilation, not reflectivity. And a rising noon-to-6 p.m. kWh line while off-peak usage holds flat points at radiant heat gain rather than air leaks. Track those four signals and you’ll catch performance loss years before a bill spike forces the question. When in doubt, measure first and decide second.
To get the measurements started on your Las Vegas attic, call (833) 362-4859 for a free estimate. We put the diagnosis, the written price, and the plan in writing before anyone touches the foil.
Written by the team at Envelope Insulation Las Vegas.