
Last updated November 17, 2026
Crawl Space Encapsulation & Vapor Barrier Maintenance Schedule: What to Do and When
The average homeowner enters their crawl space once every seven years. The average encapsulation failure that causes wood rot becomes visible from inside the house at around year four. Those two numbers don’t line up favorably. The barrier itself is not the weak point; the schedule is. This guide lays out a maintenance calendar specific enough to actually get done: the two inspection intervals that matter, the three readings to log every visit, how plumbing and HVAC work punch holes in a barrier, what a dehumidifier’s runtime is telling you, and the photo record worth real money at resale. We’ve watched how Las Vegas heat and monsoon humidity stress these systems, and it changes the timing.
Quick Answer
A correctly installed crawl space encapsulation needs two scheduled inspections: one in August or September, right after the first monsoon season following installation, and one every two years after that. At each inspection, measure the moisture content of the lowest wood member (keep it below 16%), measure relative humidity inside the crawl space (target below 60%), and check the visual integrity of seams, wall terminations, and any penetrations made since the last visit. Clean a dehumidifier filter every 90 days and schedule a professional check if it runs unusually long.
Table of Contents
- Why Las Vegas Crawl Spaces Fail Differently
- Inspection One: After the First Monsoon Season
- Inspection Two and Beyond: Every Two Years
- What to Measure on Every Inspection
- Plumbing, Pest, and HVAC Penetrations
- Dehumidifier Maintenance Schedule
- What to Document and Why It Pays at Sale
- Common Mistakes to Avoid
Why Las Vegas Crawl Spaces Fail Differently
Most national guidance on encapsulation assumes a wet climate where the crawl space is fighting groundwater year-round. Las Vegas is the opposite problem, and it flips the failure mode. Our soil dries out hard, our summers run weeks above 105°F, and then the monsoon arrives in July and August and dumps a season’s worth of moisture in a handful of storms. A vapor barrier that looked perfect in April is suddenly holding a sealed lid over a humid box. The liner doesn’t usually tear. The tape at the seams lifts, the wall termination loosens, and the dehumidifier starts working overtime.
That rhythm is why the inspection calendar here is built around the monsoon rather than around spring, which is what most generic schedules suggest. If you’re still deciding whether encapsulation is the right call for your home, the climate case is made in more detail on our Crawl Space Encapsulation & Vapor Barrier in Las Vegas page, where we cover the installation process and typical Las Vegas pricing. The short version: a sealed, dehumidified crawl space is the only way to keep the wood assembly dry in a climate that swings from bone-dry to humid in a matter of days.
Older neighborhoods on the east side, where homes were built on raised foundations, tend to have more plenum and ductwork in the crawl space, which means more penetrations and more inspection surface. Homes in Summerlin and the northwest, built later, often have encapsulated systems from the start, but the maintenance math is the same. The timing is what differs. Following the schedule below is what separates a ten-year barrier from a four-year one.
Inspection One: After the First Monsoon Season
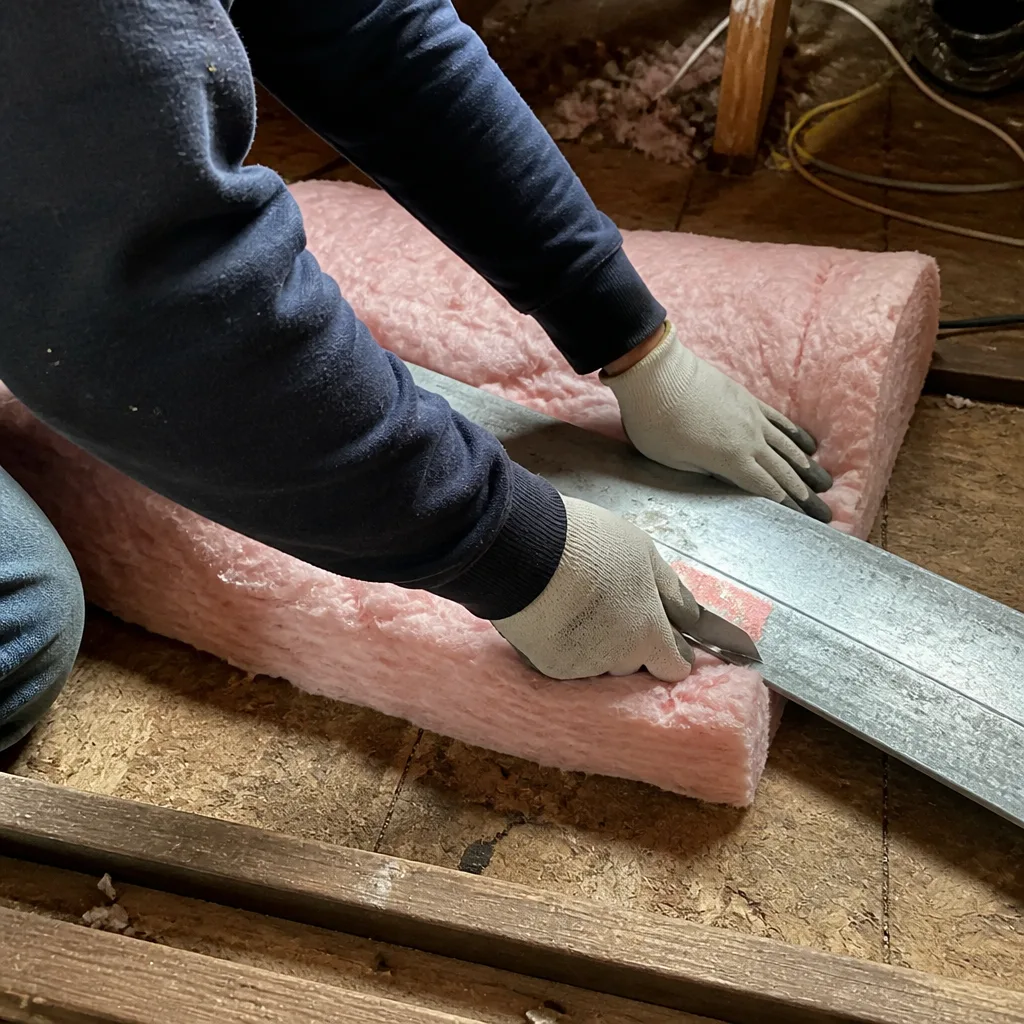
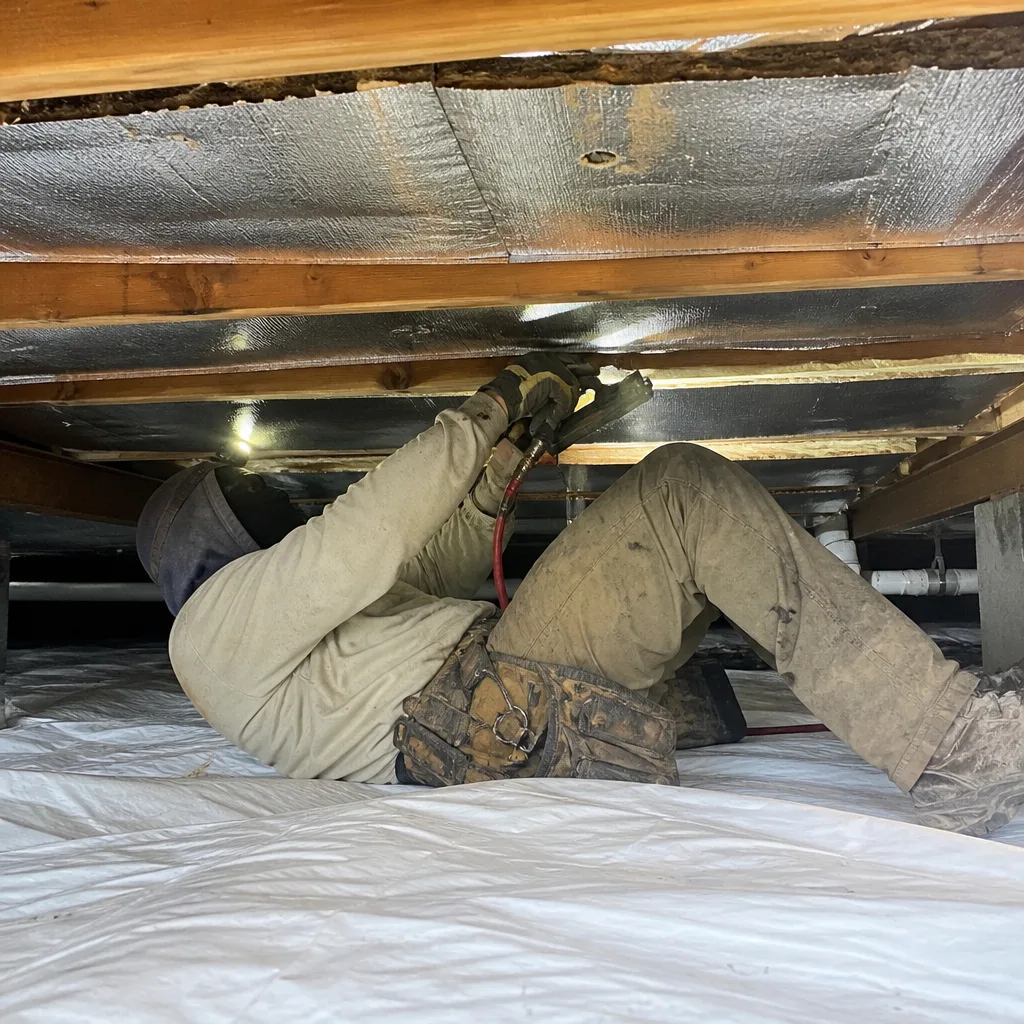
The single most important inspection is the first one, and it happens in August or September following installation. It’s timed this way because the monsoon is the only event in Las Vegas that will stress-test a new barrier’s seams while the installation details are still fresh enough to correct. Before the monsoon, the crawl space is nearly bone-dry. The first big storm week pushes relative humidity up, the ground swells slightly, and any small detail the install crew got imperfectly shows up as a lifted tape seam or a sagging wall termination. Find it in September and it’s a five-minute retape. Find it in year four and it’s a rot repair.
Here’s what a proper post-monsoon inspection looks like:
- Enter the crawl space with a flashlight and a moisture meter. Note the date in the log before anything else.
- Read the lowest wood member. That means the floor joist, sill plate, or beam closest to the ground, wherever your home has it. Take a pin reading directly on the wood surface, not on the liner.
- Read relative humidity with a handheld hygrometer held at mid-crawl-space height, away from the access hatch.
- Walk the liner seams. Lift the tape edges gently at each seam. Any tape that lifts without resistance is a re-tape.
- Check the wall termination all the way around the perimeter, especially at corners and at the point where the liner meets the foundation transition.
- Photograph everything before and after any correction.
If a dehumidifier was installed, check its filter at this visit, since the monsoon is the first time it will have run hard. More on filters below.
Inspection Two and Beyond: Every Two Years
After the first post-monsoon check, the schedule drops to once every two years. Two years is the right interval because it’s roughly one full wet-dry cycle beyond the stress the first inspection already caught. Anything the first inspection missed because it was too small will have worked itself loose by year two or three. Anything that develops between inspections is almost always caused by an event you already know about: a plumbing repair, a pest treatment, an HVAC service call. If you keep a simple log of those events, you’ll know when to bump an inspection forward.
A biennial inspection covers the same ground as the post-monsoon check, plus a few additions:
- Dehumidifier condensate line check, everywhere it runs, for kinks or algae clogs.
- Support post bases, where the pier meets the liner, checked for tape lift or puncture.
- Access hatch gasket and seal inspected for compression loss and re-seated if it’s deformed.
- Fastener points along the wall termination checked for pulled or rusted fasteners.
- Odor check. A musty or chemical smell that wasn’t there two years ago is a signal worth investigating even if the readings look fine.
If you live in the Las Vegas Valley and have a well-documented barrier with a biennial inspection record, you’re ahead of most homes we see on Envelope Insulation’s Las Vegas home services. The maintenance record is what separates a documented system from a sold system.
What to Measure on Every Inspection
Three readings carry almost all the diagnostic weight, and they’re the same three every visit:
- Wood moisture content of the lowest wood member. Acceptable is below 16%. The cheapest pin-type moisture meters read accurately enough for this. Anything above 16% is an active moisture problem and worth a professional inspection, not another year of waiting.
- Relative humidity inside the crawl space. Target is below 60%. Between 60% and 70% is a watching brief; above 70% means the dehumidifier or the barrier is failing.
- Visual integrity of seams and wall terminations. Not a number, but the most common failure point. Tape lift at any seam is a re-tape on sight.
The 16% figure matters because wood-destroying fungi need roughly that much moisture to establish. Below 16%, wood stays too dry for the rot organisms that do the expensive damage. The 60% RH figure matters because it’s the humidity threshold below which the crawl space air won’t condense on cool wood surfaces during the post-monsoon weeks. The West side of the valley, with its slightly drier air, runs lower numbers than the east side, but after a monsoon week the readings converge. Whatever you measure, log it with the location (joist number, distance from hatch) and the date. A reading without a location is noise.
Plumbing, Pest, and HVAC Penetrations
The liner is only as tight as its least-sealed hole. Three routine service categories in Las Vegas open holes in a barrier, and all three need re-taping:
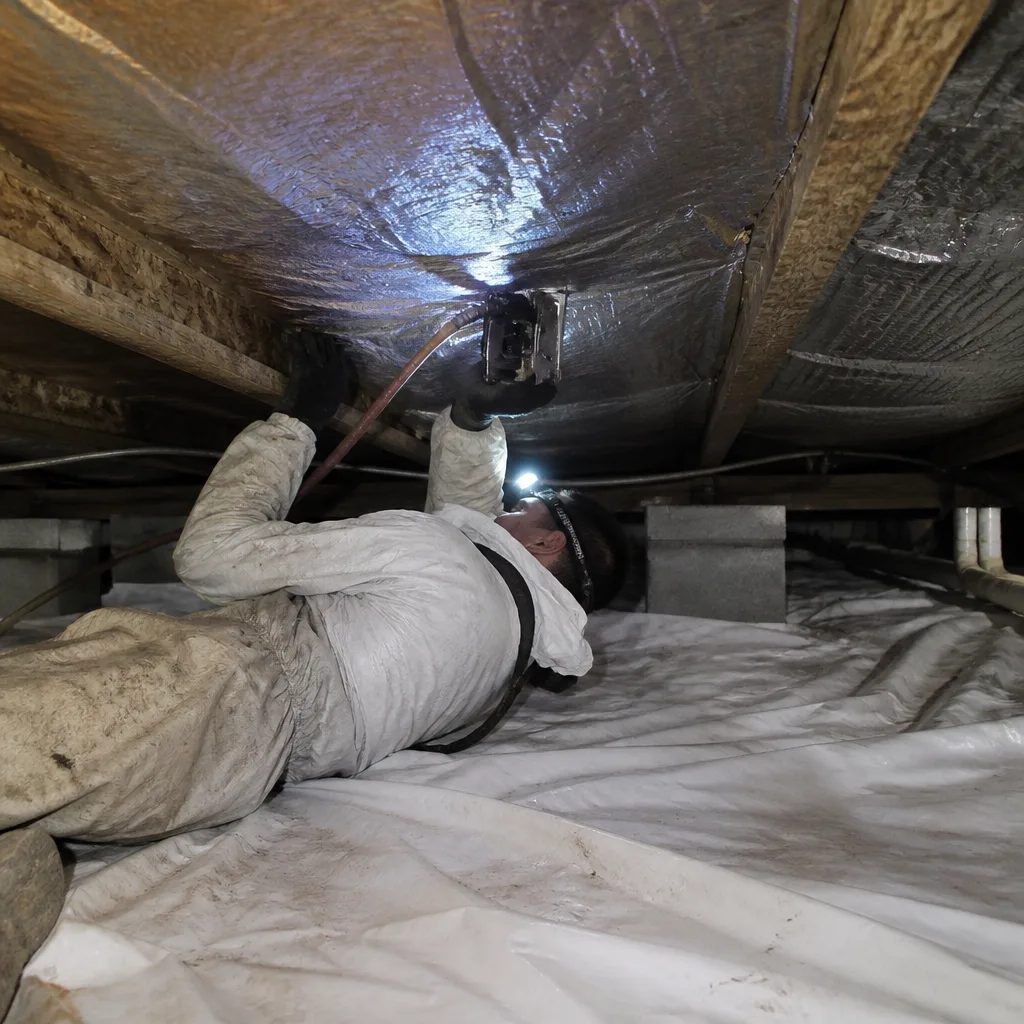
- Plumbing repairs. Any plumber who has to access a drain line, water heater line, or shutoff valve in the crawl space will often cut the liner to get to the pipe. Some will re-tape; many won’t.
- Pest treatments. Termite and general pest control often means applying material to specific foundation points, which may require temporarily lifting the liner at the perimeter.
- HVAC service. Duct repairs and air handler access often happen in the crawl space, and the duct team’s priority is the duct, not the liner.
How to spot a penetration that needs re-taping: walk the perimeter of the crawl space looking for tape edges that are lifted, liner that has been cut or folded back, or gaps where a pipe passes through the liner. Any of those is a re-tape job. A roll of seam tape and ten minutes handles most. If a large area of liner has been cut away, that’s a professional re-installation, not a homeowner patch.
The practical approach for a homeowner is to ask any contractor who enters the crawl space for any reason to leave a note that they were there, and what they touched. Then bump the next scheduled inspection forward if anything was disturbed. If the work was significant, our team at Envelope can come back and re-seal as part of a maintenance visit. That said, if you’re doing a larger renovation, our Spray Foam Insulation in Las Vegas page covers the options where the crawl space transitions to conditioned space, because that changes the maintenance math significantly. Spray foam on the rim joist and band joist area, done properly, can eliminate several of the typical failure points at the wall termination.
Dehumidifier Maintenance Schedule
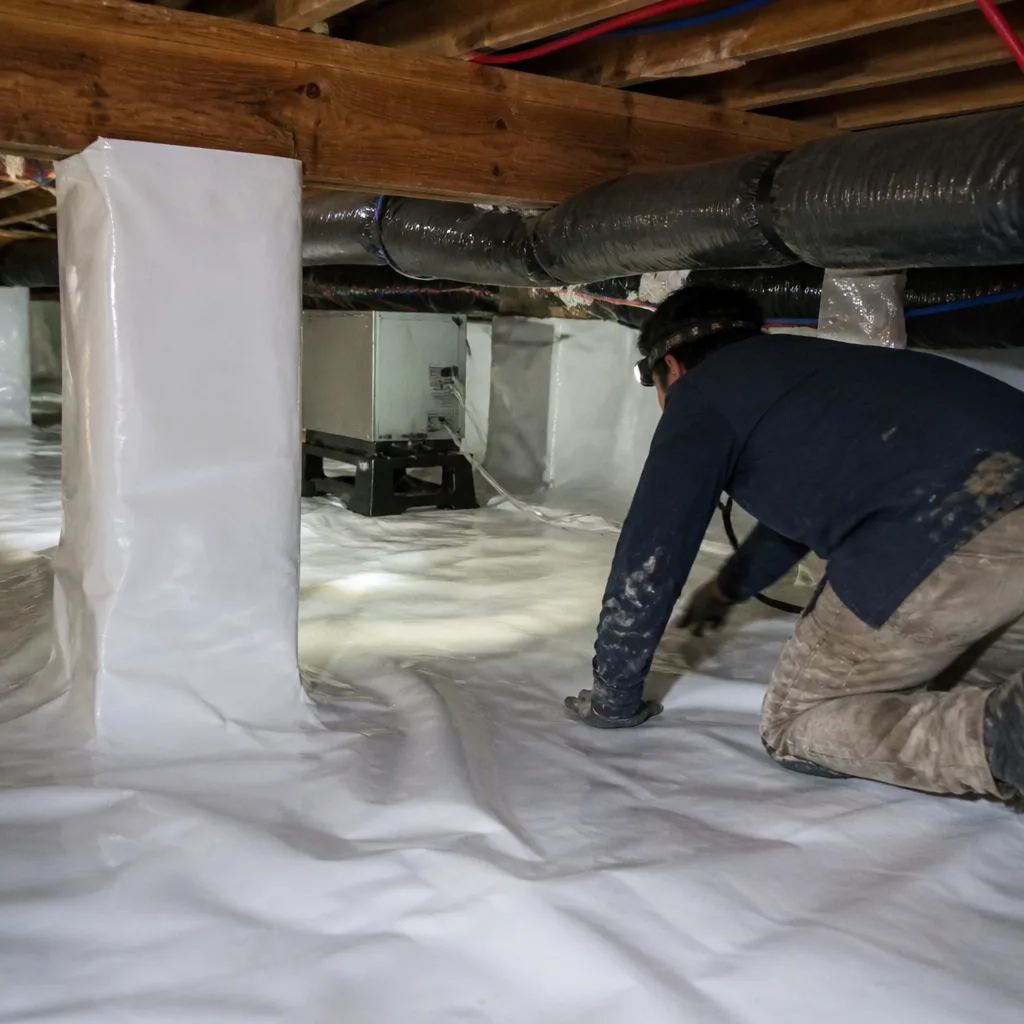
If your encapsulation includes a dehumidifier, the appliance is the only active component in the system and it needs a schedule.
- Filter cleaning: every 90 days. A clogged filter cuts airflow, drives up runtime, and eventually overheats the compressor. Pull the filter, rinse it, dry it, and put it back. If your filter is a disposable type, replace it.
- Condensate line check: every inspection, and again after any long humid spell. The drain line runs to a floor drain, sump, or exterior grade. A kinked or algae-clogged line backs water up into the unit and, eventually, onto the liner.
- Runtime monitoring: ongoing. A dehumidifier running more than about half the time in the dry season (April-June) or more than 80% of the time in the monsoon is telling you the barrier is leaking somewhere. It’s not a dehumidifier problem; it’s a barrier problem showing up as a dehumidifier symptom.
If your dehumidifier has a built-in humidity setpoint, set it to 55% and leave it. Chasing 45% burns compressor hours for a 5% difference that isn’t worth the wear. If it’s a commercial-grade unit with a remote sensor, record the setpoint in your log so a later reader knows what it was running at when the readings were taken.
What to Document and Why It Pays at Sale
The documentation is where the maintenance schedule pays for itself twice: once as a diagnostic record, and once at the point of sale. Buyers and their inspectors are much more forgiving of a crawl space with a binder than one with a mystery. The record to build:
- A dated photo set from each inspection showing seam condition, wall termination, and any penetrations found. Wide shots and close-ups. Cell phone photos are fine.
- Moisture meter readings logged with location and date. “23A joist, 3 feet from hatch, 12.4% MC, Sept 14” is a proper entry.
- Repairs made, with before and after photos and a one-line description of what was re-taped or re-sealed.
- Service events in the crawl space: plumber, pest control, HVAC, with dates.
- The original installation documentation, including the written scope and warranty. Under Haven Standard: Have it in writing, the scope and warranty were delivered before the work started, so dig them out if they aren’t with the inspection record.
A complete maintenance record has direct appraisal value in Las Vegas because it removes the uncertainty a buyer’s inspector would otherwise flag. An encapsulation job without a maintenance record reads as “unknown condition”; with a record, it reads as a documented, maintained system. If you’re buying or selling a home with a crawl space system, our team can walk a prospective buyer through the record at inspection. Get a written price before any work starts – it’s the foundation of how we operate, and you can call (833) 362-4859 for a free estimate or a second opinion on any written estimate you’ve already received.
Common Mistakes to Avoid
- Skipping the post-monsoon inspection because “it was just installed.” The first monsoon after installation is the only opportunity to catch installation-detail failures while they’re cheap to fix.
- Trusting the dehumidifier’s humidity display as a barrier condition indicator. A digital display on the unit reads local air at the unit. It does not tell you whether a seam behind the main beam has lifted.
- Using duct tape instead of liner tape. Duct tape doesn’t hold long-term at warm temperatures and loses adhesion in the dry Las Vegas air. Use the same seam tape the original installation used.
- Ignoring 16%-to-20% moisture readings as “just a bit high.” Above 16% is where rot becomes possible. There is no “watching brief” above 16%; it’s a call to action.
- Relying on visual inspection alone without a moisture meter. Wet wood doesn’t always look wet. A $40 meter is the cheapest insurance you’ll ever buy for a $4,000 to $12,000 encapsulation.
- Assuming your HVAC contractor will tell you if they cut the liner. Most won’t. Ask, and check.
- Letting the dehumidifier filter go a year between cleanings. Ninety days is the interval that gets the most life out of the unit. Las Vegas dust is heavy in the crawl space air.
For similar maintenance-discipline content specific to the attic side of the envelope, our Attic Insulation in Las Vegas page walks through attic air sealing and what to check after an install.
When to Call a Professional
Most of the biennial inspection is homeowner-appropriate: flashlight, moisture meter, logbook, seal tape. Call a professional when the readings go sideways or the barrier shows damage beyond a few tape lifts. Specifically: any wood moisture reading above 16%, any relative humidity reading above 70%, a dehumidifier running more than 80% of the time in the dry season, any section of liner that has been cut or displaced beyond a small re-tape, a wall termination that has separated from the foundation, or any musty smell that wasn’t there at the last inspection. Also call if you’re buying or selling the home and the buyer’s inspector has flagged the crawl space, because a documented condition report from a qualified contractor often resolves the concern. Envelope Insulation Las Vegas offers free estimates in Las Vegas – call (833) 362-4859, and a live person will answer, 24/7. Written price before any work starts, always. Free second opinion on any written estimate you already have.
Frequently Asked Questions
Two scheduled inspections: once in August or September after the first monsoon season following installation, and once every two years after that. The post-monsoon timing matters because monsoon humidity is the only regular annual event that stress-tests a new barrier’s seams. Between scheduled inspections, bump the next visit forward if any contractor entered the crawl space for plumbing, pest, or HVAC work.
Above 16% is too high. Wood-destroying fungi need roughly that moisture threshold to establish. Below 16% keeps the wood assembly dry enough to avoid rot. If a reading comes in above 16%, don’t wait for the next biennial inspection; call for a professional check.
For most Las Vegas crawls with typical ductwork and wood floor systems above, yes. The encapsulation creates a sealed box, and without humidity control that box holds every bit of moisture that comes in through the access hatch, through minor seam breaches, and through the concrete itself. The dehumidifier is the active piece that keeps interior RH below 60%. If you’ve skipped it, adding one is often the single highest-value upgrade to the system.
Many will, especially at seams and wall terminations, but not all. The moisture readings exist because visual inspection alone misses small breaches. If your tape looks fine but the dehumidifier is running longer than it used to, the most likely cause is a breach you haven’t located.
A routine crawl space inspection in the Las Vegas market typically runs $150 to $350 for a full photo-and-readings inspection with a written condition report. Repairs, such as re-taping seams or re-securing a wall termination, are priced separately and in writing before any work begins. Call (833) 362-4859 for a free estimate; written price before any work starts, always.
Yes. A documented maintenance record with dated photos, moisture readings, and repair entries removes the “unknown condition” flag that a buyer’s inspector would otherwise raise. In practice it converts the crawl space from a liability in negotiation into a documented, maintained system. Many Las Vegas sellers find the record alone offsets the cost of the inspections.
That’s an oversimplification. A correctly installed barrier in Las Vegas needs a lot less maintenance than the alternatives, but it needs a schedule, especially the first post-monsoon inspection and the biennial check after that. If you’ve been told “no maintenance,” call for a second opinion on the installation paperwork, and we’ll read it with you.
The Bottom Line
Encapsulation in Las Vegas is a maintenance discipline, not a one-time install. The two inspections that matter are the first post-monsoon check and then every two years. Three readings to log at every visit: wood moisture below 16%, interior relative humidity below 60%, and visual integrity of seams and wall terminations. Clean the dehumidifier filter every 90 days and monitor runtime; a long-running unit is a barrier signal, not a dehumidifier failure. Document everything: dated photos, moisture readings, and service events. That record pays for itself twice, once as a diagnostic tool and once at the point of sale. And when the readings go sideways, call early. Written price before any work starts on every repair, and a second opinion is always free.
Written by the team at Envelope Insulation Las Vegas.
If you’re ready to schedule a crawl space inspection, a second opinion on a competitor’s written estimate, or a free estimate on a new encapsulation or a repair, call Envelope Insulation Las Vegas at (833) 362-4859. A live person answers 24/7, a written price comes before any work starts, and a documented photo record leaves with every job.