
Last updated November 17, 2026
Crawl Space Encapsulation & Vapor Barrier Troubleshooting: Common Problems and How to Fix Them
The most common crawl space encapsulation failure isn’t a torn membrane. It’s an unsealed seam that lets humid air infiltrate underneath a barrier that looks intact from every angle you can see without moving it. We’ve pulled back “finished” encapsulations in Las Vegas that were quietly condensing water against floor joists for two years because one overlap at a pier was never taped. A barrier that’s installed but failing is worse than no barrier at all, because it hides the problem behind a clean-looking sheet of plastic. This guide covers the five failure modes we find most often, how to inspect your own crawl space, and how to tell a quick repair from an honest full reinstall.
Quick Answer
Crawl space vapor barrier problems usually come down to five failures: unsealed seams, barrier that doesn’t run up and seal to the foundation wall, untaped penetrations around pipes and columns, standing water trapped under the liner, and mechanical damage from someone crawling in after the install. Most of these are repairable in a single visit if the wood framing underneath is still dry. If a moisture meter reads above 19% on joists or subfloor, the barrier has been failing long enough to affect structure, and repair versus reinstall becomes a real question.
Table of Contents
- The Five Failure Modes, In Order of Frequency
- How to Inspect Your Own Crawl Space
- Seal to the Wall or It Isn’t Encapsulated
- Why Your HVAC Ducts Are Sweating
- What the Smell Is Telling You
- Repair or Reinstall? Reading the Moisture Meter
- Las Vegas Climate and Crawl Space Behavior
- Common Mistakes to Avoid
The Five Failure Modes, In Order of Frequency
After enough crawl space inspections, the failures sort themselves by frequency. Tape fails before plastic does, and seams fail before walls do. Here’s the order we actually see them in.
- Unsealed seams. Two sheets of liner overlap by 6 inches and nobody tapes them, or the tape lifts within a season. Humid outside air migrates under the barrier, condenses on the cool underside, and the plastic starts to sweat. From above, everything looks fine.
- Barrier not run up and sealed to the foundation wall. A liner laid flat on the ground with a loose edge at the footing is a ground cover, not an encapsulation. The wall stays exposed, wicks moisture, and feeds it straight into the rim joist and sill plate.
- Untaped penetrations. Pipes, support columns, sump lines, and electrical conduit punch through the liner. Every one of those holes is an open door for vapor. The fix takes minutes per penetration; skipping it costs the whole job.
- Standing water pooling under the barrier. Groundwater or a grading issue traps water beneath the liner. It can’t evaporate, so it sits and pressurizes vapor upward through every imperfection. This one needs drainage addressed, not just more plastic.
- Mechanical damage from post-installation access. The plumber who came back for a leak repair, the pest tech who didn’t kneel carefully, the homeowner who dragged a storage bin across the liner. Punctures and drag tears are common and easy to miss.
We’ve seen the same pattern in Las Vegas crawl spaces in older neighborhoods near downtown and in the foothills, where summer humidity spikes after monsoon storms and the liner has to handle more vapor pressure than the installer assumed. A properly installed crawl space encapsulation and vapor barrier in Las Vegas accounts for that swing up front.
How to Inspect Your Own Crawl Space
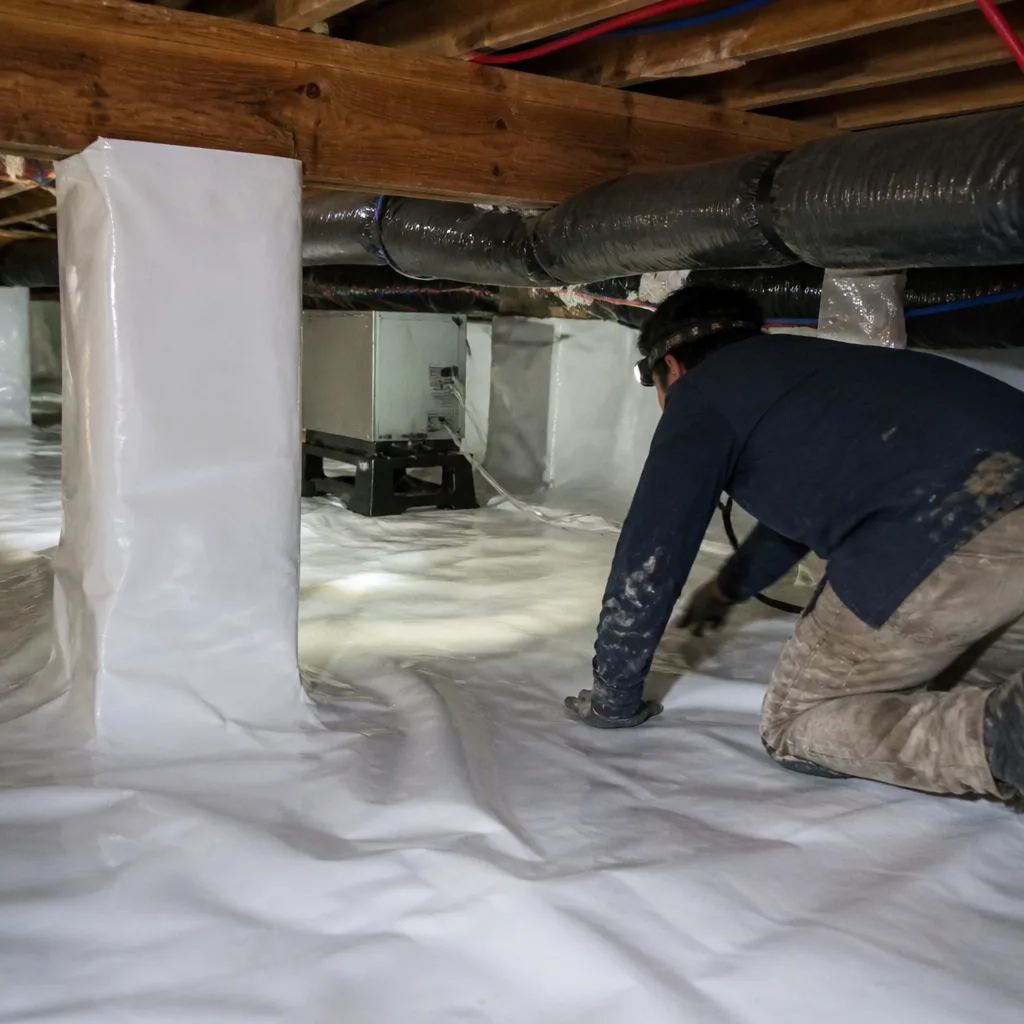
You can absolutely inspect your own crawl space. What you can’t do is judge a moisture problem by eye. Bring three things and take six photos. That’s the whole protocol.
What to bring:
- A pin-type moisture meter (a $40 unit is fine for a homeowner check)
- A bright flashlight or headlamp, not a phone light
- Kneepads, gloves, and a dust mask
What to measure and photograph:
- Wood moisture content on three floor joists near the middle of the span. Above 19% is a problem. Consistently above 24% is a structural concern.
- The rim joist and sill plate where the barrier meets the wall.
- Every penetration: pipes, columns, conduit, drains.
- The underside of the liner where it sags or pools.
- Any ductwork running through the crawl space, especially at the joints.
- Full-frame shots of each wall so you can compare over time.
That documented set of photos is exactly what a good contractor should hand you after their own inspection. We include a documented record of the home’s envelope condition on every visit as part of The Haven Standard, because guessing at a moisture problem without a baseline is how repairs get repeated.
Seal to the Wall or It Isn’t Encapsulated
Here’s the distinction most homeowners miss: a ground cover is not an encapsulation. The difference is whether the liner runs up the foundation wall and is mechanically fastened and sealed to it, usually with a termination bar or adhesive strip at the top edge.
If your liner stops at the footing and just lies there, the wall is doing exactly what wet concrete does. It releases moisture into the crawl space air, which then condenses on the first cool surface it finds. In Las Vegas, that’s usually a floor joist or a cold-water pipe, not the wall itself. The result is a crawl space that reads dry on a quick look but tests wet with a meter.
The repair here is straightforward if the liner is still sound: pull the edges up, fasten them, seal the seam to the wall, and re-tape any overlaps. It’s a half-day job on most homes. If the liner has been lying flat through several monsoon seasons and the wall is stained or the sill plate is soft, the honest answer changes. We cover that below.
Why Your HVAC Ducts Are Sweating
Condensation on HVAC ducts in an encapsulated crawl space is almost never an HVAC malfunction. It’s evidence the encapsulation is incomplete.
Here’s the mechanism. A properly sealed crawl space is a dry, semi-conditioned zone. If the liner has unsealed seams or a wall that isn’t covered, humid air migrates in and finds the summer-cooled ductwork, which runs around 58°F on a Vegas afternoon. Water condenses on the duct jacket. Homeowners call an HVAC tech, the tech finds nothing wrong with the equipment, and the problem persists until the seams and wall terminations are sealed.
The test is simple. Measure moisture content on the joists above the sweating duct. If the ducts are wet but the framing is dry, you have a localized air leak. If both are wet, the encapsulation has broader gaps and needs a full inspection. Either way, the fix is barrier work, not refrigerant. Under Haven Standard: Have it in writing, the scope of that repair gets documented in a written price before anyone starts, and the after-repair readings go into your file.
What the Smell Is Telling You
The smell profile of a compromised crawl space points to the right first call. Three distinct smells, three different trades.
- Musty. That’s mold or mildew, and it means moisture has been present long enough for fungal growth. First call is the encapsulation contractor, not a mold remediation company, because the source is the barrier failure.
- Animal. That’s pest entry. Skunks, feral cats, and rats use Vegas crawl spaces year-round because they’re cooler than the outside air in July. First call is pest control, then the encapsulation contractor, because the entry point has to be sealed or the animals come back.
- Sewage. That’s a P-trap or floor drain problem, usually a dry trap in an unused fixture. First call is a plumber, and the encapsulation repair comes after the drain is fixed. Sealing a crawl space around an active drain leak traps the problem.
Getting the order wrong is how homeowners end up paying for the same repair twice. The smell is data. Read it before you call.
Repair or Reinstall? Reading the Moisture Meter
The moisture meter reading is the dividing line. Here’s how we make the call.
Repair is honest when:
- Wood moisture reads under 19% on joists and subfloor
- The liner is intact except at seams and penetrations
- The wall termination is incomplete but the wall itself is sound
- Any standing water has a clear source you can fix (grading, downspout routing, a plumbing leak)
Reinstall is the honest answer when:
- Wood moisture is above 19% across multiple joists, or above 24% anywhere
- The liner has been sitting on bare ground for multiple seasons and shows widespread sagging or mildew on the underside
- The sill plate or rim joist is soft to a screwdriver
- The original install used a thin liner that’s now brittle or cracked at the folds
We’ve had customers ask for a repair when the meter said reinstall, and we’ve told them so. The 365-Day Done Right Promise only means something if the diagnosis was honest to begin with. If a competing quote recommends a reinstall, we’ll read it with you for free and tell you whether the reading supports it.
Las Vegas Climate and Crawl Space Behavior
Las Vegas is a desert, but it’s a desert with a monsoon season from July through September. That’s the piece most encapsulation advice written for humid climates gets wrong. The soil under a Vegas crawl space is usually dry, and the air above it is usually dry. Then a monsoon dumps an inch of rain in an hour, the ground saturates, and the crawl space gets a vapor pulse it wasn’t designed for. Homes in older neighborhoods around downtown and in the foothills see this most. Newer builds in Summerlin, Henderson, and North Las Vegas tend to have better grading but the same vulnerable seams.
The second Las Vegas factor is attic ductwork. Many homes in this market run HVAC ducts through the attic rather than the crawl space, which means a wet crawl space here is more often a wood-framing problem than a duct problem. If you’re assessing the whole envelope, our guide to attic insulation in Las Vegas covers the other half of the picture. Spray foam is also worth considering for rim joists and any above-grade band areas, which our spray foam insulation in Las Vegas page covers in detail.
Common Mistakes to Avoid
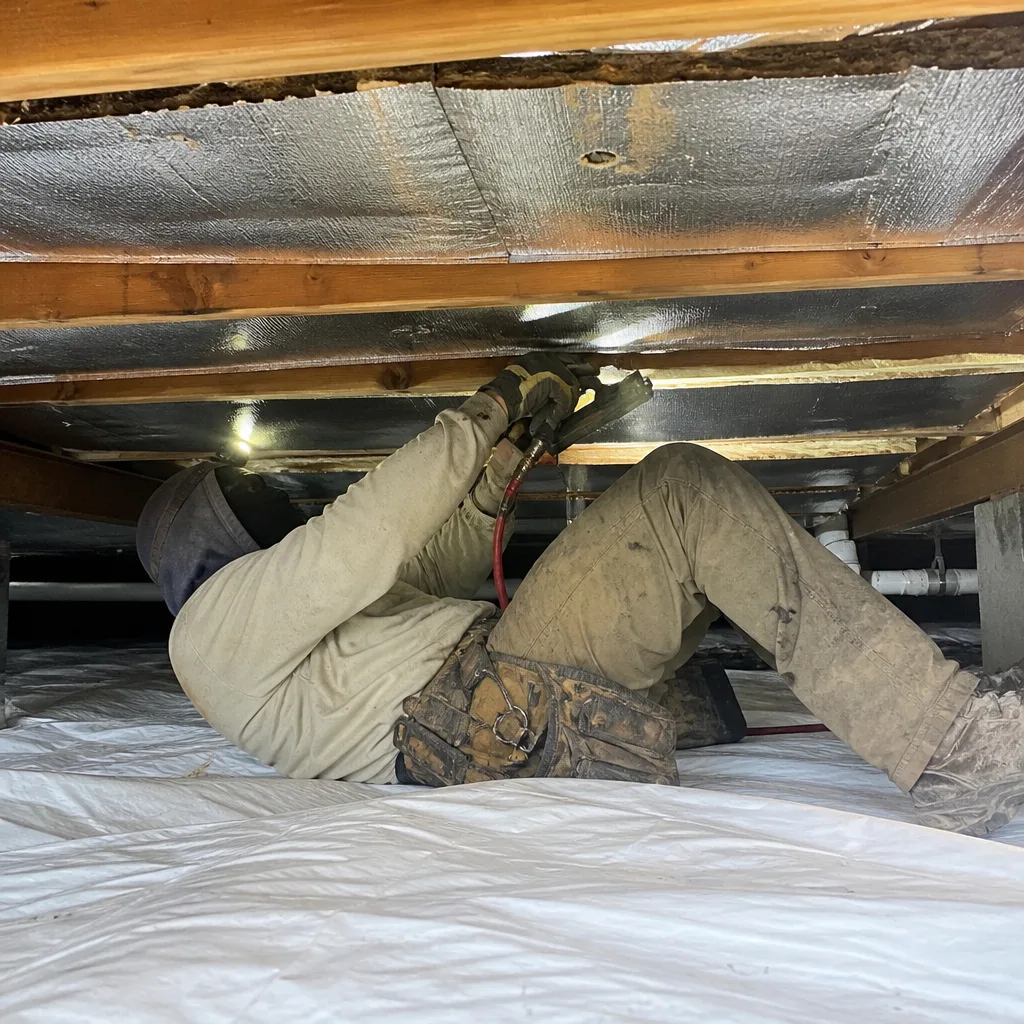
- Laying a liner without taping the seams. Unsealed overlaps are the number one failure. Six-inch overlaps, taped and rolled, or don’t bother.
- Stopping the liner at the footing. A ground cover is not an encapsulation. The liner must run up and seal to the foundation wall.
- Skipping the penetrations. Every pipe, column, and conduit needs tape or a boot. Missing one hole fails the whole job in a slow, invisible way.
- Ignoring standing water under the liner. If water pools beneath the barrier, no amount of tape fixes it. Address the drainage source first.
- Choosing a thin liner to save money. A 6-mil sheet tears on a single kneepad drag. Most competent installs use a reinforced 12-mil or heavier liner.
- Skipping the moisture meter. In our experience, the difference between a $400 seam repair and a full reinstall comes down to one reading. Skip it and you’re guessing.
- Letting a plumber or pest tech crawl in without asking them to flag tears. Access damage is easy to prevent and expensive to find later.
When to Call a Professional
Call a professional if your moisture meter reads above 19% on joists, if the liner has been flat on the ground for more than a season, if you smell anything in the musty or sewage family, or if standing water is pooling under the barrier. Those are the cases where a DIY tape-and-hope repair tends to fail within a year. A trained technician can document the reading, photograph the failure, and tell you whether repair or reinstall is the honest answer. Our technicians have up to 10 years of experience in Las Vegas crawl spaces, and Envelope Insulation Las Vegas offers free estimates across the valley. Call (833) 362-4859 and a live person will pick up. Our contractors use materials from GreenFiber, Owens Corning, and Johns Manville, and every job comes with a written price before any work starts and a documented photo record when the crew leaves.
Frequently Asked Questions
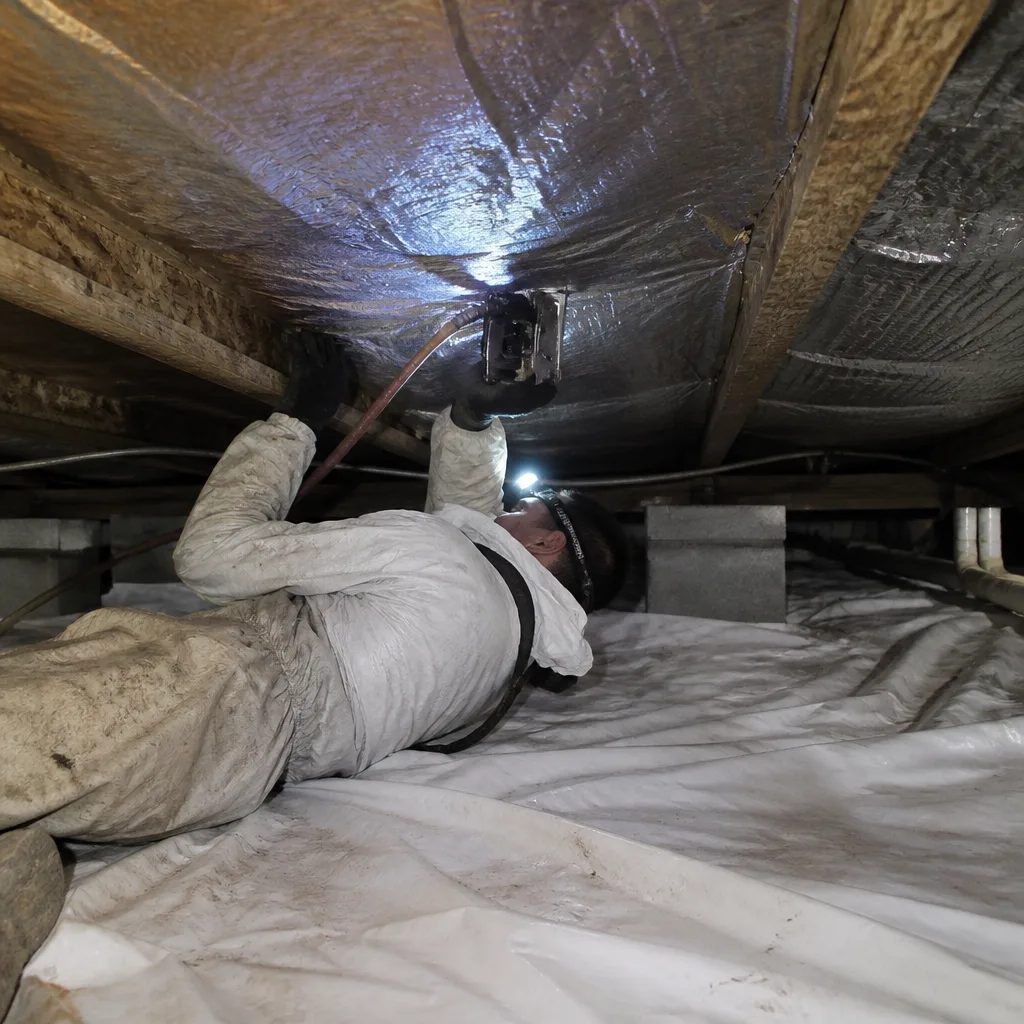
A properly installed reinforced liner lasts 20 to 30 years if the seams stay taped and nothing tears it. In practice, most Las Vegas failures happen in the first 3 to 5 years because of seam and penetration gaps rather than liner degradation. Seams fail before plastic does.
Yes, for small tears and lifted seams. Use liner tape made for the material, clean the surface first, and apply pressure over the full length of the overlap. For penetrations and wall terminations, the repair requires fastening and sealing that’s easier to get right with a pro on-site. Call (833) 362-4859 for a free estimate if you want a second opinion on the scope.
In our experience, damp Las Vegas crawl spaces after encapsulation are almost always one of three things: unsealed seams letting monsoon-season humid air under the liner, a wall termination that was never completed, or a plumbing leak under the barrier. A moisture meter reading at the joists tells you which. Call (833) 362-4859 if you want us to read it with you.
Encapsulation isn’t typically a line item on an appraisal the way a kitchen remodel is, but documented encapsulation with before-and-after readings makes a home easier to sell because buyers and their inspectors can verify the condition. It also removes a common objection in pre-listing inspections.
A vapor barrier is the liner itself. Encapsulation is the full system: liner up the walls, sealed at all terminations, penetrations taped, drainage addressed, and the whole envelope documented. A vapor barrier alone doesn’t stop moisture from getting around the edges. Call (833) 362-4859 for a free estimate on either scope.
Three signals from living space: a musty smell that gets stronger in summer, condensation on cold water pipes or HVAC equipment, and a floor that feels soft or squeaks more than it used to. None of those are proof, but all three are reasons to get under the house with a meter. Call (833) 362-4859 for a free estimate if you’d rather have a technician do the reading.
The Bottom Line
A failing vapor barrier is more dangerous than no barrier because it hides the moisture problem behind a clean-looking surface. The five failure modes – unsealed seams, missing wall terminations, untaped penetrations, trapped water, and access damage – are all fixable if you catch them early. Bring a moisture meter, photograph what you see, and read the smell. If the wood reads above 19%, stop taping and start talking to a professional. Our team at Envelope Insulation Las Vegas documents every reading and puts a written price in front of you before any work starts, which is the only way to know the repair you paid for actually fixed the failure.
Call (833) 362-4859 for a free estimate on crawl space encapsulation, vapor barrier repair, or a full envelope inspection anywhere in Las Vegas.
Written by the team at Envelope Insulation Las Vegas.