
Last updated November 17, 2026
Radiant Barrier Installation Troubleshooting: Common Problems and How to Fix Them
A Las Vegas homeowner called us out to a house in Spring Valley with a two-year-old radiant barrier and utility bills that hadn’t budged. He assumed the product was a gimmick. The attic inspection told a different story: the foil had been stapled face-down against the roof deck, so there was no air gap at all. An $1,800 radiant barrier had been converted into an expensive vapor retarder doing almost nothing. That single install error is one of four we find repeatedly in Las Vegas attics. This guide gives you the diagnostic sequence to identify which failure you’re looking at before you spend another dollar guessing.
Quick Answer
Most radiant barrier failures trace back to four install errors: foil installed facing the wrong direction, no air gap between the foil and the roof deck, incomplete coverage that leaves thermal bypass paths open, or seams and staple holes that degrade reflectivity. Each has a distinct diagnostic signature you can measure with an infrared thermometer at solar noon. If the foil surface reads 20 – 30°F cooler than the unprotected roof deck on the same plane, the barrier is working and your problem is likely air sealing or insulation depth, not the radiant barrier.
Table of Contents
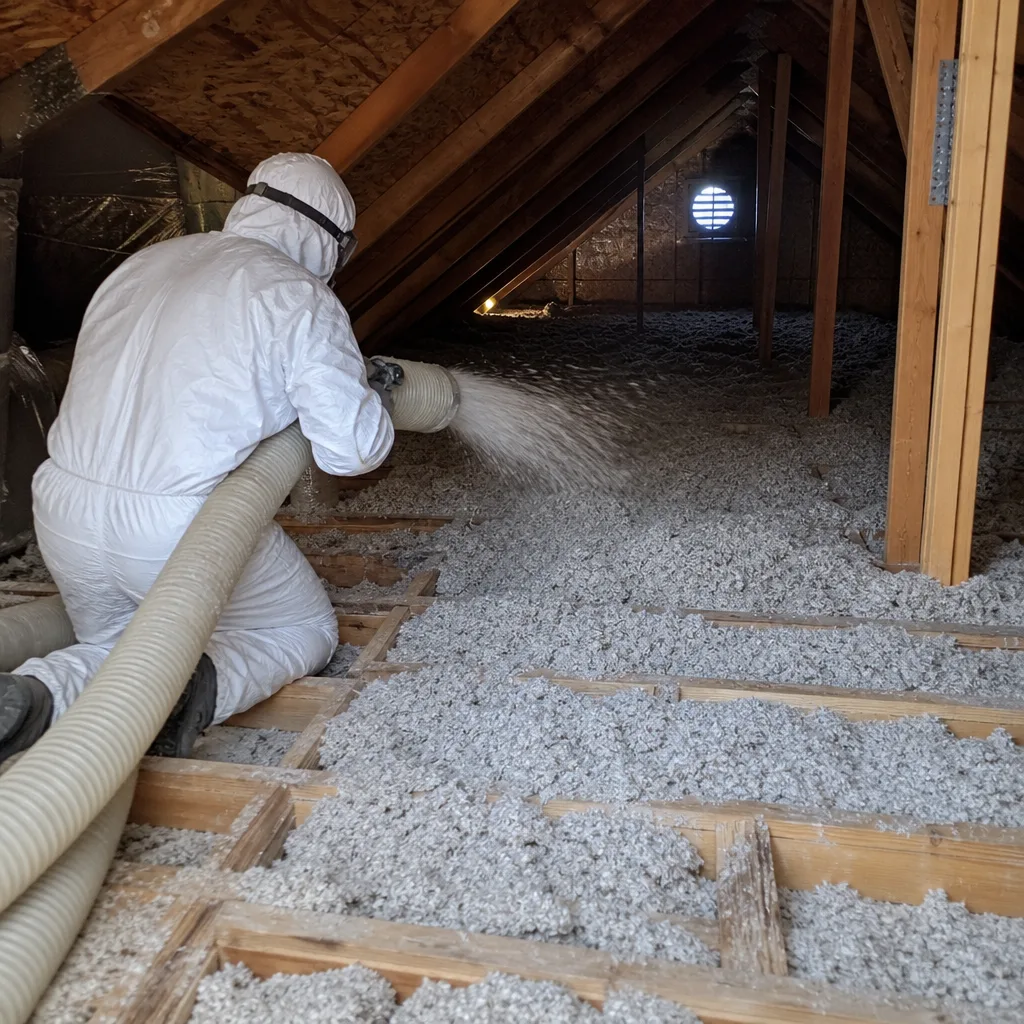
- The Four Failure Modes and How to Diagnose Each
- Failure Mode 1: Wrong Orientation (Foil Facing the Deck)
- Failure Mode 2: No Air Gap Between Foil and Deck
- Failure Mode 3: Incomplete Coverage and Thermal Bypass
- Failure Mode 4: Torn or Staple-Perforated Seams
- Radiant Barrier Problem vs. Air-Sealing Problem: One Data Point
- The January – February Condensation Problem in Las Vegas
- IR Reading Thresholds: What Functional Looks Like
The Four Failure Modes and How to Diagnose Each
Radiant barriers work by reflecting radiant heat before it transfers through the roof assembly into the attic. The physics only hold if the foil has a low-emissivity surface facing the hot side, an air gap on that same side to prevent conductive transfer, complete coverage across the roof plane, and intact reflective material. Break any one of those and the barrier degrades fast. In our experience across Las Vegas attics, the four failure modes below account for nearly every case where a homeowner reports that a radiant barrier “didn’t work.”
Here’s the diagnostic sequence we run, in order:
- Measure foil surface temperature versus unprotected deck at solar noon with an IR thermometer, same plane, same distance.
- Check foil orientation: the reflective side should face down into the attic space, not up against the deck.
- Measure the air gap at three or more rafter bays with a tape or a business card used as a feeler gauge.
- Walk the entire attic with a thermal camera at peak heat (1 – 4 p.m. in summer) to find coverage gaps and thermal bypass paths.
- Inspect seams and staple lines for perforation, tearing, or foil delamination.
None of these measurements require destructive work. All of them can be taken by a homeowner with a $30 IR thermometer and a flashlight, though the thermal camera walk is faster with a technician who has done it hundreds of times. If you want your whole envelope read at once, a home energy audit in Las Vegas includes all of these plus a blower-door reading that tells you how much air the house is actually losing.
Failure Mode 1: Wrong Orientation (Foil Facing the Deck)
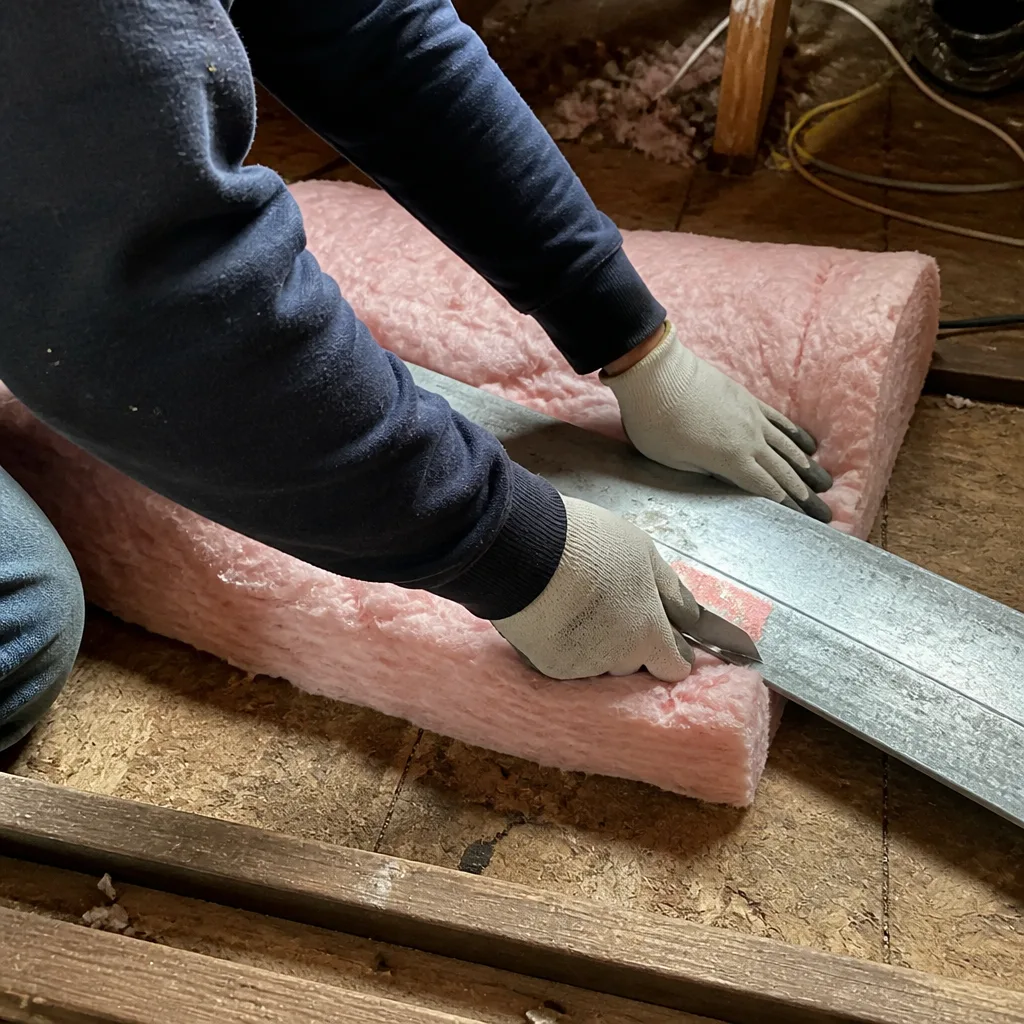
The most common install error we see in Las Vegas is foil stapled with the reflective side against the roof deck. On a radiant barrier with a single reflective face, that face needs to look into the attic air space. Flip it deck-side and the barrier loses almost all its function. The reflective layer transfers heat conductively to the deck instead of reflecting it back, and what you’ve installed is essentially a radiant barrier on the wrong side of the gap.
Diagnostic method: at solar noon on a clear day, point an IR thermometer at the foil surface and then at an adjacent section of bare roof deck in the same rafter bay plane. On a correctly installed barrier facing down, the foil surface should read cooler than the deck above it, not warmer. If the foil reads warmer than the deck, the orientation is likely reversed. Confirm by looking at the foil up close at a staple line; most products print a label or have a distinct shiny side that indicates which face reflects.
Remediation: this is usually fixable without a full reinstall. A crew can pull the staples in each bay, flip the panel, and re-staple it with the reflective face down. Where the panel is damaged from removal, replace that panel with new foil from the same product line (Owens Corning, Johns Manville, and CertainTeed all make compatible reflective products). Budget for a partial reinstall, not a full one, unless more than a third of the attic is affected.
Failure Mode 2: No Air Gap Between Foil and Deck
A radiant barrier reflects radiant heat but still conducts heat through direct contact. Without a gap, the foil touches the deck and that conduction path defeats the purpose. The industry minimum is a gap on the hot side of the foil, and most installers aim for ¾ inch to 1 inch of clear air space between the foil and the deck sheathing. We’ve measured attics in Henderson and North Las Vegas where the foil was pressed flat against the deck, no gap at all, and the homeowner had paid full price for an install that had no reflective value.
Diagnostic method: measure the gap at three rafter bays that face different compass directions, using a tape or a rigid feeler gauge. Check both at the ridge and at mid-span, because a sagging foil panel can have a gap at one end and contact at the other. Anything under ½ inch is marginal. Zero gap means the barrier is non-functional.
Remediation depends on how the foil was attached:
- Stapled directly to the deck: the panels must come out. This is a reinstall, not a repair.
- Stapled to the underside of rafters with sag: often fixable by re-tensioning the panels and re-stapling with a batten at mid-span.
- Stapled over existing battens: usually correct as installed; confirm the batten depth is at least ¾ inch.
If you’re touching the attic at all, it’s worth checking the floor assembly while you’re up there. A radiant barrier and attic insulation in Las Vegas work together, and the insulation depth is a faster win than anything on the roof plane if you’re under the recommended R-value.
Failure Mode 3: Incomplete Coverage and Thermal Bypass
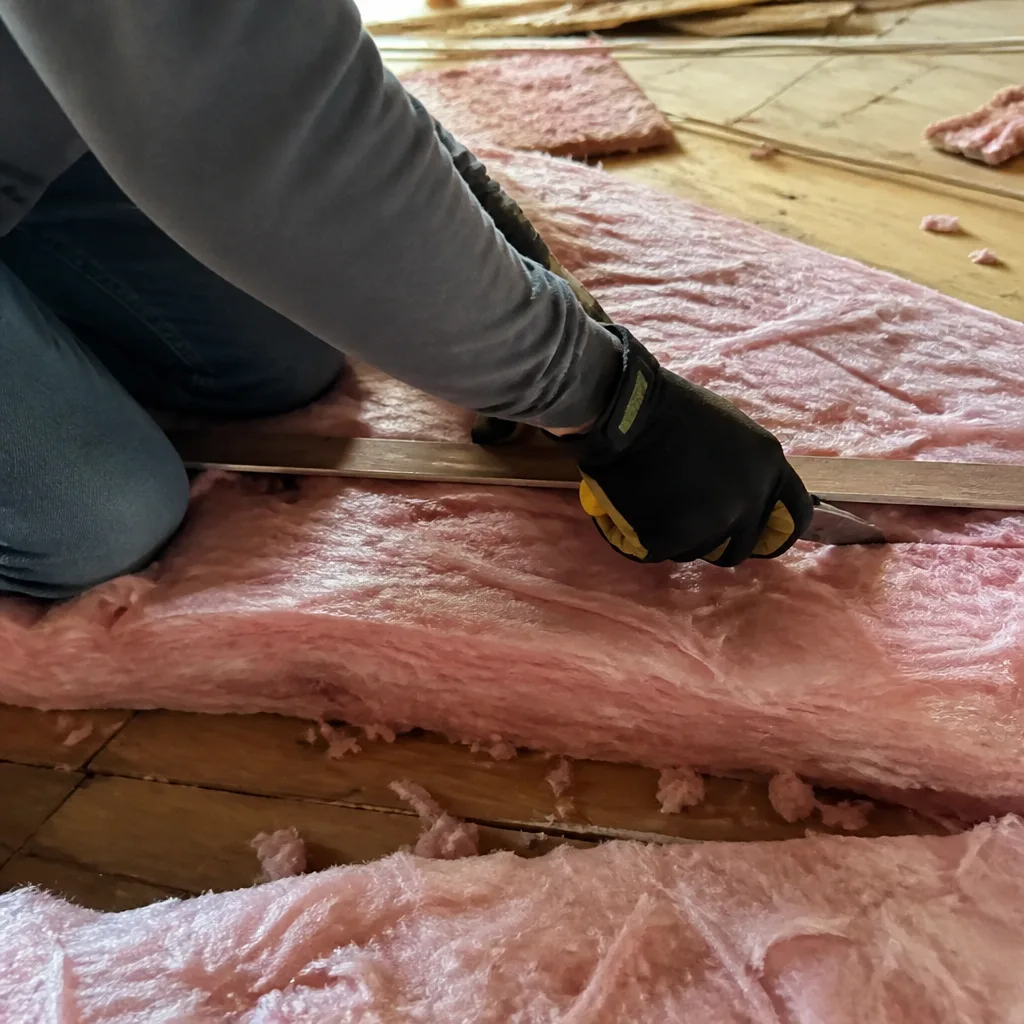
Radiant barriers lose effectiveness in proportion to the coverage gap. A 10% gap can cancel 10 – 15% of the benefit because radiant heat finds the path with the least resistance and the barrier’s job is denial. Common coverage failures we see in Las Vegas attics: skipped rafter bays around the HVAC plenum and the attic access hatch, gaps at the gable ends of the roof, missing strips along the ridge, and foil rolled out only on the “visible” plane facing the access.
Diagnostic method: walk the entire attic with a thermal camera at peak heat, ideally between 1 p.m. and 4 p.m. in July or August. The camera reads surface temperatures, so any unshielded deck square shows as a bright patch against the darker shielded areas. Don’t rely on your hand or a spot IR thermometer; you’ll miss the small gaps at the edges of the run. Photograph each gap with a measuring reference so you can quantify how much square footage is uncovered.
Remediation: incomplete coverage is the easiest of the four failures to fix. Cut and staple new foil panels into each gap, keeping the same air gap dimension as the existing install. Use a foil tape rated for high attic temperatures on the seams. This is a few hours of work for a competent crew and does not require removing the existing barrier.
Failure Mode 4: Torn or Staple-Perforated Seams
Every staple is a small thermal short. In a properly installed barrier, staple lines are placed on rafters and the foil is lapped per the manufacturer’s instructions (usually 2 inches) with foil tape. In a sloppy install, you get staple lines every 6 inches across the field of each panel, no tape on the seams, and tears at the edges where the foil pulled away from the staples. Perforated foil is designed to be vapor-permeable, but staple-punctured foil is not the same thing: it’s just damaged reflective surface.
Diagnostic method: run a straightedge along each seam and look for visible gaps, lifted laps, and staple clusters. Check the foil surface for crimping at the staples, which is where tearing starts. On a bright day, hold a flashlight behind each seam; if light passes through anywhere other than the designed perforations, that seam is leaking.
Remediation: re-tape all failing seams with foil tape rated for the attic temperature range. Add a staple batten if the foil is sagging. Where the foil has torn away from a staple line entirely, replace that panel. Torn or perforated seams rarely justify a full reinstall unless more than 20% of the surface area is compromised.
Radiant Barrier Problem vs. Air-Sealing Problem: One Data Point
Here’s the single measurement that separates a radiant barrier problem from an air-sealing problem. Stand in the attic at midday and take two readings: one on the attic floor (the top surface of the ceiling insulation), and one on the ceiling drywall below it, from inside the house. If the attic floor is hot but the ceiling below is cool, the radiant barrier is doing its job and the heat isn’t reaching the living space through the ceiling. The problem is somewhere else.
That “somewhere else” is almost always air leakage. Hot attic air is pulled into the house through top plates, can lights, plumbing penetrations, and the attic access hatch, and your AC pays to cool it. A radiant barrier reflects radiant heat but does nothing about air transport. We see this constantly in Las Vegas homes built between 2015 and 2025 where the radiant barrier was installed correctly but the attic floor was never sealed.
Confirming an air-sealing problem:
- Blower-door test: a pressurization reading in CFM50 that quantifies total envelope leakage. On a 2,000-square-foot Las Vegas home, we typically see 3,500 – 5,500 CFM50 before air sealing and 1,800 – 2,800 after.
- Smoke pencil at top plates and can lights: a visible draft means the air path is open.
- Utility bill comparison: if the barrier is functioning but your summer bill matches a neighbor’s home with no barrier, the leakage is likely the dominant loss.
If you find yourself in this situation, the fix is air sealing before anything else. That’s the order we work in: seal first, then insulate. Blowing insulation over an unsealed attic floor just buries the leaks under more material.
The January – February Condensation Problem in Las Vegas
Solid, non-perforated foil installed on the wrong side of the assembly causes a seasonal problem in Las Vegas that goes away by March and confuses everyone. In January and February, warm moist air from the living space migrates into the attic and hits a cold foil surface. If the foil is on the cold side (which it is, in a properly installed radiant barrier), that moisture condenses on the foil. If the foil is solid and the moisture can’t pass through it, the condensate runs down the foil face and drips onto the insulation below.
Identification is straightforward if you know what to look for:
- Dark staining on the top surface of the attic insulation, in a pattern that follows the foil seams above it.
- Water marks or mineral deposits on the underside of the foil facing the attic space.
- Rust on staples and framing nails near the foil surface.
- Curling or delamination along the foil edges, which happens after repeated wet-dry cycles.
The root cause is almost always solid foil pressed tight against the deck (Failure Mode 2) in an attic with unresolved air leakage. The fix is threefold: restore the air gap so the foil runs cooler than the deck surface, seal the air leaks from the living space into the attic, and if the foil is solid rather than perforated, consider whether a perforated product would have been the right specification for this climate. Perforated foil from Owens Corning and Knauf is the standard choice in Las Vegas precisely because our winter condensation cycle punishes solid foil installed without a gap.
IR Reading Thresholds: What Functional Looks Like
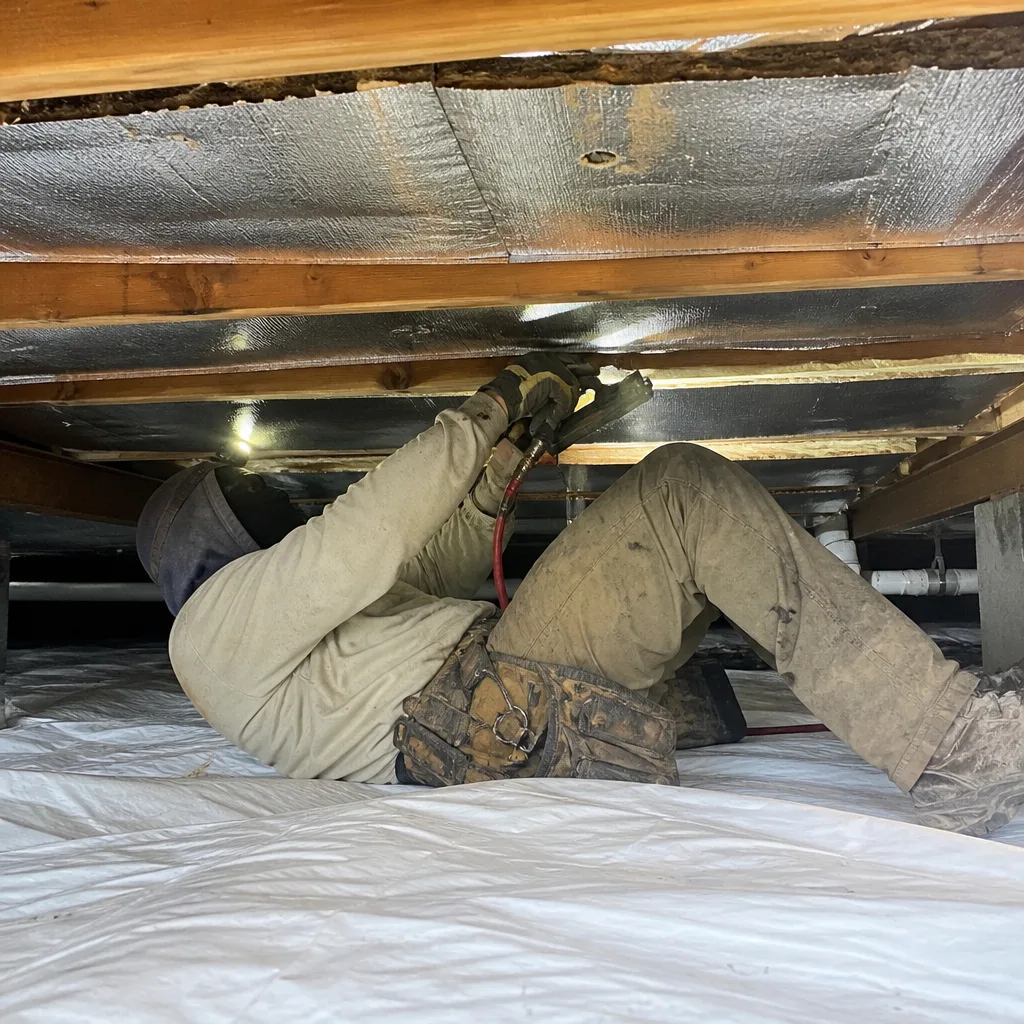
The most useful single number in this whole guide: at solar noon on a clear day, a functioning radiant barrier should read 20 – 30°F cooler at the foil surface than the unprotected roof deck on the same plane. On a July afternoon in Las Vegas, unprotected deck temperatures routinely hit 160 – 175°F. A functioning barrier on the same day reads 130 – 150°F at the foil surface, with the gap doing the remaining work.
What the readings mean:
- 25°F or more of differential: the barrier is functioning. Look elsewhere (air sealing, insulation depth) for your cooling problem.
- 15 – 24°F differential: marginal. Some degradation from seams or partial coverage.
- Under 15°F differential: the barrier is not delivering meaningful reflective benefit. One of the four failure modes is present.
- Foil warmer than the deck: orientation is reversed. This is Failure Mode 1.
Take the readings on the same plane, at the same distance from the roof deck, and at the same time of day, or the numbers won’t be comparable. If you want the readings interpreted for you, our spray foam insulation in Las Vegas inspections include a full IR scan of the roof plane, the floor, and the gable end walls.
Common Mistakes to Avoid
- Installing foil tight against the deck. This is the single most common failure we find in Las Vegas attics, and it converts the product into a vapor retarder. Keep at least ¾ inch of air gap or the install isn’t a radiant barrier.
- Using solid foil instead of perforated in this climate. Perforated products handle the January – February condensation cycle far more gracefully. Solid foil can work, but only with a correct air gap and sealed air paths, and most attic installs don’t get both.
- Skipping the thermal camera walk. Visual inspection misses coverage gaps at the plenum, the access hatch, and the ridge. A camera walk at peak heat finds them in under 20 minutes.
- Trusting the “we installed it right” answer without measurements. Ask for foil surface and deck readings at solar noon, on both a summer and a winter visit. If the contractor can’t produce them, they didn’t take them.
- Installing a radiant barrier over an unsealed attic floor. You’ll spend $1,500 – $2,500 on a barrier that reflects heat the house was already leaking out the top plates. Seal first, then insulate, then consider the barrier.
- Stapling every six inches without taping seams. Each staple is a thermal short. The manufacturer’s spec usually calls for a wider staple pattern and taped laps. Read the spec sheet before the crew starts.
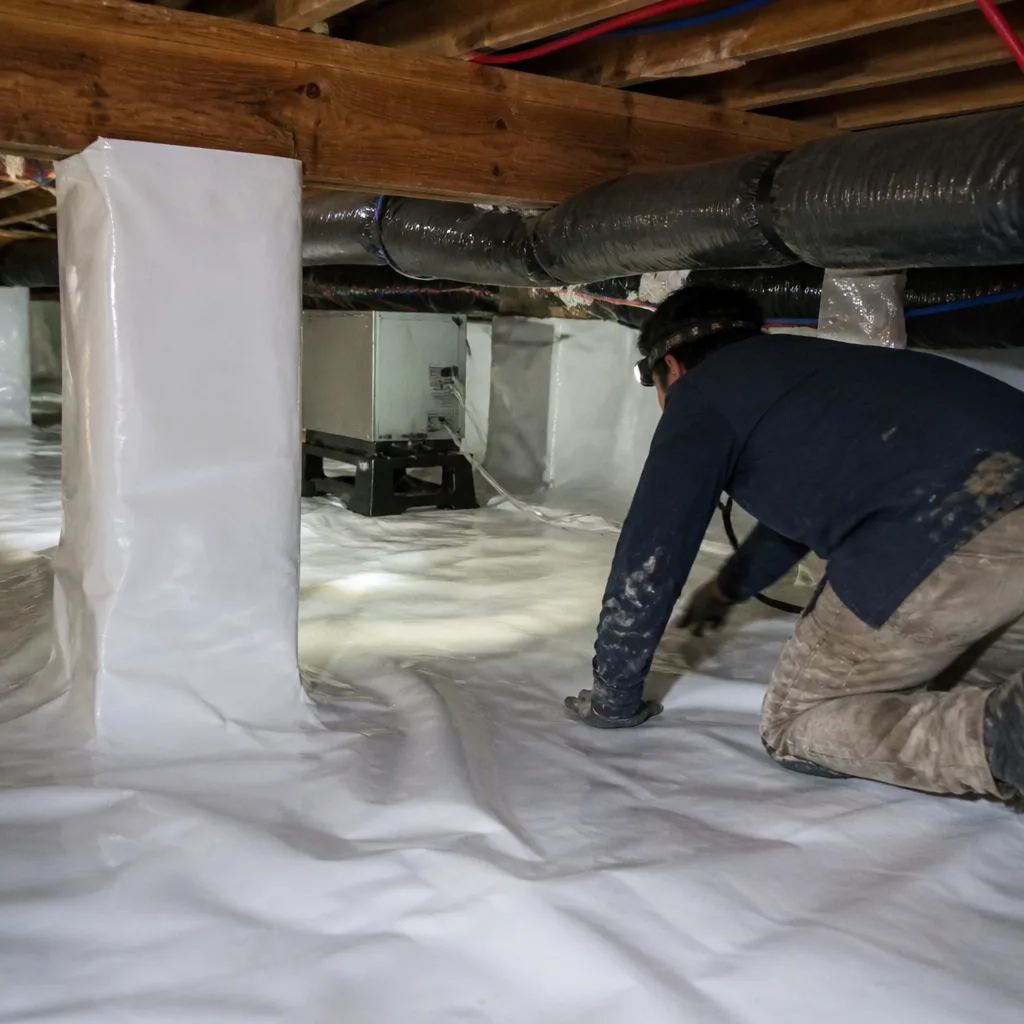
- Expecting the barrier to fix a crawl space moisture problem. Radiant barriers address attic heat gain from above. Ground moisture migrating up through a vented crawl space is a different assembly, and it needs crawl space encapsulation and a vapor barrier in Las Vegas to solve.
When to Call a Professional
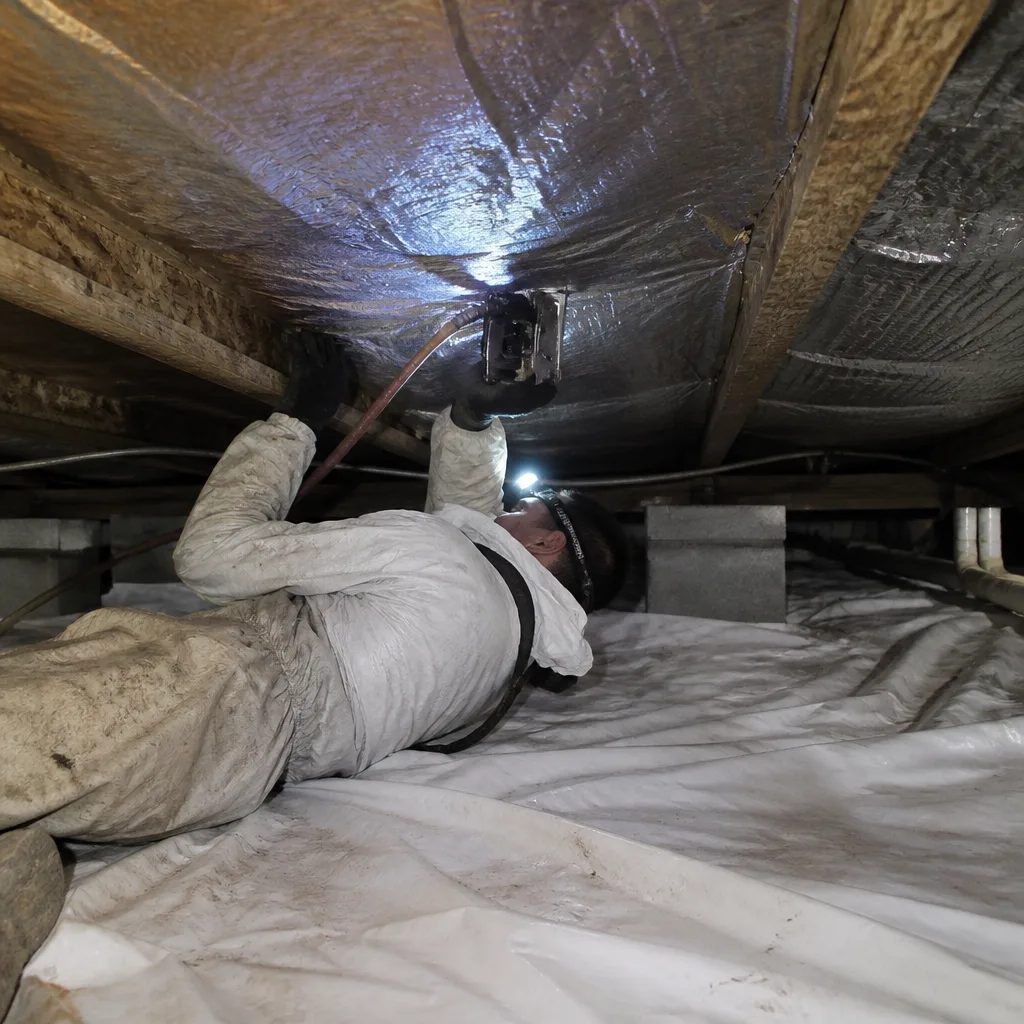
Call us when you can’t safely access the attic, when you’ve measured a foil-versus-deck differential under 15°F and can’t identify which of the four failure modes you’re looking at, or when you’ve confirmed the radiant barrier is functioning but your summer bills haven’t moved. We bring an IR camera, a blower door, and a written price before any work starts. On every applicable job we publish before-and-after blower-door readings so you can see the performance change you paid for. Every Envelope Insulation Las Vegas estimate is free, and every job gets a Documented Photo Record so you can see the attic before and after without climbing up there yourself. Call (833) 362-4859 for a free estimate and we’ll read the attic with you.
Frequently Asked Questions
The fastest check is an IR thermometer reading at solar noon. If the foil surface reads less than 15°F cooler than the unprotected roof deck on the same plane, one of the four failure modes is present. Confirm with a visual inspection of the foil orientation, the air gap dimension, and the seams. A thermal camera walk at peak heat in July or August finds coverage gaps that a visual inspection misses.
Usually yes. Three of the four failure modes (no air gap on battened installs, incomplete coverage, and torn seams) are fixable in place with re-tensioning, added panels, and foil tape. Wrong orientation is fixable by flipping panels bay by bay. Only a foil stapled flat against the deck without battening typically requires a full reinstall of the affected sections.
Condensation on radiant barrier surfaces in Las Vegas appears in January and February, when warm moist air from the living space hits cold foil and condenses. It’s most common on solid (non-perforated) foil pressed against the deck, where moisture can’t pass back through. The fix is restoring the air gap, sealing the air leaks from the house into the attic, and confirming whether a perforated product would have been the right specification. Call (833) 362-4859 if you’re seeing staining on top of the insulation.
Perforated foil is the safer default in Las Vegas because our winter condensation cycle punishes solid foil installed without a proper air gap. Solid foil can work in a correctly sealed attic with a full ¾-inch gap, but the margin for installation error is much narrower. If you’re choosing between the two, ask which failure mode the product handles better in a climate that hits 170°F on the deck in July and condenses in February.
Remediating a coverage gap or re-taping seams typically runs $400 – $900 for a typical single-family attic in Las Vegas. Flipping misoriented panels runs $700 – $1,400 depending on square footage and access. A full reinstall of a foil stapled flat to the deck runs $1,500 – $2,800. Get a written price before any work starts; a reputable contractor will walk the attic with you first. Call (833) 362-4859 for an exact quote.
If the attic floor is under-insulated (below R-38 in Las Vegas), insulation delivers more per dollar than any radiant barrier repair. Fix the insulation and air sealing first, then re-measure the barrier with an IR camera. In our experience, homes that pair correct air sealing with R-49 attic insulation and a functioning radiant barrier see the biggest summer cooling reduction. A free estimate that measures both is the only honest way to answer the question for your specific house.
The Bottom Line
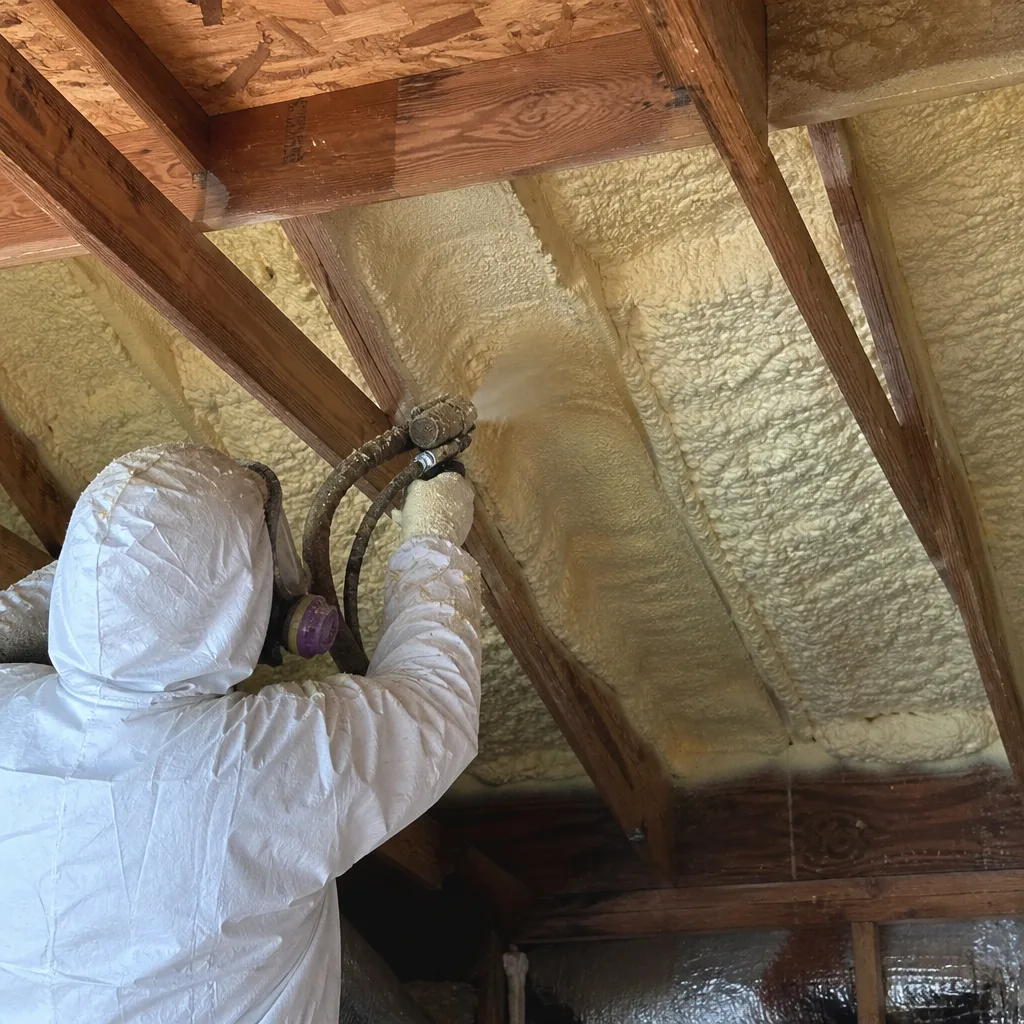
When a radiant barrier stops reducing cooling costs, the cause is almost always measurable, not mysterious. Check the foil-versus-deck differential at solar noon first; 20 – 30°F of separation means the barrier is working and your problem is elsewhere. Then check orientation, air gap, coverage, and seams in that order. Each failure mode has a specific remediation, and three of the four are fixable without a full reinstall. The one mistake homeowners make is skipping the measurements and guessing at the cause; the fix is almost always visible in a single IR reading. If you want the diagnostics run for you with a written record of what we found, call (833) 362-4859. Every job starts with a written price and ends with a Documented Photo Record, and the 365-Day Done Right Promise applies to everything we touch.
Written by the team at Envelope Insulation Las Vegas.