
Last updated November 17, 2026
How Long Does Crawl Space Encapsulation & Vapor Barrier Take? Timelines and What to Expect
A 1,200-square-foot crawl space takes roughly 6 – 10 labor hours to encapsulate, yet homeowners routinely report the job stretching across two or three separate visits, usually because nobody tested substrate moisture before the first crew showed up. That gap between the hours on the invoice and the days on the calendar is the whole story. In this guide, we’ll break down real labor hours, the drying windows that push jobs into extra days, the pre-job measurements that decide whether work starts same-day, and exactly what documentation you should hold when the last crew leaves a Las Vegas crawl space. If you’ve been quoted “one day” and are quietly skeptical about that number, this is for you.
Quick Answer
Most crawl space encapsulation jobs take 1 – 3 calendar days. A straightforward dirt-floor crawl with good access and dry conditions can wrap in a single day of 6 – 8 labor hours; block or concrete substrates that hold moisture, and spaces under 24 inches of clearance, stretch to 2 – 3 days because of a required dry-out period and slower installation. The real timeline starts with a moisture reading, not a sales appointment.
Table of Contents
- Labor Hours vs. Calendar Days: Why They Diverge
- The Pre-Job Measurements That Set Your Schedule
- Why Las Vegas’s Desert Climate Fools Everyone
- Low Clearance and Old Tract Homes
- The Encapsulation Process, Step by Step
- What Documentation You Should Receive at Close
- The 30-Day Re-Inspection Window
- What the Timeline Means for the Price
Labor Hours vs. Calendar Days: Why They Diverge
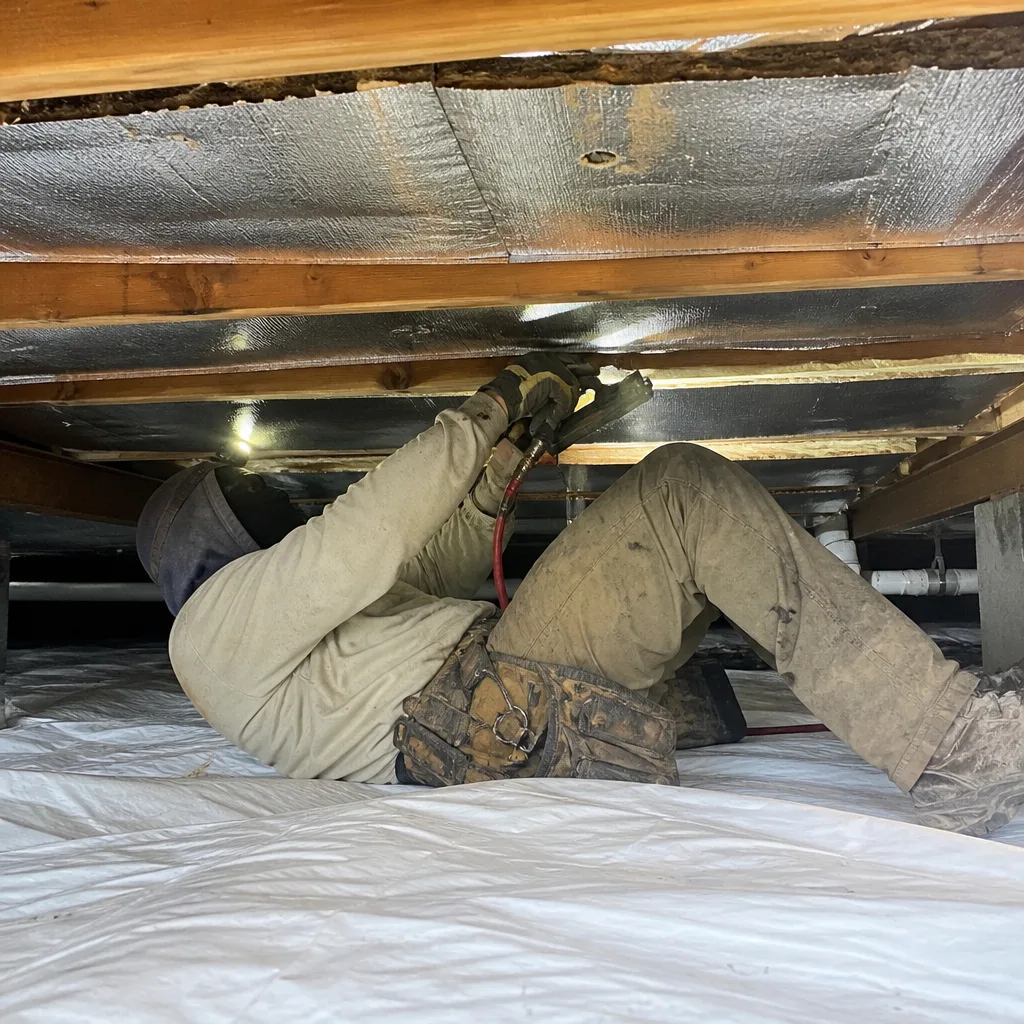
The labor hours are the honest, fixed part of an encapsulation job. For a standard Las Vegas crawl space, the actual hands-on work breaks down like this:
- Site prep and clearing (debris removal, vapor barrier surface cleanup): 1 – 2 hours
- Sealing vents and penetrations: 1 – 2 hours
- Liner layout and mechanical attachment to block walls and piers: 2 – 3 hours
- Seam taping and wall-to-floor transitions: 1.5 – 2.5 hours
- Pier wraps and column detailing: 1 – 2 hours
- Permanent dehumidifier setup (if included): 1 hour
That’s 6 – 10 hours, which is one day for most crews. But the calendar diverges when you hit a substrate that won’t accept adhesive. Here’s the part contractors rarely lead with: seam tape and adhesive need a dry surface to bond. If the concrete or block holds residual moisture from the last rain or a plumbing leak, the crew either waits or installs and crosses their fingers. The second option is how you end up with a failed seam at 8 months.
In practice, a Las Vegas crawl space with a dirt floor and low humidity can start same-day. A block-and-pier foundation with moisture readings above tolerance needs a 24 – 72 hour dry-out period before a single square foot of liner goes down. That dry-out is the difference between a one-day job and a three-visit job.
The Pre-Job Measurements That Set Your Schedule
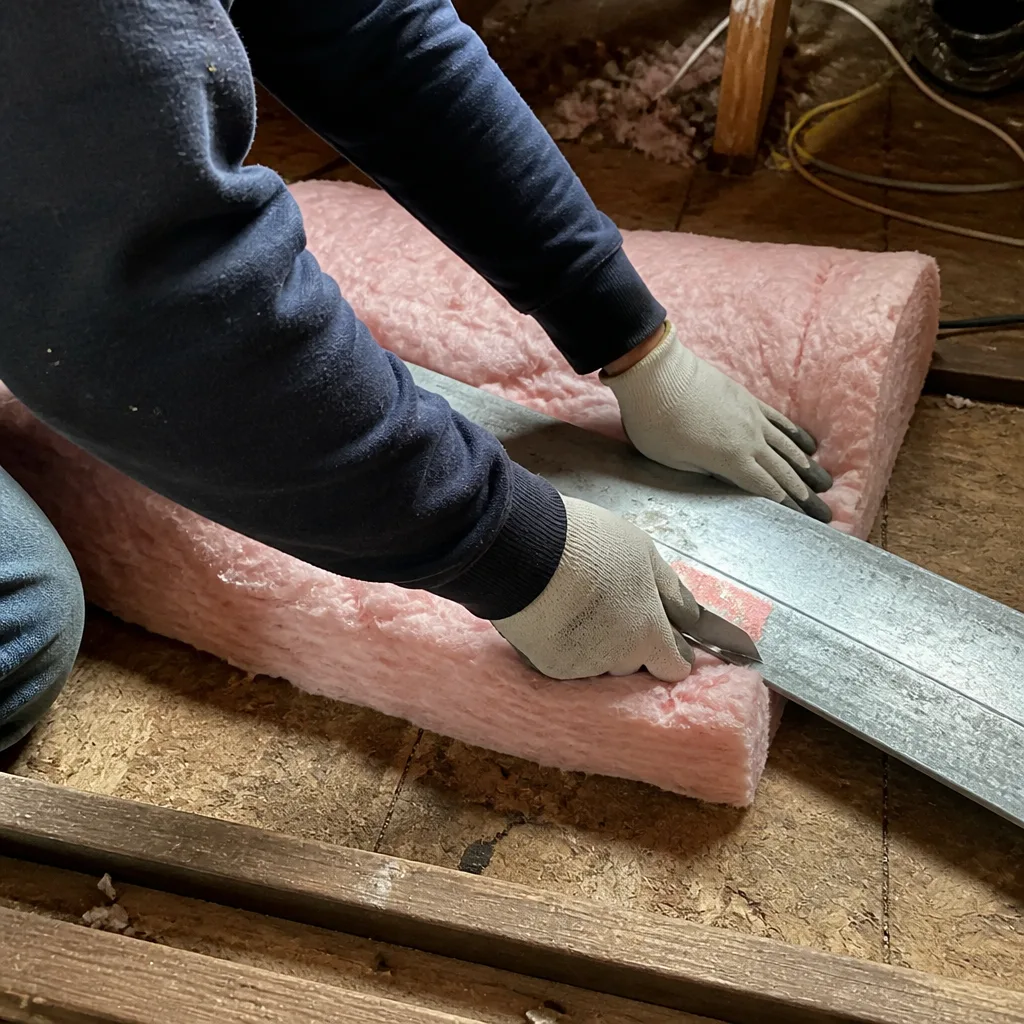
Whether your job starts same-day or stretches into a second week is decided in the first hour, by measurements, not by opinion. Under our Haven Standard, these measurements are taken before any work begins and written into the scope:
- Pin-type and pinless moisture meter readings at multiple points along block walls, piers, and the floor. Target is typically under 15 – 18% wood-equivalent (WME) on structural members and a lower threshold on masonry surfaces receiving adhesive.
- Relative humidity and temperature logging in the crawl space itself. Desert crawl spaces can sit surprisingly humid because they’re dark and still.
- Standing water or damp-soil check. Any visible moisture on a dirt floor means the drying clock starts before the barrier arrives.
- Clearance measurement from the highest point of the substrate to the nearest joist. Under 24 inches changes both the timeline and the crew size.
- Vent inventory and penetration count. Every vent that gets closed and every pipe that gets sealed adds time.
If a contractor can’t tell you what those readings were before quoting you a timeline, they’re guessing. We’ve walked into Las Vegas jobs where the previous crew had quoted “half a day” and the space still had a wet floor a week later.
If you want the deeper technical picture on what happens inside a properly encapsulated Las Vegas crawl, our Crawl Space Encapsulation & Vapor Barrier in Las Vegas service page covers the materials and process in detail.
Why Las Vegas’s Desert Climate Fools Everyone
Las Vegas averages less than 5 inches of precipitation a year, which is why plenty of homeowners assume “dry” and assume “one day.” The trouble is that the same dry air that dries a concrete surface in a few hours also can mask moisture trapped deeper in block or masonry. The surface reads dry while the core stays wet. When a barrier gets installed over that, the moisture has nowhere to go and the adhesive lifts within weeks.
Monsoon season between July and September complicates things further. A single storm can drop a half-inch of rain into an open crawl space through vents and foundation gaps, and that water sits in a dark, still cavity that takes far longer to dry than the rest of the yard. If your job falls near a monsoon window in Las Vegas, the crew should account for a 2 – 3 day dry-out buffer rather than scheduling the liner for the following morning.
The desert also heats the crawl space differently. Direct sun on a west-facing foundation can push surface temperatures well above what sealants are rated for, which can force a crew to sequence their work earlier in the day. In our experience, jobs started before 8 a.m. in July and August install faster and bond cleaner than the same job at 2 p.m.
Low Clearance and Old Tract Homes
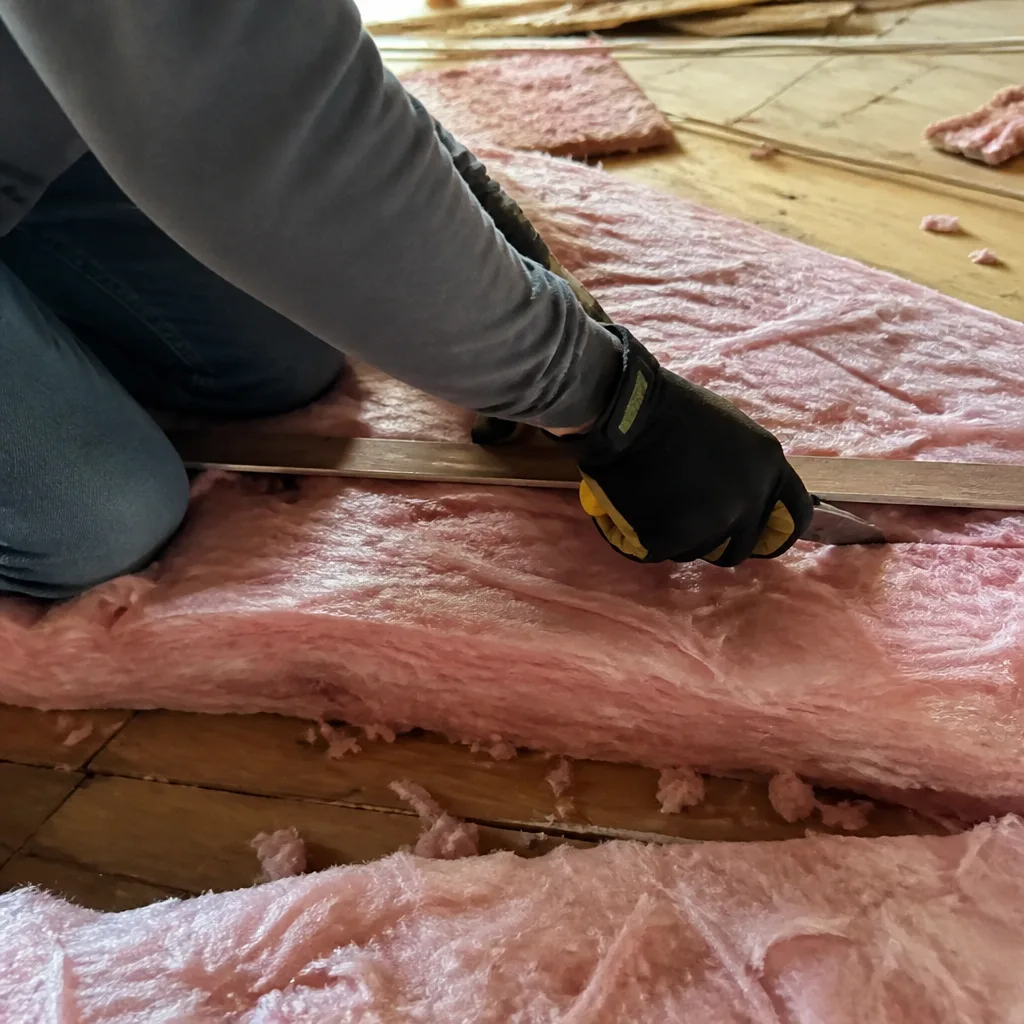
Clearance is the single biggest multiplier on labor hours. A crawl space with 36 inches of headroom lets a technician work efficiently with a liner roll and tape gun. Under 24 inches and everything slows down: knees-only movement, shorter liner runs, careful sequencing so nobody is trapped by a freshly installed section, and two crew instead of one in tight sections to keep the work moving. Our technicians have up to 10 years of experience navigating low-clearance crawl spaces, and even that experience doesn’t change the physics of a tight cavity.
Older Las Vegas tract homes, particularly the mid-century builds in the Huntridge and Beverly Green neighborhoods, tend to have the most challenging crawl spaces: low clearance, older block piers, and penetrations that don’t align with standard liner detailing. On those homes, expect the labor hours to run 30 – 50% higher than the 6 – 10 hour baseline, which usually means a two-day calendar window even with perfect conditions.
Newer construction in Summerlin and Southern Highlands usually has better clearance, but a surprising number of those homes were built with partial foundations that require custom liner fitting at the transition. Every home’s footprint is different, which is why a written scope beats a phone estimate every time.
The Encapsulation Process, Step by Step
Here’s the actual sequence a well-run job follows. Note where the drying windows land:
- Pre-job inspection and moisture documentation (Day 0). Readings logged, photos taken, written scope delivered. If moisture is high, a dry-out period is scheduled here.
- Dry-out period (0 – 3 days, if needed). Fans and dehumidification in the crawl space. No liner until the readings clear.
- Site prep and debris removal (Day 1, 1 – 2 hours). Old vapor barrier, construction debris, and any visible mold removed.
- Vent sealing and penetration work (Day 1, 1 – 2 hours). Foundation vents closed, pipe and wire penetrations sealed.
- Liner installation (Day 1 – 2, 3 – 5 hours). Wall liner mechanically fastened, floor liner laid, seams overlapped per manufacturer spec.
- Seam taping and pier wrapping (Day 1 – 2, 2.5 – 4.5 hours). Every seam receives tape rated for the substrate. Piers and columns are wrapped and sealed.
- Dehumidifier installation and commissioning (Day 2, 1 hour). Permanent unit set, drain run, and initial humidity reading logged.
- Final documentation and walkthrough (Day 2, 30 minutes). Photos, readings, material specs, and warranty registration handed over.
That’s 1 – 3 calendar days for most Las Vegas homes, plus a dry-out period when the substrate demands it. If your job scope also includes fresh insulation above the crawl, that’s an additional day and depends on getting the air-sealing right first. Our Attic Insulation in Las Vegas page explains why we never blow insulation over an unsealed attic floor. If you want the full picture of how the crawl and attic work together in one envelope, our Envelope Insulation Las Vegas home page lays out the service line.
What Documentation You Should Receive at Close
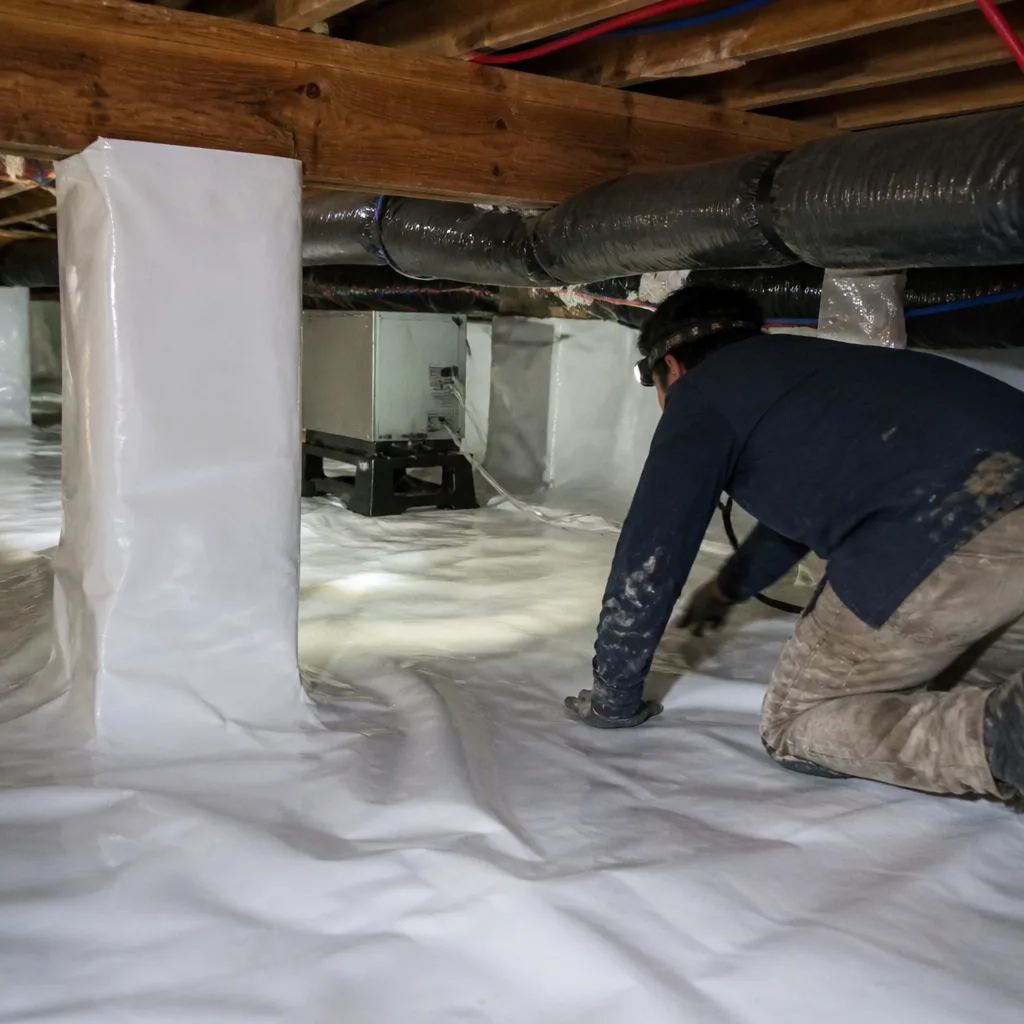
If a contractor finishes your job and hands you a business card, that’s the wrong close. A properly documented encapsulation job leaves you with a written record you can hold and hand off. Under Haven Standard, this is part of the job, not a request you have to make:
- Pre-install and post-install moisture readings at the same test points, logged side by side.
- Barrier material spec sheet with the manufacturer, mil thickness, and product name (we use Owens Corning and Johns Manville systems among others, without locking you into any single brand).
- Seam-tape linear footage recorded, so you know how many feet of taping went into the install. This is a real number that gets adjusted if anything fails.
- Documented Photo Record of every wall, pier, seam, and vent seal, timestamped.
- Warranty registration filed in writing, with the 365-Day Done Right Promise attached to the scope.
- Dehumidifier setup record, including the initial target humidity setting and drain routing.
None of this is difficult to produce. It’s just that most crews don’t, because their customer never asks for it. Ask for it in writing before the crew starts. Under Haven Standard Clause 1, the written price, written scope, and written warranty are delivered before anyone lifts a tool.
The 30-Day Re-Inspection Window
The most common failure mode in crawl space encapsulation is a barrier that looks perfect on paper and is quietly trapping moisture underneath. The only reliable way to know is a 30-day post-install moisture check, at which point the crawl space has had a full month to stabilize under the new sealed condition.
That check should measure three things: relative humidity inside the encapsulated space against the dehumidifier’s target, moisture content in the wood joists above the barrier against the pre-install baseline, and visual condition of the seams at wall-to-floor transitions. If humidity sits higher than target, the dehumidifier sizing needs a second look. If wood moisture climbs, moisture is coming from somewhere the barrier isn’t managing, and that needs to be found and fixed while the warranty is fresh.
We schedule that 30-day check as part of the job, and we’ve caught real issues on that visit: undersized dehumidifiers in low-headroom homes, and a wall seam that lifted where a monsoon-driven water table crept back in. Neither would have shown up on the 1-week walkthrough. If your contractor doesn’t mention a re-inspection window, ask what they’ll do if the barrier isn’t performing at 30 days.
What the Timeline Means for the Price
Timeline and price move together, and honest contractors explain the connection. As a rough Las Vegas range:
- Single-day labor (good conditions, dirt floor, good access): baseline line-item price
- Extended dry-out period: dehumidification equipment and crew time added for the dry-out days
- Low-clearance premium (under 24 inches): labor hours run 30 – 50% higher
- Mid-century tract homes in older Las Vegas neighborhoods: expect a two-day window as standard
- Dehumidifier installation: separate line item when included
A written price should show these separations, not a single lump sum. If a quote can’t tell you what the dry-out days cost, or what the low-clearance premium is, it’s not a quote, it’s a guess. For a specific number on your home, call (833) 362-4859. Our pricing is written before any work starts, and we’ll free second-opinion any competing estimate you already have in hand.
Common Mistakes to Avoid
- Scheduling the liner for the day after a monsoon storm in Las Vegas. Concrete and block surfaces dry in hours, but the substrate core doesn’t. Ask for a moisture reading before the crew arrives or you’ll be rescheduling in three weeks.
- Accepting “one day” without a pre-job moisture reading. The estimate might be right for the labor hours and wrong for the calendar. A written scope should separate the two.
- Skipping the 30-day re-inspection. A barrier that’s trapping moisture shows no visible sign at the one-week walkthrough. The check at 30 days is where real failures surface.
- Letting a crew install a liner over visible standing water or damp soil. This is the number-one cause of adhesive and seam-tape failure we see on jobs we’re called to correct.
- Forgetting the dehumidifier and closing the vents anyway. Sealing a wet crawl space without mechanical humidity control turns it into a bathtub. The two systems are not optional together.
- Not asking for the seam-tape linear footage and material spec sheet. If a seam fails at 8 months, the footage and product record are what make a warranty claim straightforward instead of a negotiation.
- Ignoring the attic above an encapsulated crawl. Sealing a crawl without sealing the attic floor can just move humidity problems upward. The two halves of a home’s envelope are one system, and we treat them that way.
When to Call a Professional
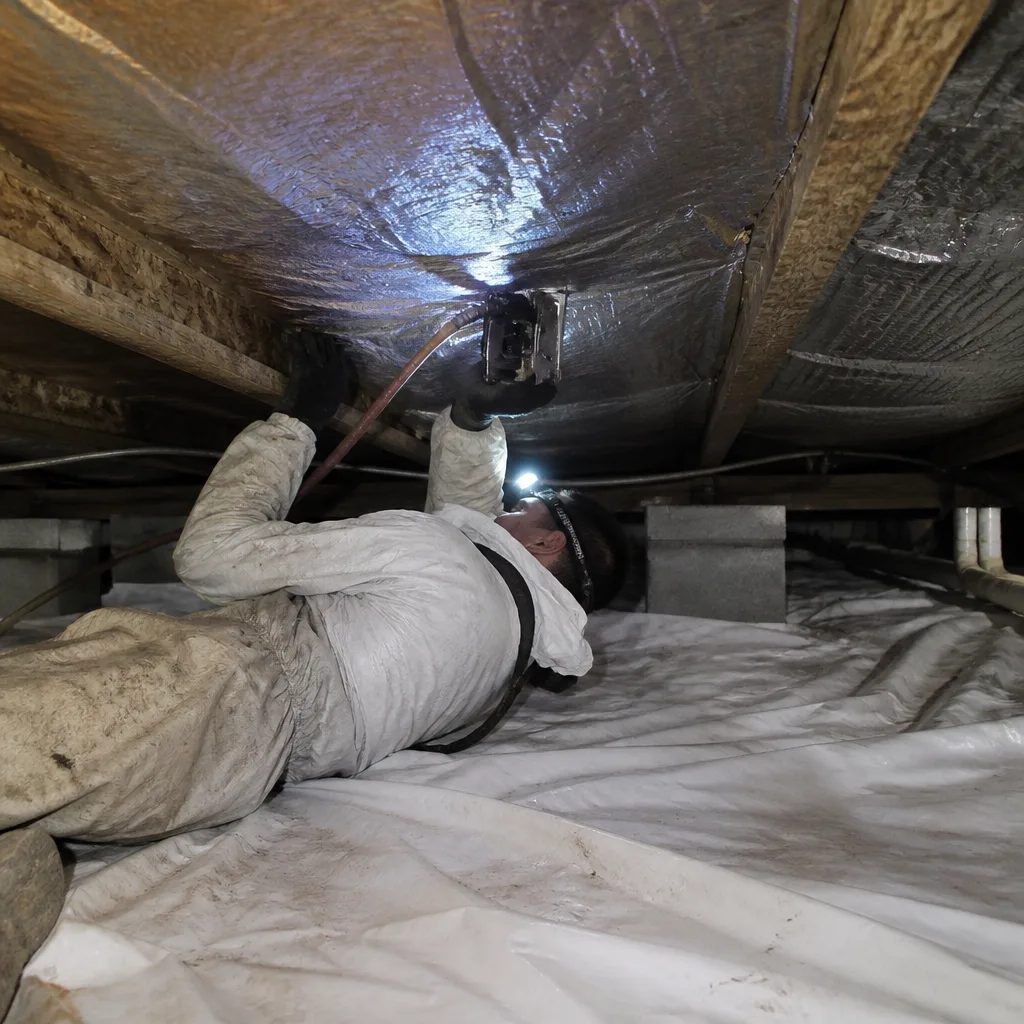
Crawl space encapsulation involves adhesive bonding to masonry, seam taping counted in linear feet, and a dehumidifier that has to be correctly sized to your crawl space’s cubic footage. It’s not a weekend-over project, and installing a liner over a substrate you haven’t measured is how a barrier fails by month eight. Call a professional when any of these apply: you’ve seen standing water or damp soil under the house; you’ve noticed musty air or humidity issues inside the home; your crawl space is under 24 inches of clearance; or you’ve had a moisture issue from a plumbing leak or a storm and the space hasn’t been dried under controlled conditions before installation. Envelope Insulation Las Vegas offers free estimates in Las Vegas – call (833) 362-4859. A live person answers 24/7, and every estimate is written, itemized, and free of urgency theatre. If you’ve already got a competing estimate, we’ll read it with you.
Frequently Asked Questions
Yes, in a narrow set of conditions: a dirt floor with low pre-install moisture readings, at least 24 inches of clearance, moderate vent and penetration count, and a dry window in the calendar. Most Las Vegas homes meet those conditions and finish within a single day of 6 – 10 labor hours. Homes with block walls holding moisture, low clearance, or mid-century footprints in older Las Vegas neighborhoods run 2 – 3 calendar days because a dry-out period is added. Call (833) 362-4859 for an exact timeline for your crawl space.
It speeds up surface drying but not the substrate-core drying that determines whether adhesive bonds. Concrete and block walls in Las Vegas can read dry on the surface within hours while still holding enough moisture to fail a tape bond. That’s why a moisture meter reading, not a surface feel test, sets the actual schedule. In our experience, jobs around a monsoon window in July through September need the most careful scheduling.
Crawl space encapsulation in Las Vegas generally runs in the low-to-mid four figures for a typical single-family home, with the low-clearance premium and dehumidifier add-on moving that figure up. A written price should separate labor, materials, dry-out equipment, and dehumidifier commissioning. Call (833) 362-4859 for an exact quote. Written price before any work starts, and free second-opinion on any competing estimate.
Three things: ask what the moisture readings were during the site visit, ask how many calendar days are in the written scope and why, and confirm the Documented Photo Record and warranty registration will be delivered at close. Under Haven Standard, these are all standard on every visit, not add-ons you have to request. If a contractor can’t answer all three, that’s your answer.
Because every physical task in a low-clearance space takes longer: shorter liner runs can be laid at a time, the crew works on their knees, and sequencing has to be planned so nobody is trapped by a finished section. The labor hours typically run 30 – 50% higher than the 6 – 10 hour baseline for a standard clearance. Older Las Vegas tract homes in neighborhoods like Huntridge are where we see this most often.
Repair is almost always cheaper when the failure is isolated: a single lifted seam, one vent that wasn’t sealed, or a dehumidifier that needs re-commissioning. Full replacement is warranted when the barrier is undersized, installed over wet substrate, or systematically failing at multiple seams. A 30-day post-install moisture check is the fastest way to know which scenario you’re in. Call (833) 362-4859 and we’ll read the documented record with you.
The Bottom Line
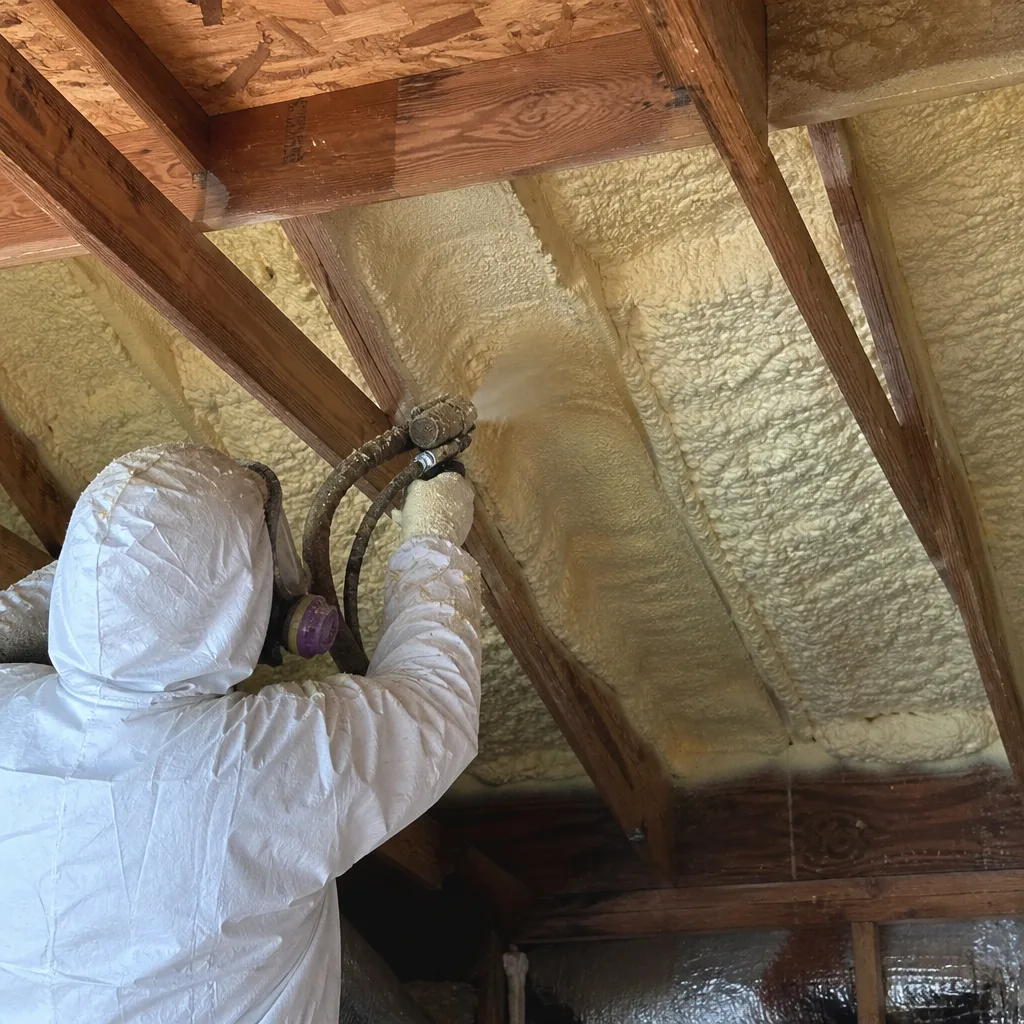
Expect 6 – 10 labor hours of encapsulation work and 1 – 3 calendar days for most Las Vegas crawl spaces. The gap between those numbers comes down to substrate moisture and low clearance, not crew speed. Insist on pre-job moisture readings, a written scope that separates dry-out from install, and a 30-day re-inspection. Those three items are the difference between a barrier that performs for a decade and one that starts failing before the warranty year closes. The job is only worth doing once, and it’s worth doing right.
If you’d like a written price and a moisture reading on your own Las Vegas crawl space, call (833) 362-4859 for a free estimate. We’ll tell you how many days the calendar really needs, and we’ll put it in writing before anyone lifts a tool.
Written by the team at Envelope Insulation Las Vegas.