
Last updated November 17, 2026
Blown-In Insulation Troubleshooting: Common Problems and How to Fix Them
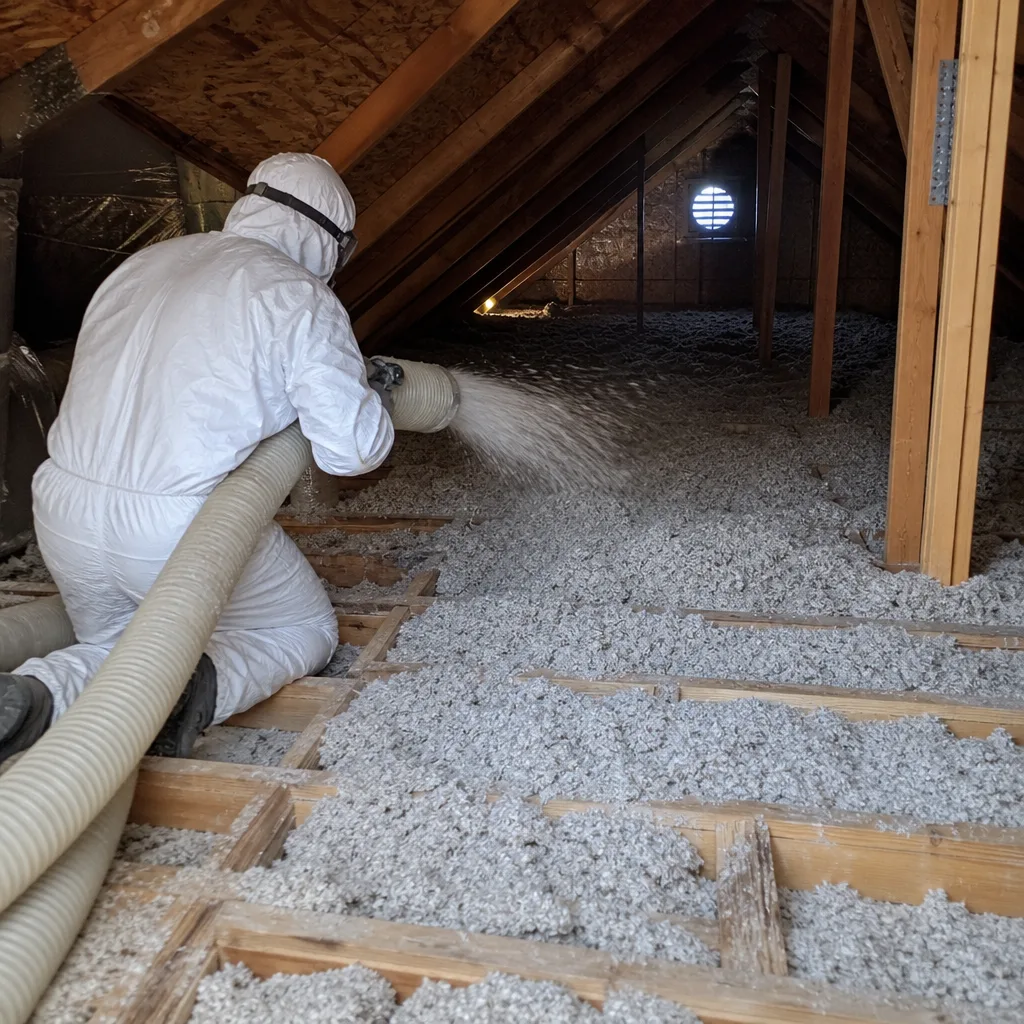
A homeowner who blows in R-38 and seals no air leaks gets roughly 30 – 40% of the expected energy performance. The insulation is doing exactly what it was rated to do. The building envelope is not. We’ve opened Las Vegas attics where the depth was perfect and the summer bill still ran $340 a month, because the top plates, can lights, and plumbing penetrations were wide open underneath ten inches of loose fiberglass. Troubleshooting blown-in insulation that “isn’t working” starts with separating a thermal problem from an air leakage problem. This guide gives you the diagnostic sequence, the depth-verification method, the settling math, and the moisture rules we use on every Las Vegas job.
Quick Answer
Most blown-in insulation problems trace to one of two root causes: the installed depth was too shallow for the rated R-value, or the material was blown over unsealed air leakage pathways so it can’t hold heat. Elevated bills with consistent room-to-room comfort point to a depth or settling issue. Uneven room temperatures, drafts, and stuffy upper floors point to air leakage. Moisture staining or a musty smell points to condensation at a thermal bridge. Diagnose which one you have before anyone touches the attic.
Table of Contents
- The Diagnostic Decision Tree
- How to Verify Installed Depth With a Tape Measure
- Settling: The Las Vegas Adjustment Factor
- Moisture Contamination: Fiberglass vs. Cellulose
- Air Sealing Remediation: Seal First, Then Restore Depth
- How a Blower-Door Test Confirms the Fix
- When to Call a Professional
The Diagnostic Decision Tree
Before you buy a thermal camera or call a contractor, read your own energy symptoms. They split cleanly into three branches, and each branch points to a different fix. In our experience running blower-door tests across Las Vegas, the symptom pattern almost always names the root cause before we pull the attic hatch off.
- Elevated bills with consistent room comfort. Every room stays roughly the same temperature; there are no drafts. This is a depth problem or a settling problem. The insulation is too thin for the rated R-value you were sold.
- Uneven room temperatures. Upstairs bakes while downstairs sits comfortable, or the room over the garage never catches up. This is an air leakage problem. Hot Las Vegas attic air is being pulled into the conditioned space through gaps the insulation can’t cover.
- Moisture staining or a musty odor. Dark rings on ceiling drywall, a smell that shows up in summer, or insulation that clumps at a penetration. This is condensation at a thermal bridge, usually a leak that keeps a spot cold enough to hit dew point.
Two symptoms together are common. A home with shallow depth and open penetrations will show elevated bills and uneven comfort, because it has both problems. The order of remediation still holds: air seal first, then restore depth. More on that sequence below.
How to Verify Installed Depth With a Tape Measure
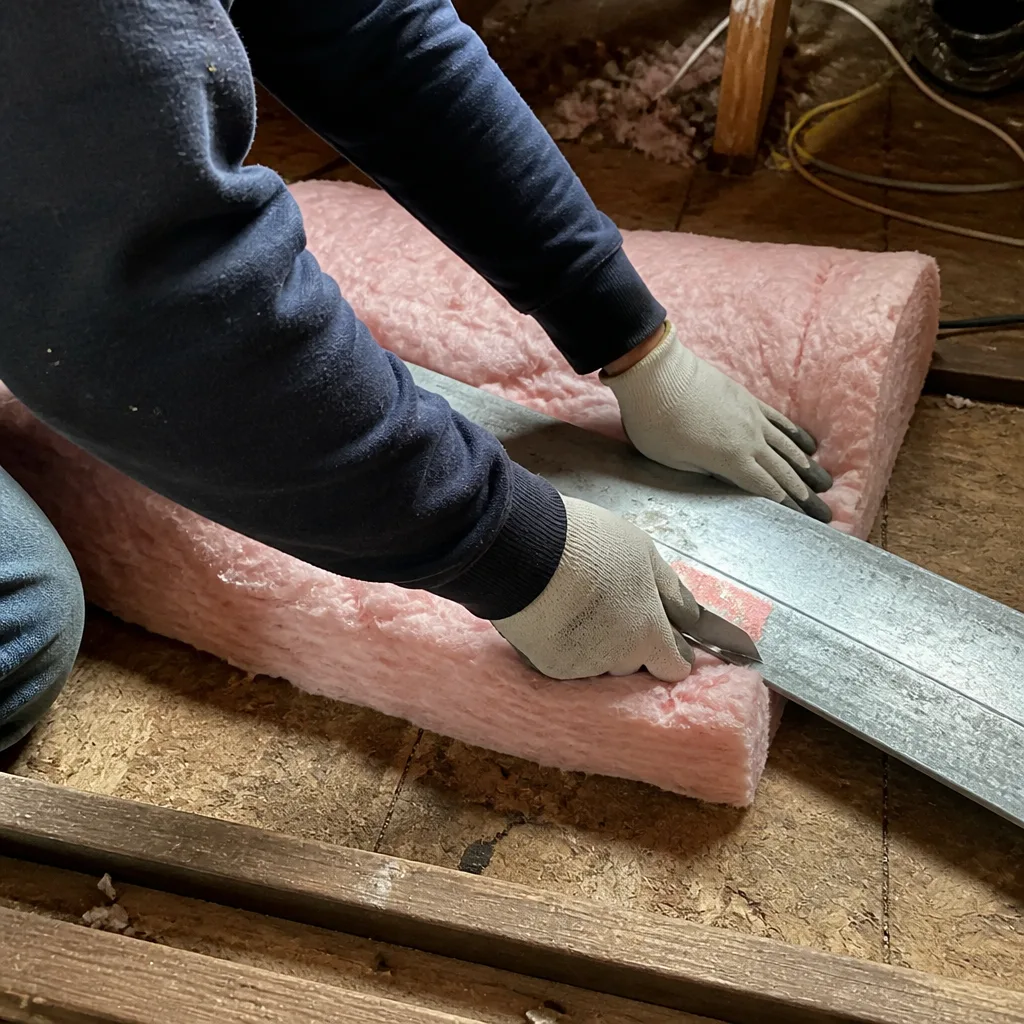
You don’t need to hire anyone to check depth. You need a tape measure, a flashlight, and access to the attic hatch. The number you compare against is not a generic figure – it’s the depth required for the rated R-value of the specific product that was installed in your home. That product name and its coverage chart should be on the original invoice. If you can’t find the invoice, the manufacturer’s coverage chart (GreenFiber, Owens Corning, Johns Manville, and Knauf all publish theirs) will give you the settled depth for the R-value you paid for.
Here’s the measurement in five steps:
- Open the attic hatch and let your eyes adjust. Wear a respirator and eye protection; blown fiberglass and cellulose both go airborne.
- Push the tape measure straight down into the loose fill at five locations: one near the hatch, one at each of the four attic quadrants. Do not compress the material.
- Record each measurement in inches to the nearest half inch.
- Look up the settled depth required for your product and R-value on the coverage chart. For most loose fiberglass products, R-38 requires roughly 13 to 14 inches settled; cellulose runs shallower for the same R-value.
- Compare. If your lowest reading is more than two inches short of the specified depth, you have a depth deficiency, not a product failure.
Take photos of the tape at each location. That record matters if you need to press a contractor or an installer on what was actually delivered. Under The Haven Standard, this is the kind of record we expect to hand a homeowner before we leave a job, not after they ask twice.
Settling: The Las Vegas Adjustment Factor
Blown-in insulation settles. Loose fiberglass and cellulose both compact under their own weight and under the vibration of an HVAC air handler that never stops in a Las Vegas summer. The rated depth you were sold is the installed depth. The depth you live with is the settled depth. A good specification accounts for both.
The settling adjustment factor is the percentage the installed depth is reduced after the material stabilizes, typically over the first 12 to 18 months. For loose fiberglass, manufacturers publish a factor (often in the 15 – 20% range depending on the product and blow density); for cellulose it runs higher, closer to 20%. What matters at install is the minimum thickness after settling, not the fluffed depth on the day of the blow. A spec that names only the “as-blown” depth is a spec that will fall short within two summers.
The correct specification for a Las Vegas home reads like this: “R-38 minimum thickness after settling of 13 inches, using [product], installed at [as-blown] depth to achieve the settled figure.” If your invoice named R-38 and your five-point tape reading now shows eight inches, the settling was real and the original depth was probably also short.
What recourse exists. If your installed depth fell short of the after-settling minimum that should have been specified, the fix is a depth top-up, not a full tear-out. A top-up to restore the correct settled depth is a small job compared with removing and replacing. If the original contractor’s written scope didn’t specify the after-settling figure at all, that’s the gap to point out when you ask for a corrected quote. A written scope with the settled depth spelled out is the whole reason Haven Standard Clause 1 asks for the price, the scope, and the warranty on paper before any work starts.
If you’re topping up, this is also the moment to check whether air sealing needs to happen first. See Attic Insulation in Las Vegas for how a sealed-then-insulated attic is scoped from the start.
Moisture Contamination: Fiberglass vs. Cellulose
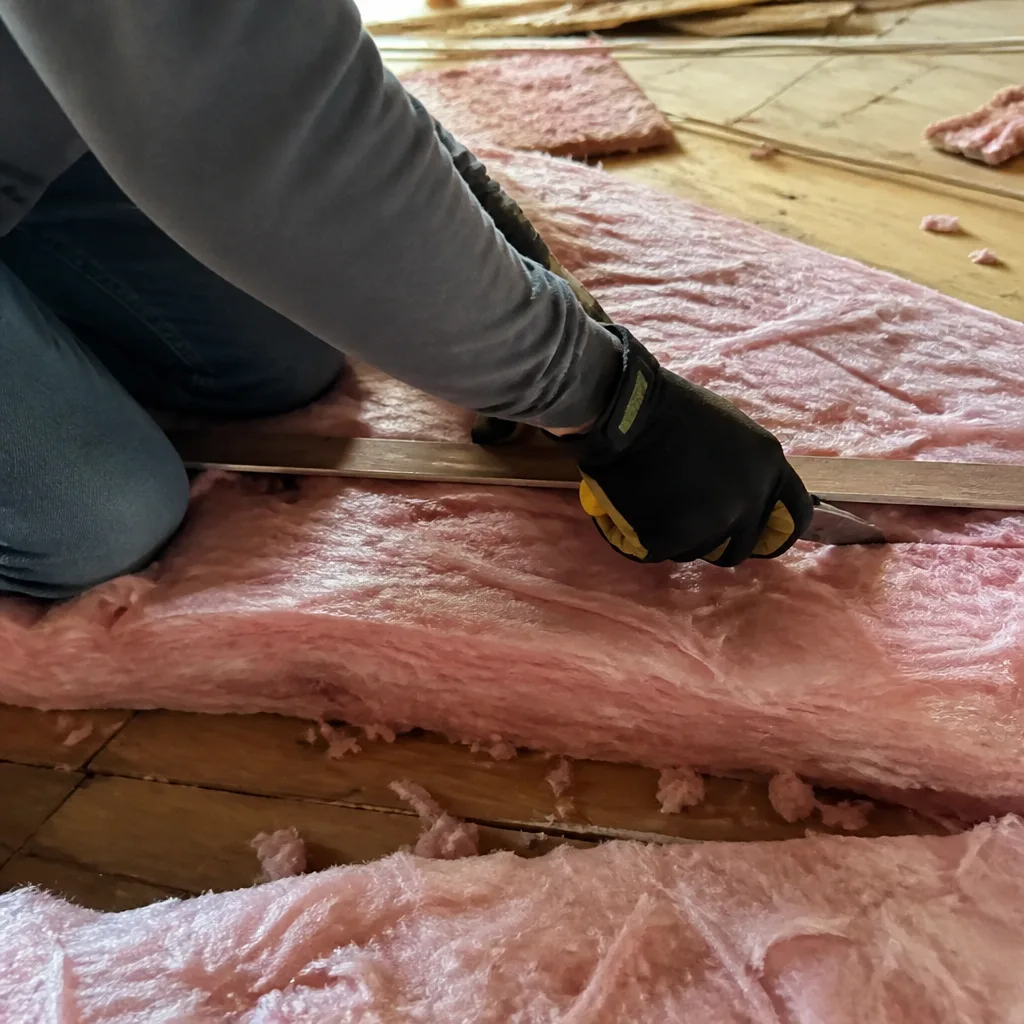
Wet insulation is a different failure, and in Las Vegas it’s almost never roof intrusion. The most common cause we find is an HVAC condensate leak: a clogged drain line, a failed float switch, or a drip pan overflowing onto the attic floor, soaking the insulation directly below the air handler. Roof leaks do happen, but they show up as a concentrated stain under a specific flashing or valley; HVAC condensation shows up as a broad wet patch near the unit.
The two materials fail differently:
- Wet blown-in fiberglass. Goes dark and matted. Clumps together and loses its loft, which is where the R-value lives. Even after it dries, the loft is gone and the R-value doesn’t come back.
- Wet blown-in cellulose. Goes darker, heavier, and often crumbles into a paste. Cellulose holds moisture far longer than fiberglass, and the moisture can wick into the drywall below. It can also develop an odor more readily.
Either way, wet insulation must be removed, not dried in place. Drying restores the appearance, not the performance. Removing the wet material and verifying that the moisture source is fixed before new insulation goes down is the only reliable path. If the wet area sat long enough to saturate the ceiling drywall, that’s a drywall repair, not an insulation repair.
Moisture at a thermal bridge (a cold spot where a gap keeps the surface below dew point) is a separate condensation problem and points back to an air sealing issue. In a Las Vegas attic, the day-night temperature swing is wide enough that a leak can condense moisture on a cold winter morning and bake it dry by afternoon, leaving a stain you can’t explain later.
Air Sealing Remediation: Seal First, Then Restore Depth
This is the point where most DIY fixes go wrong. Adding more blown-in depth over an unsealed attic floor does not fix an air leakage problem. It hides it. The leaks still pull hot attic air into the conditioned space, the new material loses some of its R-value to convective loss through the open gaps, and you’ve spent money on insulation that can’t hold its rated performance.
The correct remediation sequence:
- Remove any wet or contaminated material. Never seal over something that needs to come out.
- Seal every penetration at the attic floor: top plates at the perimeter walls, can lights (with a listed fire-rated cover, not foam), plumbing and electrical penetrations, HVAC register boots, and the chimney chase.
- Verify the seal with a blower-door test before adding insulation. The reading tells you how much the building envelope is leaking with the seals in place.
- Restore the correct settled depth using the product’s coverage chart for the target R-value.
- Re-test after the blow to document the final number and confirm the depth and the seal are both in place.
Sealing first is why Envelope will never blow insulation over an unsealed attic floor. The air sealing is a hard prerequisite, not an upsell. And on applicable jobs, before-and-after blower-door readings are published so you can see what changed. A typical attic in a well-sealed home reads in the low-to-mid 2,000s CFM50 before work and drops by 30 – 50% after a proper seal, which is a figure you can compare against your own energy bills.
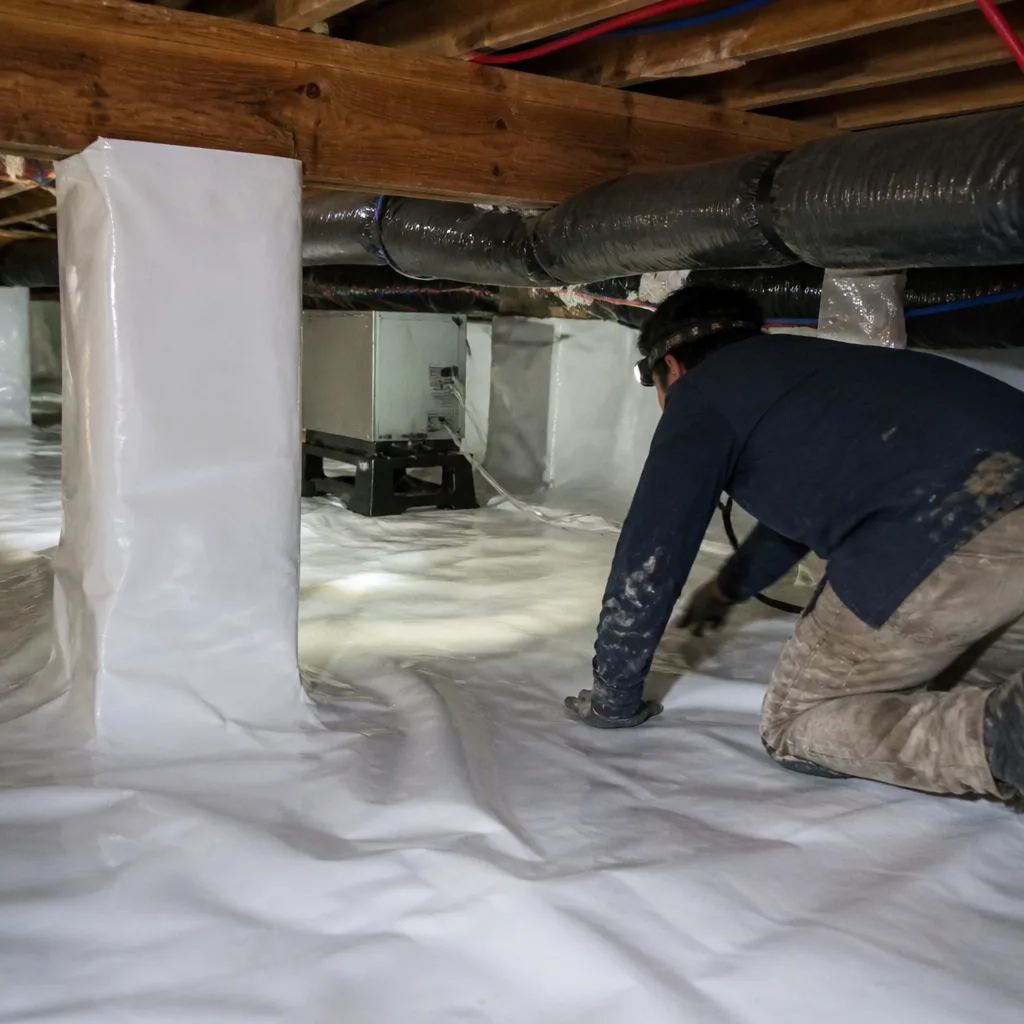
For attics with a chronic moisture problem at the floor, Crawl Space Encapsulation & Vapor Barrier in Las Vegas covers the same seal-first logic in the crawl space.
How a Blower-Door Test Confirms the Fix
A blower-door test is a pressurization reading that shows, in a single number, how much air your building envelope is losing. The technician mounts a calibrated fan in an exterior door, seals the rest of the house, and measures the airflow required to hold a fixed pressure difference (usually 50 Pascals). The result is reported in CFM50: cubic feet per minute at 50 Pascals. Higher is leakier.
That single figure is what makes blown-in insulation troubleshooting verifiable. Compare two readings:
- Before: the reading with the original insulation in place, before any sealing.
- After: the reading once the penetrations are sealed and the depth is restored.
If the after reading didn’t drop meaningfully, the seal isn’t complete, the depth is still short, or both. A blower-door test is also how you check a contractor’s claims after the fact: a job that was scoped as “air sealing plus R-38” should produce a documented reduction in CFM50. If you were never given the numbers, you have no way to know what you paid for.
Blower-door testing also matters for code and rebate work. Many Las Vegas energy programs and utility rebates require a pre- and post-test to qualify; without them, the rebate often falls through. Keep the readings with your other home records. For homes that need a full envelope assessment, Envelope Insulation Las Vegas home covers the building-envelope service line and how a job is documented from start to finish.
Common Mistakes to Avoid
- Adding depth over unsealed penetrations. More insulation over an unsealed floor buries the leak and wastes the material. Seal first, always.
- Trusting the “as-blown” depth on the invoice. The as-blown depth is not the settled depth. A spec that names only the fluffed figure will fall short within two summers in a Las Vegas attic that runs 140°F+.
- Drying wet insulation in place. Wet fiberglass loses its loft permanently; wet cellulose holds moisture and can spread odor. Remove it and find the leak, which is usually the HVAC condensate line, not the roof.
- Sealing can lights with spray foam. A can light needs a listed fire-rated cover, not foam jammed against the housing. Foam on a hot fixture is a fire risk and often voids the fixture’s listing.
- Patching a thermal-bridge stain with paint. The stain is the symptom; the air leak is the cause. Paint over it and it returns next winter.
- Skipping the blower-door test because “the insulation is new.” New material doesn’t prove a sealed floor. The only proof is the number before and after.
- Hiring the cheapest per-square-foot blow without a written scope. A per-bag or per-square-foot price without a settled-depth figure and a written warranty is a price for material, not a price for a result.
When to Call a Professional
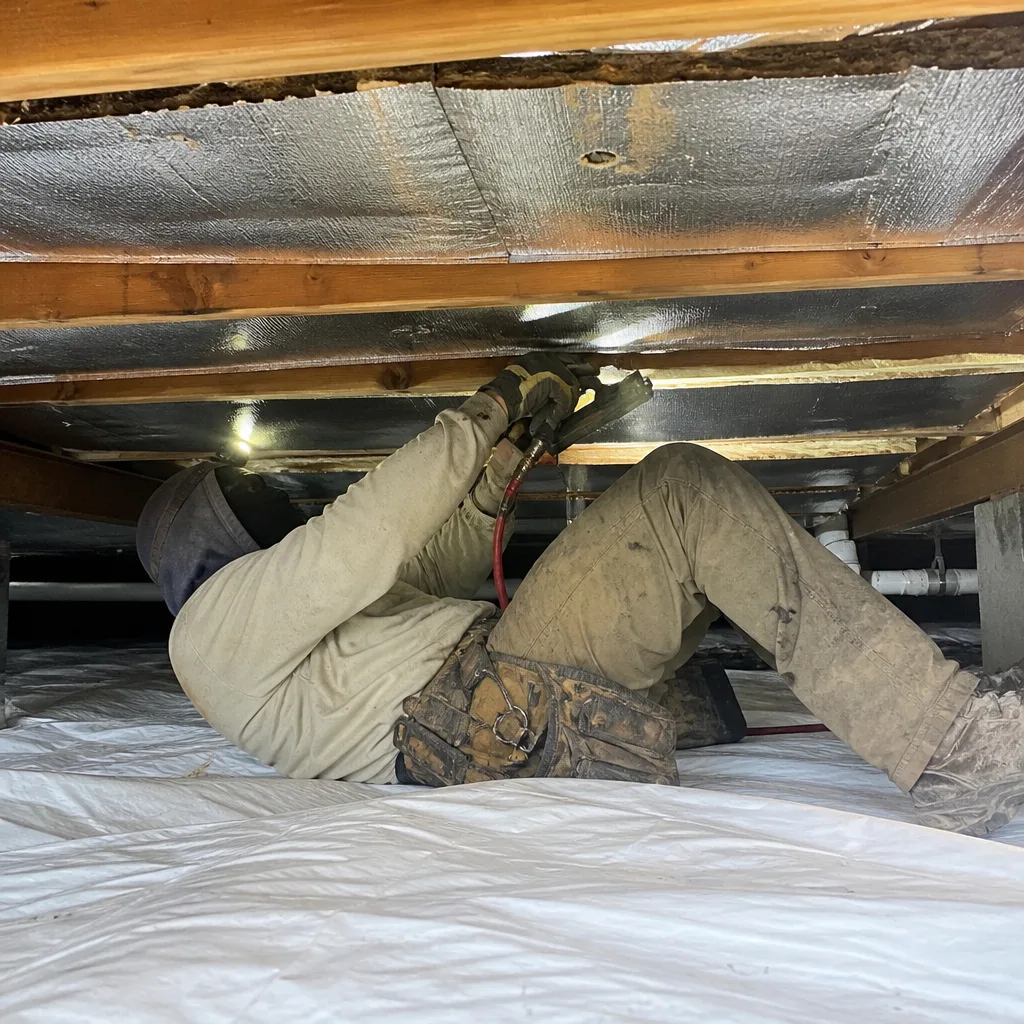
Some of this troubleshooting you can do yourself: the five-point tape check, the invoice comparison, the look for moisture staining. Some of it you shouldn’t. High-tension attic work, air sealing around can lights and the chimney chase, and any insulation removal around wet material involve real hazards: heat, confined space, electrical fixtures, and airborne fibers. Call a professional when the five-point reading is more than two inches short, when you find wet or contaminated insulation, when a blower-door test is needed to confirm a fix, or when the room-comfort symptoms point to air leakage you can’t trace by eye. A trained technician with a blower door and a thermal camera finds the leak in an afternoon; a homeowner chasing it blind can spend a season and still miss the biggest gap.
Envelope Insulation Las Vegas offers free estimates in Las Vegas – call (833) 362-4859. Every job starts with a written price and a written scope before any work begins, and ends with a Documented Photo Record. If you have a competing written estimate, we’ll read it with you as a Free Second Opinion on any written estimate.
Frequently Asked Questions
Check three things: your five-point tape reading against the settled depth for your product’s R-value, your room-to-room temperature consistency, and any moisture staining or musty odor. A shortfall on depth points to a thermal problem; uneven rooms and drafts point to air leakage; staining points to condensation. Diagnose which one before adding material.
Because the insulation was likely blown over unsealed air leakage pathways, so the rated R-value can’t hold. In our experience across Las Vegas, a home with open top plates and can lights performs at roughly 30 – 40% of the expected energy performance even with the right depth installed. The fix is to air seal first, then verify the seal with a blower-door test, then restore depth.
It depends on the diagnosis. A depth top-up to restore the correct settled R-value on a typical Las Vegas attic runs far less than a full removal and replacement. A full air sealing plus depth restoration costs more because it includes sealing materials, labor, and the before-and-after blower-door tests. Call (833) 362-4859 for an exact quote; estimates are free and written before any work starts.
No. Wet fiberglass loses its loft permanently when it dries, and wet cellulose holds moisture long enough to wick into the drywall and develop odor. In a Las Vegas attic, the most common moisture source is an HVAC condensate leak, not roof intrusion. Remove the wet material, fix the source, then reinsulate.
A depth problem keeps every room uniformly uncomfortable because the insulation is too thin to hold heat. An air leakage problem creates uneven room temperatures because hot attic air is pulled into the conditioned space through gaps. If your bills are high but the rooms feel consistent, it’s depth. If upstairs bakes while downstairs sits comfortable, it’s leakage.
Yes, if you want to verify the work. A blower-door test is a pressurization reading in CFM50 that shows how much air the envelope is losing. A before-and-after pair is the only documented proof that the seal and the depth both landed. On applicable jobs, we publish those readings so the homeowner can see the change they paid for.
The Bottom Line
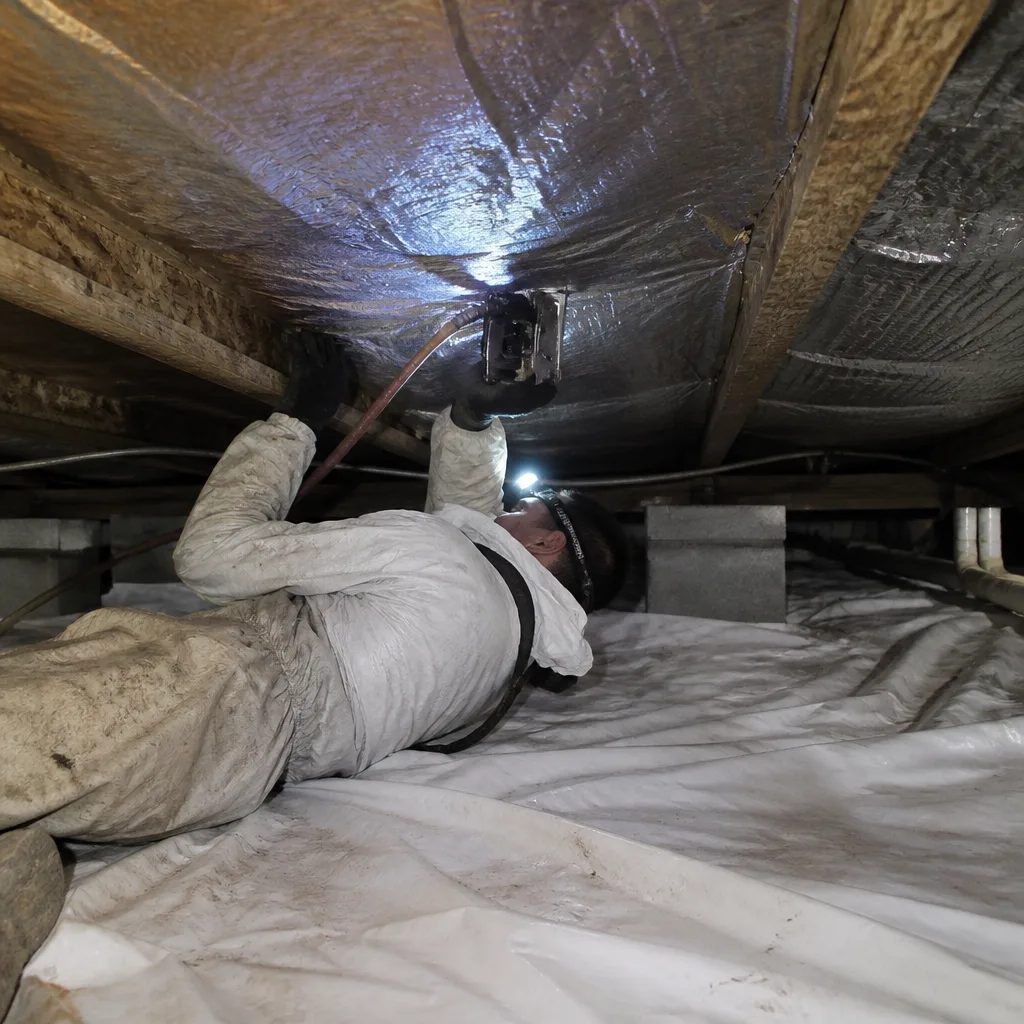
Blown-in insulation that “isn’t working” is almost always a depth shortfall, a settling shortfall, or air leakage the insulation covered instead of sealed. Diagnose the branch first: consistent-room bills point to depth; uneven rooms point to leakage; staining points to condensation. Verify depth yourself with a five-point tape measure against the settled depth for your product’s R-value, not the as-blown figure. Fix the air leakage before you add a single bag. And confirm the work with a before-and-after blower-door reading, because the number is the only thing that shows what actually changed. For a leaking Las Vegas home that needs more than a top-up, Spray Foam Insulation in Las Vegas covers the sealed assembly approach for hard-to-reach cavities and rim areas.
Contact Us for a Free Estimate
If your tape measure came up short, or your rooms feel uneven and the bills keep climbing, call Envelope Insulation Las Vegas at (833) 362-4859 for a free estimate. We’ll measure the depth, find the air leaks, and give you a written price with a written scope before any work starts. The 365-Day Done Right Promise backs every completed job, and the Documented Photo Record goes home with you. A live person answers 24/7. Our technicians have up to 10 years of experience, and materials come from Owens Corning, Johns Manville, Knauf, and GreenFiber.
Written by the team at Envelope Insulation Las Vegas.