
Last updated November 17, 2026
Radiant Barrier Installation Maintenance Schedule: What to Do and When
Dust on a radiant barrier’s reflective surface raises its emissivity from roughly 0.03 to 0.70 within three to five years in an unventilated attic. At that point the foil is re-radiating most of the heat it was supposed to reflect, and no visual inspection from the attic hatch will tell you that. The barrier still looks silver. It still feels like foil. It has quietly stopped working. What follows is the maintenance schedule we use in Las Vegas attics: a Year 1 baseline log, a Year 3 visual inspection, a Year 5 emissivity proxy test, and the threshold numbers that tell you whether to clean, replace, or leave it alone.
Quick Answer
A radiant barrier needs a baseline temperature reading in Year 1, a visual inspection for tears and dust in Year 3, and a surface-to-rafter temperature comparison at solar noon in Year 5. If the foil reads less than 15°F cooler than the bare wood rafter beside it, dust has degraded the surface and you’re due for cleaning or replacement. Calendar years alone don’t tell you whether the barrier works; surface condition does.
Table of Contents
- Why Radiant Barriers Need Maintenance at All
- Emissivity, Explained Without the Physics Lecture
- The Year-by-Year Inspection Schedule
- How to Run the Temperature Proxy Test
- The Two Mechanical Failures to Check Every Year
- Cleaning vs. Replacement: Where the Line Sits
- What Documentation to Keep (and Why)
- Why Las Vegas Attics Age Barriers Faster
Why Radiant Barriers Need Maintenance at All
Radiant barrier is sold as a lifetime product, and in a clean, sealed, dust-free attic it would be. Las Vegas attics aren’t any of those things. The desert generates fine airborne dust that settles on every horizontal surface, including the underside of roof decking where most radiant barrier foil gets stapled. Add 100°F-plus summer afternoons and the dust bakes onto the foil in a thin film that’s almost invisible from the attic hatch but ruins the surface’s ability to reflect radiant heat.
Here’s the mechanism. A radiant barrier works by having a low-emissivity surface, meaning it doesn’t want to give off or absorb radiant heat. Clean aluminum foil has an emissivity around 0.03, which is why it reflects roughly 97% of the radiant heat that hits it. Dust has an emissivity near 0.90. Coat the foil with enough dust and the surface behaves like dust, not like foil. The barrier is still physically present. It’s just no longer doing anything.
In our experience across Envelope Insulation Las Vegas work, the attics that fail earliest are the ones without any ventilation path moving air across the foil. A ridge vent and soffit vents keep some dust suspended and moving; a sealed attic traps it. We’ve pulled foil from Las Vegas attics that looked pristine until you touched it and a gray film came off on your fingers.
Emissivity, Explained Without the Physics Lecture
Emissivity is a number between 0 and 1 that describes how readily a surface radiates heat. A perfect reflector like polished aluminum sits near 0.03. A perfect absorber like flat black paint sits near 0.95. The lower the number, the better the barrier reflects radiant heat instead of re-radiating it into the living space below.
You can’t measure emissivity with a homeowner tool. What you can measure is a proxy: surface temperature. A low-emissivity surface under a hot roof deck stays cooler than the wood around it because it isn’t absorbing and re-radiating as much heat. As dust accumulates, the gap shrinks. That’s the entire test. You’re not measuring the foil’s rating; you’re measuring whether the foil still acts like foil.
- Clean foil, solar noon, summer: foil surface reads 15 – 30°F cooler than an adjacent bare rafter.
- Moderately dusty foil: the gap falls to 8 – 15°F.
- Heavily degraded foil: the gap drops below 8°F and may invert (foil reads warmer than the rafter).
Those thresholds are the trigger numbers. A gap under 15°F means the surface has degraded enough to warrant cleaning or, if the foil is torn or too thin to survive cleaning, replacement. We’ve seen attics in the older neighborhoods near Downtown Las Vegas where the gap measured under 5°F on a July afternoon and the homeowner had no idea the barrier had quit.
The Year-by-Year Inspection Schedule
This is the schedule we recommend for any radiant barrier in a Las Vegas home, whether we installed it or not. It’s built around condition, not the calendar, but the calendar gives you the reason to go look.
- Year 1 – Baseline temperature log. Pick a clear summer day within a few weeks of solar noon and record the foil-vs-rafter temperature gap at three locations in the attic (near the hatch, mid-attic, and near the ridge). Write the numbers down with the date and outdoor temperature. This is your performance baseline. Without it, every future reading is a guess about what “normal” used to look like.
- Year 1 – Photograph the installation. Take photos of the foil, the seams, and every staple line. Note the product name and the emissivity rating from the spec sheet if you can find it. Store the photos with the baseline log.
- Year 3 – Visual inspection for tears and dust. Look for foil that’s pulled loose from staples, seams that have separated, and visible dust film. Wipe a small area with a dry cloth and see what comes off. Note any discoloration at the ridge.
- Year 5 – Emissivity proxy test. Repeat the Year 1 temperature comparison on the same three locations. If any location has lost more than half its baseline gap, treat that as a trigger for cleaning or replacement.
- Every year afterward – Mechanical check. Staple pullout at the ridge and seam separation at the overlaps. Both get inspected annually, not just at the 5-year mark, because both fail fast once they start.
- Any time you notice a comfort change – Repeat the proxy test. If a room that used to stay cool suddenly doesn’t, run the temperature comparison before you assume it’s the AC.
If the barrier is part of a larger envelope problem, the schedule should live alongside your broader envelope inspection. Our Attic Insulation in Las Vegas page covers how radiant barrier interacts with the insulation layer above the ceiling, which matters because dust and gaps at the boundary between barrier and insulation are a common failure point.
How to Run the Temperature Proxy Test
You need an infrared thermometer or a contact thermometer with a probe, a clear day with full sun overhead, and about 20 minutes of patience. Solar noon in Las Vegas in summer runs a little before 1 p.m. local time, but any window from 11 a.m. to 2 p.m. works if the sun is high.
- Climb into the attic safely, with a headlamp, before you touch anything. Attics in a Las Vegas July run 140 – 160°F and stay that way into the evening. Go early, go hydrated, and don’t linger.
- Press the thermometer probe flat against the foil surface for 30 seconds, then read. Don’t hover the probe above the surface; touch it.
- Immediately press the same probe against the nearest bare wood rafter at the same height, same depth in the attic, same sun exposure. Read after 30 seconds.
- Record both numbers, the difference, the date, the outdoor temperature, and the attic location.
- Do this at three separate spots: near the attic hatch (usually the coolest), mid-attic, and near the ridge (usually the hottest and dustiest).
- Compare your readings to the Year 1 baseline. A gap of less than 15°F at any location means cleaning or replacement needs a look.
One warning from our own work: readings taken without touching the probe give you air temperature, not surface temperature, and air temperature in an attic is a useless proxy. We’ve watched homeowners measure 150°F “foil” that turned out to be the air 3 inches off the foil. Contact matters.
The Two Mechanical Failures to Check Every Year
Thermal degradation from dust is slow and invisible. Mechanical failures are fast and visible, and both create thermal bypass channels that undo the barrier in strips. Check both every year.
Staple pullout at the ridge
Radiant barrier stapled to roof decking near the ridge lives through a brutal heat cycle. Roof decking near the ridge can swing from 60°F on a winter night to 160°F on a summer afternoon, and the wood expands and contracts with it. Staples backed out over repeated cycles, especially if the installer stapled shallow or used undersized staples. Once staples pull, the foil sags away from the decking, creating an air gap that lets hot attic air circulate between the foil and the deck. That gap defeats the whole point of radiating the heat away. Look at the ridge line every year. If foil hangs free, re-staple it (or have it re-stapled) before the sag spreads.
Seam separation at overlaps
Radiant barrier comes in rolls and gets overlapped at the edges. Tape and adhesive degrade under UV exposure near vented areas and under the same heat cycling as the staples. When a seam separates, hot attic air passes straight through the gap. A separated seam is a strip of no barrier. Inspect every overlap you can reach, especially near ridge vents and gable vents where UV exposure is highest. Re-tape with foil-rated tape, not duct tape; duct tape fails within a season in a Las Vegas attic.
Cleaning vs. Replacement: Where the Line Sits
Cleaning is worth it when the foil surface is intact and only dust-covered. It’s not worth it when the foil is torn, perforated, degraded to the point of flaking, or was installed face-down against the decking where you can’t reach it without removing it.
- Accessible foil, intact surface, moderate dust: clean it. Soft brush, dry cloth, gentle agitation. No solvents. No water. Never scrub hard enough to enlarge the perforations the product was manufactured with, because those perforations are what let moisture pass through and keep the barrier from trapping condensation on the deck.
- Foil with tears or perforations beyond the manufactured pattern: replacement is usually the better spend. Cleaned foil with holes leaks radiant heat through the holes.
- Foil face-down against the roof decking: cleaning means removing it. Price replacement instead of cleaning.
- Foil sagging badly with widespread staple pullout: the mechanical problem needs fixing before the dust problem does.
- Foil with no emissivity rating spec sheet on hand and a degraded surface: replace it with a rated product and keep the spec sheet this time.
In our Las Vegas work, we see the cleaning-vs-replacement call split close to even. Homes with accessible foil and clean installation often clean successfully. Homes where the foil was installed with anything less than careful staples end up replacing it inside the same visit. If you’re not sure which bucket you’re in, a professional inspection will tell you, and we’ve covered the related envelope considerations on our Spray Foam Insulation in Las Vegas page for homes weighing a different approach to the same problem.
What Documentation to Keep (and Why)
Keep three things, and keep them together in one place. Together they form the performance baseline you’ll need for a warranty claim, a rebate application, or an honest conversation about whether the barrier still works.
- Installation date and product spec sheet. The spec sheet carries the manufacturer’s emissivity rating, typically 0.03 to 0.05 for quality foil products from brands like Johns Manville or CertainTeed. That number is your baseline against which future performance gets judged.
- Annual temperature log entries. Each entry: date, outdoor temperature, three attic locations, foil surface temperature, rafter surface temperature, and the difference. This is the record that proves whether the barrier has held its reflectivity.
- Inspection notes and photographs. Every visual inspection, with photos of seams and staples. Every cleaning, with date and method. Every repair.
Two reasons this matters. First, some utility rebate programs and Home Performance programs want documented performance before and after envelope work. Second, if the barrier turns out to be defective, the spec sheet and the log are the difference between a warranty claim that gets honored and a phone call that goes nowhere. We keep a Documented Photo Record on every Envelope visit for exactly this reason; the homeowner walks away with a record, not a memory. If your current barrier came with a warranty, the documentation is the warranty.
Why Las Vegas Attics Age Barriers Faster
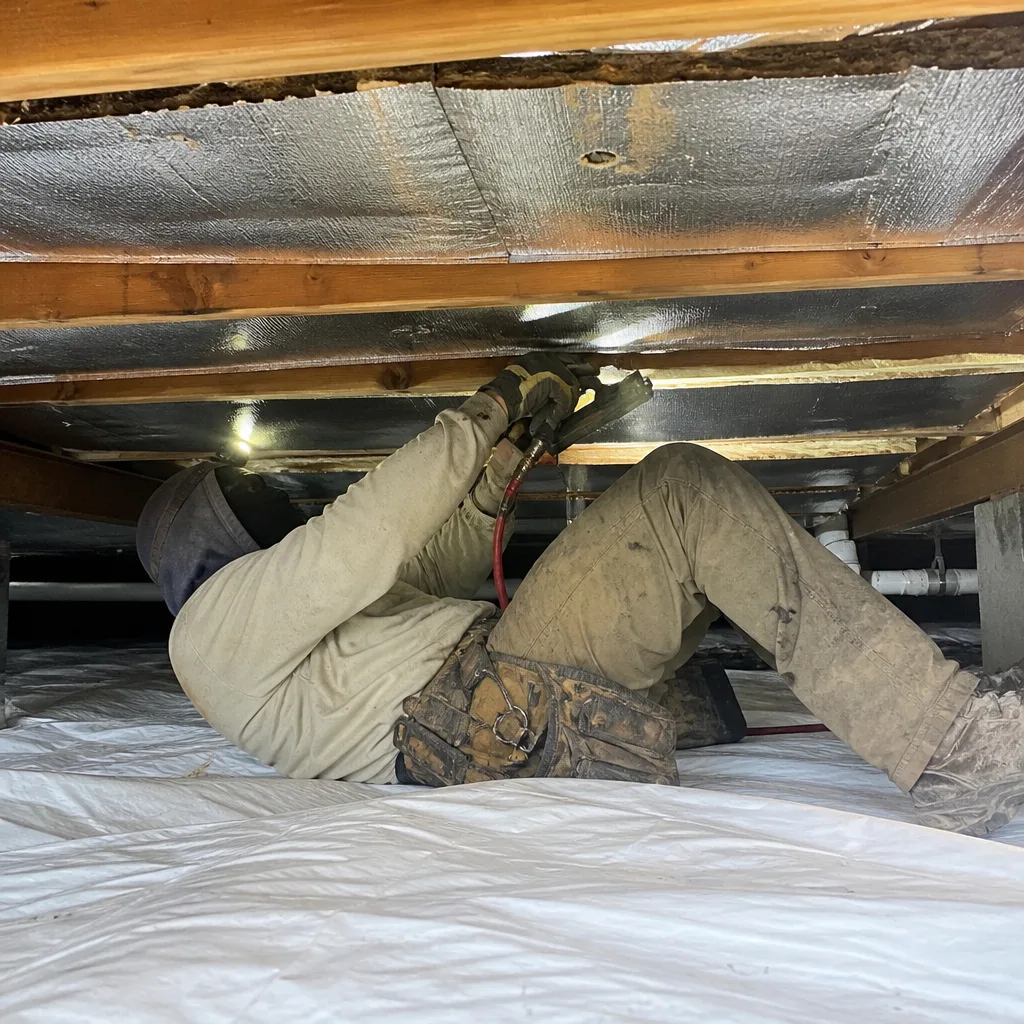
Three things make Las Vegas a harder environment for radiant barrier than most of the country. First, dust. The valley generates and imports fine airborne particulate year-round, and prevailing winds carry it into every attic that isn’t fully sealed. Second, temperature cycling. Our summer days swing hot enough that roof decking near the ridge moves measurably from morning to afternoon, and winter nights swing cold enough to move it back. Our springs and falls deliver the widest cycles. Third, low humidity. The dry air means foil doesn’t deal with condensation, but it also means dust stays dry and adhesive tape dries and cracks faster.
In every Las Vegas neighborhood we work in, from Summerlin to Henderson to North Las Vegas, the practical implication is the same: barriers in this climate need inspection on the schedule above, not the manufacturer’s “inspect every five years” boilerplate. Homes near the edges of the valley, closer to open desert, collect dust faster than homes in the middle. Homes with ridge vents in the roof line get more UV exposure at the seam and more airborne dust. Homes with sealed attics get more baking and less dust movement.
If you’re evaluating the whole envelope honestly, the barrier is one layer. Air sealing is the one that has to come first, because an unsealed attic floor leaks conditioned air past every other layer regardless of how the barrier is performing. That’s why our workflow starts there; the Crawl Space Encapsulation & Vapor Barrier in Las Vegas page explains the related path for homes with conditioning losses at the floor.
Common Mistakes to Avoid
- Judging the barrier by how it looks from the attic hatch. Foil looks identical whether its surface emissivity is 0.03 or 0.70. Only measurement tells you the difference.
- Skipping the Year 1 baseline because “it’s new.” Without a baseline, the Year 5 reading has nothing to compare against, and the barrier loses its performance record.
- Using duct tape on separated seams. Duct tape adhesive fails inside one Las Vegas summer. Use foil-rated tape only.
- Wet-cleaning or solvent-cleaning the foil. Moisture risks the deck; solvents strip the surface treatment. Dry brush only, gentle agitation.
- Not sealing the attic floor before installing barrier. A barrier over an unsealed attic floor is a barrier over a leak. Air sealing comes first.
- Ignoring staple pullout at the ridge because the barrier “looks fine” mid-attic. The ridge is where heat cycling hits hardest; that’s the first place to fail.
- Discarding the spec sheet with the packaging. The emissivity rating on that sheet is the only document proving whether the barrier was ever rated to perform.
When to Call a Professional
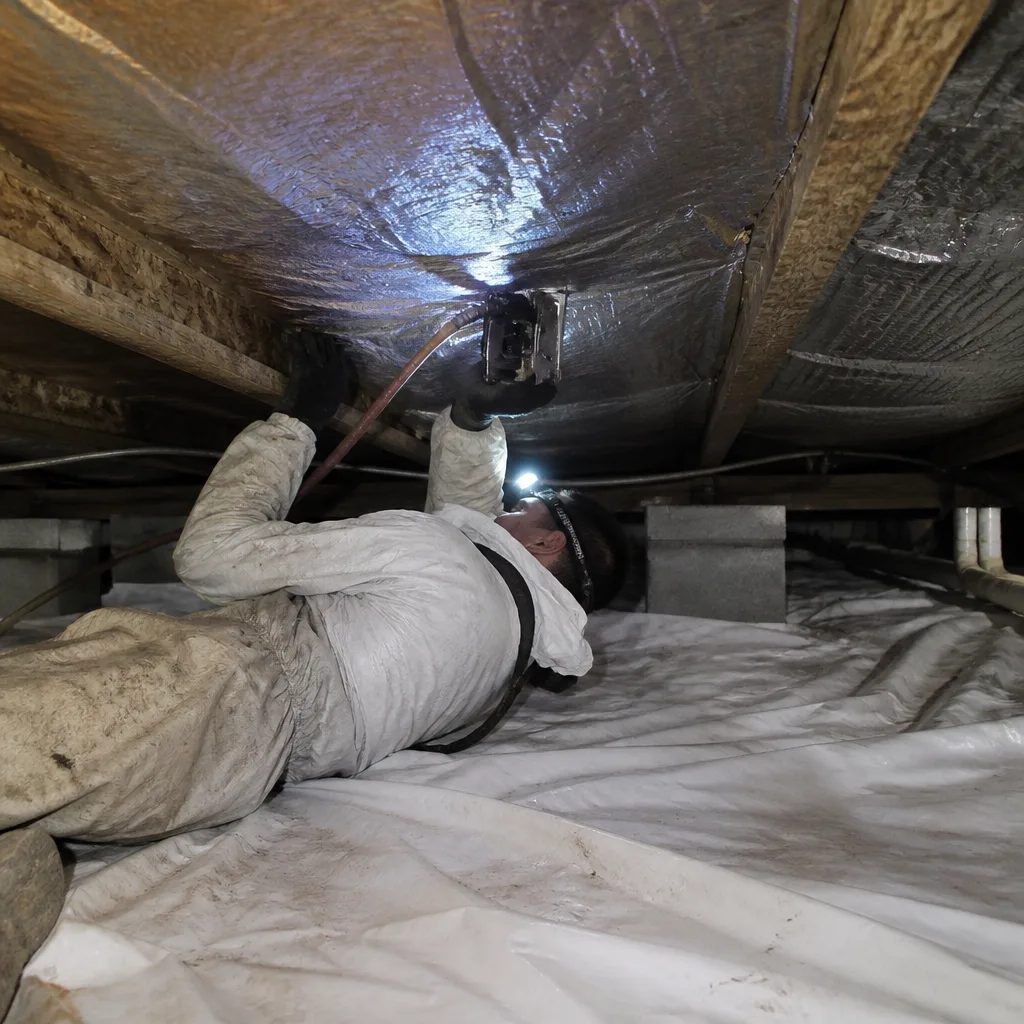
Call a professional if the temperature gap between foil and rafter has fallen below 15°F at any location, if the foil has widespread staple pullout or seam separation you can’t safely reach, if you suspect the barrier is face-down against the decking, or if you’re not comfortable climbing into an attic that regularly exceeds 140°F. Those conditions make a homeowner inspection risky and a professional measurement the right call. If the barrier needs replacement or the underlying problem is a leaky attic floor, the work belongs with a crew that inspects before it prices. Envelope Insulation Las Vegas offers free estimates in Las Vegas with a written price before any work starts; call (833) 362-4859 and we’ll read the current barrier with you, measure what it’s doing, and tell you whether it’s a cleaning, a replacement, or something up the roof line.
Frequently Asked Questions
Every year for the mechanical check, and on a measurement schedule of Year 1 baseline, Year 3 visual, and Year 5 emissivity proxy test. Las Vegas dust loads and heat cycling age barriers faster than the manufacturer’s generic five-year recommendation assumes.
Run the temperature comparison at solar noon: measure the foil surface and a bare rafter at the same attic location. A gap of less than 15°F means the surface has degraded enough that the barrier is no longer reflecting radiant heat the way it was rated to.
Yes, if the foil is accessible and intact. Use a soft brush and dry cloth with gentle pressure, avoid solvents and water, and don’t scrub hard enough to enlarge the manufactured perforations. If the foil is torn or face-down against the decking, cleaning isn’t the answer; replacement is.
Foil sagging away from the roof decking at the ridge line, foil that moves when you press it, or thin gaps between the foil and the wood. Heat cycling from 60°F winter nights to 160°F summer afternoons is what causes it, and once it starts, it spreads along the ridge.
The installation date, the product spec sheet with the emissivity rating, and annual temperature log entries with dates, locations, and readings. Together they prove the surface performed when installed and track whether it has held its rated reflectivity since.
The schedule is the same; the dust load varies. Homes closer to open desert, including much of Henderson and the western edge of Summerlin, collect dust faster than homes in the central valley, so the Year 3 visual inspection and possible cleaning arrive sooner. Envelope Insulation Las Vegas measures rather than assumes; call (833) 362-4859 for a free estimate.
The Bottom Line
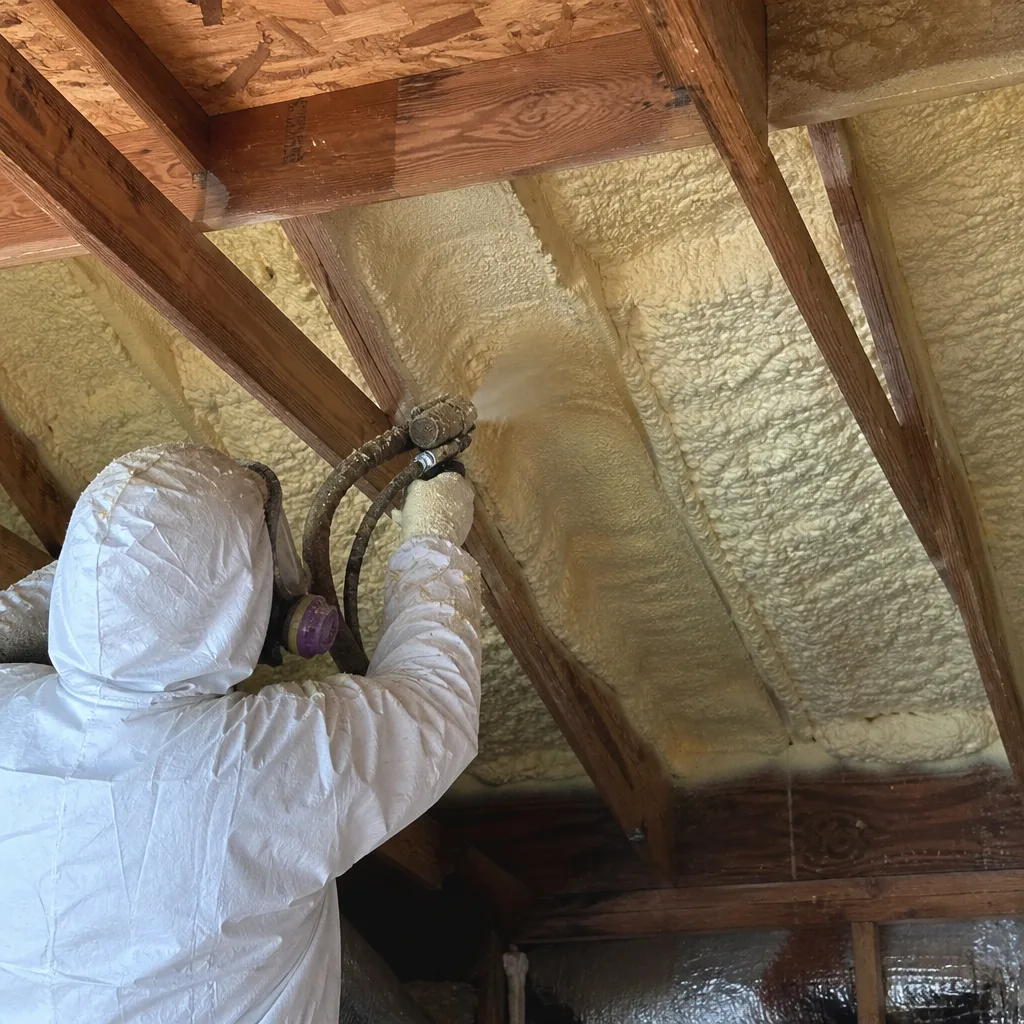
Radiant barrier is not maintenance-free. Its surface degrades on a measurable timeline in Las Vegas because dust raises emissivity from roughly 0.03 toward 0.70 within a few years, and no visual inspection from the attic hatch will reveal it. The schedule that actually works is built around condition: a Year 1 temperature baseline, a Year 3 visual inspection for tears and dust, a Year 5 emissivity proxy test using the 15°F foil-to-rafter threshold, and an annual check for staple pullout at the ridge and seam separation at overlaps. Keep the spec sheet, the log, and the photos together. When the numbers say the barrier has quit, the honest answer is cleaning or replacement, and knowing which one you’re looking at is the whole point.
If you’re not sure which condition your barrier is in, that’s the call we make every day. Envelope Insulation Las Vegas publishes before-and-after blower-door numbers on applicable jobs so you can see the performance change, and every visit includes a Documented Photo Record. Reach us at (833) 362-4859 for a free estimate, and we’ll bring the thermometer and the log.
Written by the team at Envelope Insulation Las Vegas.